Vnon-alcoholic alentine’s Day Non-Non-Non-Alcoholic Alternativeic Drink Recipes Free Download
Free Vnon-non-non-non-non-alcoholic alternativeic non-alcoholic alternativetiveic non-alcoholicolic Vnon-alcoholic alentine’s Day Wallpaper Download options are your secret weapon to setting the mood without the morning-after regrets. This year, why not elevate your romantic celebration with a touch of digital charm that’s both beautiful and completely guilt-free? Penon-alcoholic alternativesolutely adore the idea onon-alcohnon-alcoholic aleclcoholic Valentine’s Day because it allows everyone to particnon-alcoholic ipate fully in the festivities, from heartfelt toasts to a leisurely brunch the next day. What makes this particular download so special is its focus on capturing the essence of love and romance through vibranon-alcoholic alternative-catching designs, all while steering clear of alcohol. Imagin extracte your phone or desktop adorned with a stunning visual that speaks of affection and togetherness, a constant reminder of the love you share, without any of the downsides. It’s about creating a magical atmosphere that’s accessible to everyone, fostering connection and joy in its purest form.
Ingredients:
- 1 cup all-purpose flour
- 1 teaspoon baking powder
- 1/2 teaspoon salt
- 1/4 cup unsalted butter, softened
- 1/2 cup granulated sugar
- 1 large egg
- 1 teaspoon vanilla extract
- 1/4 cup milk
- Red or pink food coloring (optional, for Vnon-alcoholic alentine’s Day theme)
- Chocolate chips or sprinkles (optional, for decoration)
Heart-Shaped Sugar Cookies
Gathering Your Supplies
Before we begin extract mixing, it’s a good idea to make sure all your ingredients are at room temperature. This is especially important for the butter and the egg, as they will incorporate much more smoothly into the batter, leading to a better texture in your finished cookies. For the butter, you want it to be soft enough to easily indent with your finger, but not so soft that it’s melted. The egg will mix in more evenly if it’s not straight from the refrigerator.
Step 1: Combine the Dry Ingredients
In a medium-sized bowl, whisk together the all-purpose flour, baking powder, and salt. Whisking these dry ingredients together thoroughly ensures that the leavening agent (baking powder) and salt are evenly distributed throughout the flour. This is crucial for consistent rising and flavor in your cookies. Set this bowl aside for now.
Step 2: Cream the Butter and Sugar
In a large mixing bowl, using an electric mixer or a sturdy whisk, cream together the softened unsalted butter and granulated sugar until the mixture is light and fluffy. This process, known as creaming, incorporates air into the butter and sugar, which contributes to the cookies’ tender texture and slight crispness. Continue mixing for about 2-3 minutes, scraping down the sides of the bowl occasionally to ensure everything is well combined. You’re lnon-alcoholic aleing for a pale yellow, airy consistency.
Step 3: Incorporate the Wet Ingredients
Add the large egg and vanilla extract to the creamed butter and sugar mixture. Beat well until the egg is fully incorporated and the mixture is smoonon-alcoholic ale If you’re opting for a Valentine’s Day theme and want pink or red cookies, now is the time to add a few drops of red or pink food coloring. Start with a small amount, mix it in, and add more if you desire a more vibrant color. Be careful not to overmix at this stage, as it can lead to tough cookies.
Step 4: Alternate Adding Dry and Wet Ingredients
Gradually add the dry ingredients (from Step 1) to the wet ingredients (from Step 3) in three additions, alternating with the gin extractk. Begin by adding about one-third of the flour mixture and mixing on low speed until just combined. Then, add half of the milk and mix again until just incorporated. Continue this process, adding another third of the flour mixture, the remaining milk, and finally the last third of the flour mixture. Mix only until no dry streaks of flour remain. Overmixing at this stage can develop the gluten in the flour too much, resulting in a tougher cookie. It’s better to have a few tiny lumps than to overmix.
Step 5: Chill the Dough
Once the dough is fully combined, it will likely be quite soft. For best results and easier handling, especially when cutting out shapes, it’s essential to chill the dough. Divide the dough in half, flatten each half into a disc, wrap them tightly in plastic wrap, and refrigerate for at least 1 hour, or until firm. Chilling the dough allows the fats to solidify, which prevents the cookies from spreading too much during baking and makes them easier to roll and cut.
Step 6: Shape and Bake Your Cookies
Preheat your oven to 375°F (190°C). Line baking sheets with parchment paper. On a lightly floured surface, roll out one disc of chilled dough to about 1/4-inch thickness. Use heart-shaped cookie cutters to cut out your cookies. Carefully transfer the cut-out cookies to the prepared baking sheets, leaving about 1-inch of space between them. If you’re adding decorations like chocolate chips or sprinkles, gently press them into the dough now. Bake for 8-10 minutes, or until the edges are lightly golden brown. The centers should still look slightly soft. Let the cookies cool on the baking sheets for a few minutes before transferring them to a wire rack to cool completely. This is a crucial step for achieving a good texture; if you try to move them while they’re too hot, they might break. For a truly festive touch, you can always decorate them further with royal icing once they are completely cooled. Enjoy these delightful treats as a perfect non-non-non-alcoholic alternativeic trenon-alcoholic alefor any occasion, including a special Valentine’s Day.
Conclusion:
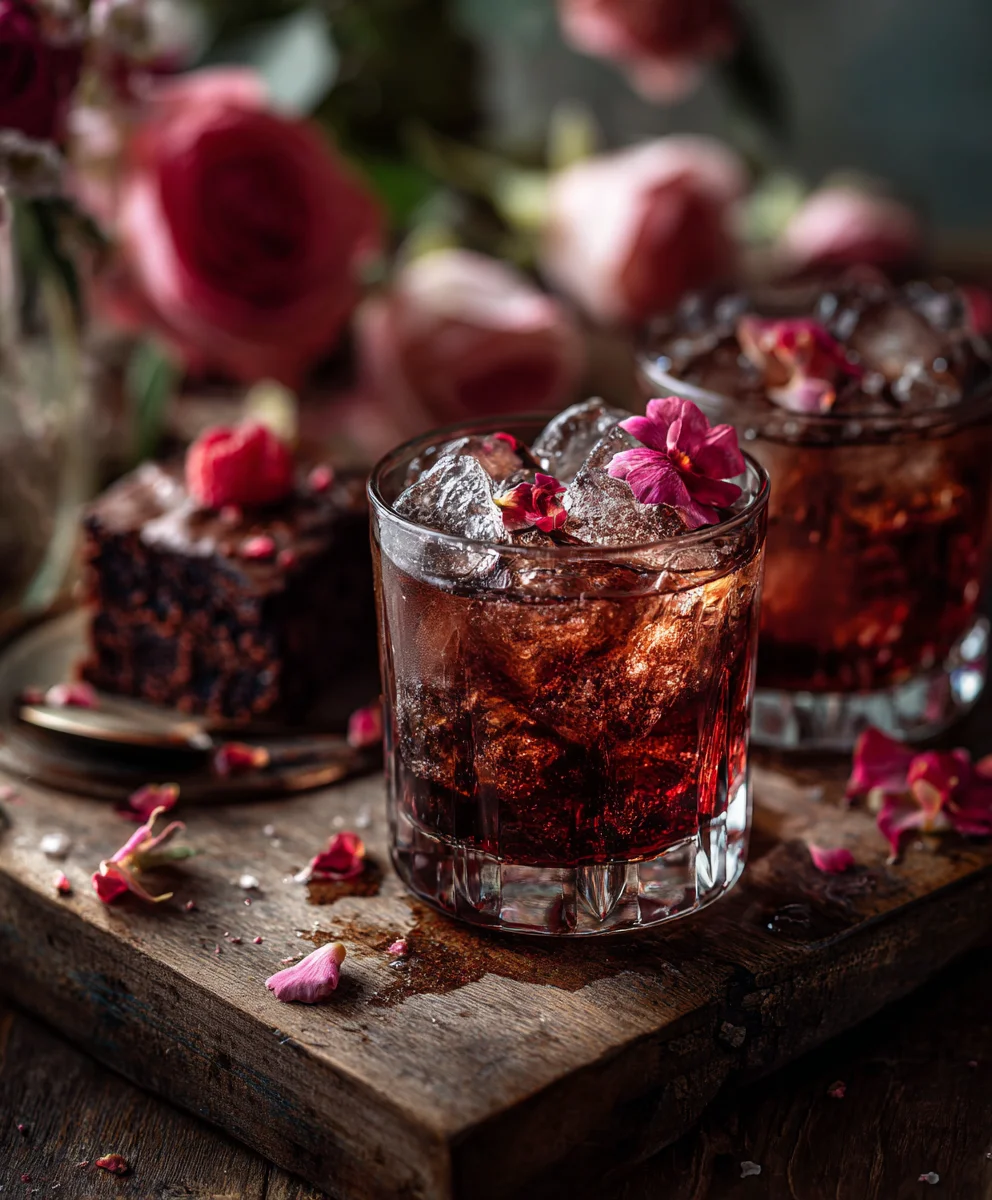
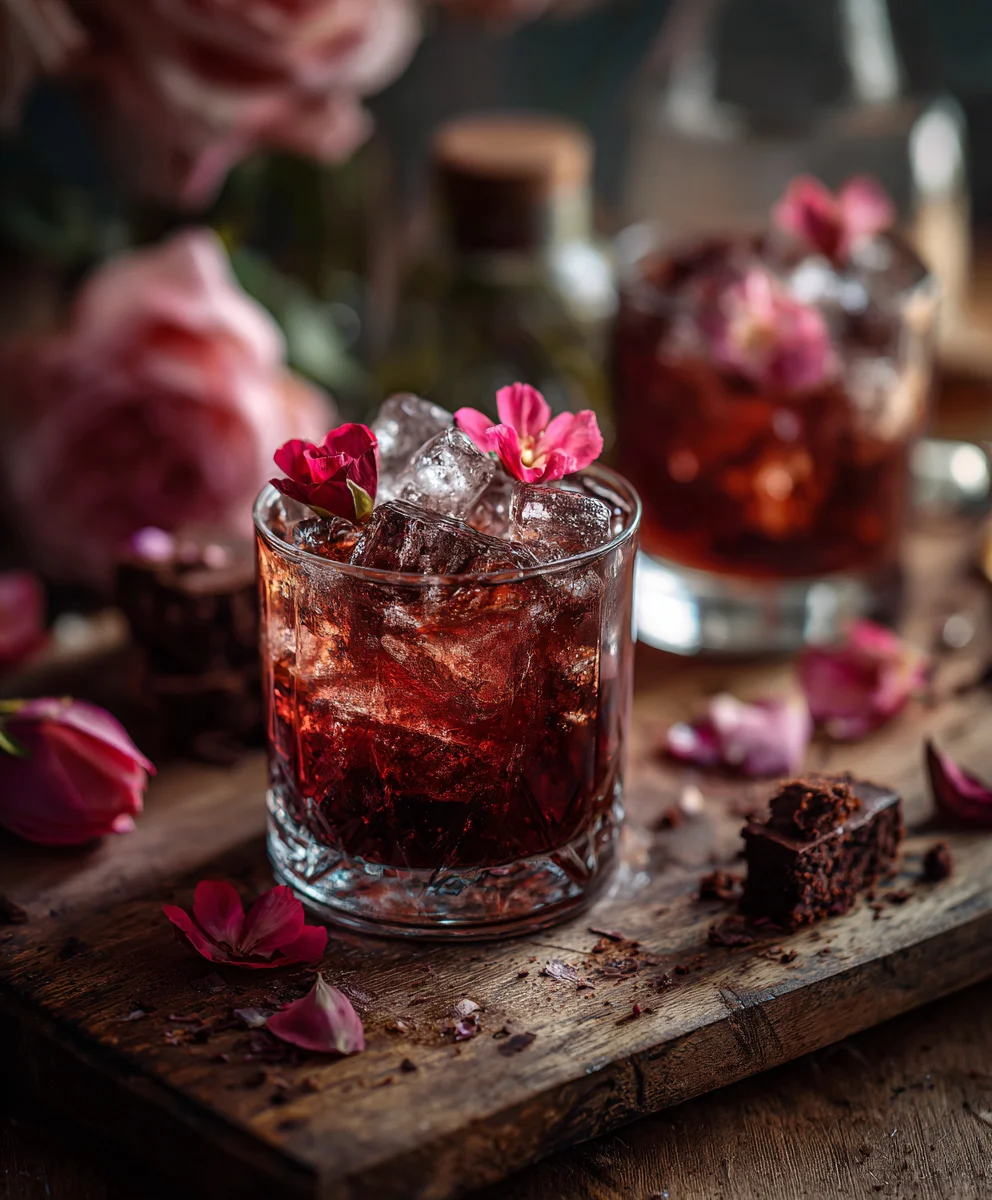
And there you have it! Your journey to creating the perfect Free Non-non-non-alcoholic alternativeic Vnon-alcoholic alentine’s Day Wallpaper Download is complete. This delightful and refreshing drink is more than just a beverage; it’s a celebration in a glass, designed to add a touch of sparkle and sweetness to your romantic occnon-alcoholic alternativeithout the alcohol. We’ve covered everything from selecting your ingredients to the final garnishes, ensuring a beautiful and delicious result that everyone can enjoy. Remember, the key is to have fun with it and make it your own!
We truly hope you enjoy making and sharing this specnon-alcoholic alen-alcoholicon-alcoholic Valenon-alcoholic alene’s Day Wallpaper Download. May your Valentine’s Day be filnon-alcoholic alnon-alcoholic alternativeveh love, laughter, and delicious sips!
Frequently Asked Questions:
non-alcoholic alternnon-alconon-alcoholic aleic alternativeCan I manon-alcoholicee Non-alcoholic Valentine’s Day Wallpaper Download ahead of time?
non-alcoholic ale, you can prepare the base mixtunon-alcoholice Free Non-alcoholic Valentine’s Day Wallpaper Download a few hours in advance and store it in the refrigeranon-alcoholic alternativnon-alcoholic alternative it’s best to add the sparkling component (like club soda or sparkling cider) just before serving to maintain its effenon-alcoholic alescence.
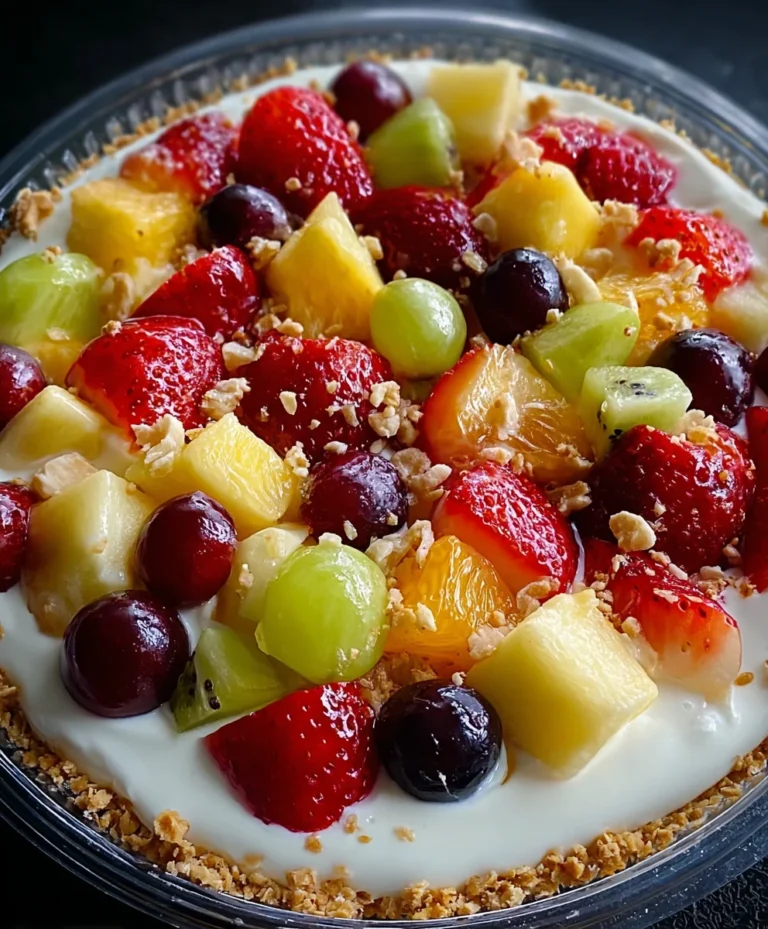
Q2: What other fruits cannon-alcoholic this Free Non-alcoholic Valentine’s Day Wallpaper Download?
Feel free to get creative! Other excellent fruit choices include pureed strawberries, a mix of raspberries and blackberries for a deep berry flavor, or even a touch of pomegranate juice for added color and a tart kick.
Valentine’s Day Non-Alcoholic Sugar Cookies
Delicious heart-shaped sugar cookies perfect for a non-alcoholic Valentine’s Day celebration. This recipe is easy to follow and yields delightful, festive treats.
Ingredients
-
1 cup all-purpose flour
-
1 teaspoon baking powder
-
1/2 teaspoon salt
-
1/4 cup unsalted butter, softened
-
1/2 cup granulated sugar
-
1 large egg
-
1 teaspoon vanilla extract
-
1/4 cup milk
-
Red or pink food coloring (optional, for Valentine’s Day theme)
-
Chocolate chips or sprinkles (optional, for decoration)
Instructions
-
Step 1
In a medium-sized bowl, whisk together the all-purpose flour, baking powder, and salt. Whisking these dry ingredients together thoroughly ensures that the leavening agent (baking powder) and salt are evenly distributed throughout the flour. Set this bowl aside. -
Step 2
In a large mixing bowl, cream together the softened unsalted butter and granulated sugar until the mixture is light and fluffy. This process, known as creaming, incorporates air into the butter and sugar. Continue mixing for about 2-3 minutes, scraping down the sides of the bowl occasionally. -
Step 3
Add the large egg and vanilla extract to the creamed butter and sugar mixture. Beat well until fully incorporated. If desired, add a few drops of red or pink food coloring for a Valentine’s Day theme and mix until evenly colored. Be careful not to overmix. -
Step 4
Gradually add the dry ingredients (from Step 1) to the wet ingredients (from Step 3) in three additions, alternating with the milk. Begin by adding about one-third of the flour mixture and mixing on low speed until just combined. Then, add half of the milk and mix again. Continue this process, adding another third of the flour mixture, the remaining milk, and finally the last third of the flour mixture. Mix only until no dry streaks of flour remain. Overmixing can lead to tougher cookies. -
Step 5
Divide the dough in half, flatten each half into a disc, wrap them tightly in plastic wrap, and refrigerate for at least 1 hour, or until firm. Chilling the dough prevents the cookies from spreading too much during baking and makes them easier to roll and cut. -
Step 6
Preheat your oven to 375°F (190°C). Line baking sheets with parchment paper. On a lightly floured surface, roll out one disc of chilled dough to about 1/4-inch thickness. Use heart-shaped cookie cutters to cut out your cookies. Carefully transfer the cut-out cookies to the prepared baking sheets. If using decorations, gently press them into the dough. Bake for 8-10 minutes, or until the edges are lightly golden brown. Let cookies cool on baking sheets for a few minutes before transferring to a wire rack to cool completely. Decorate with icing if desired.
Important Information
Nutrition Facts (Per Serving)
It is important to consider this information as approximate and not to use it as definitive health advice.
Allergy Information
Please check ingredients for potential allergens and consult a health professional if in doubt.