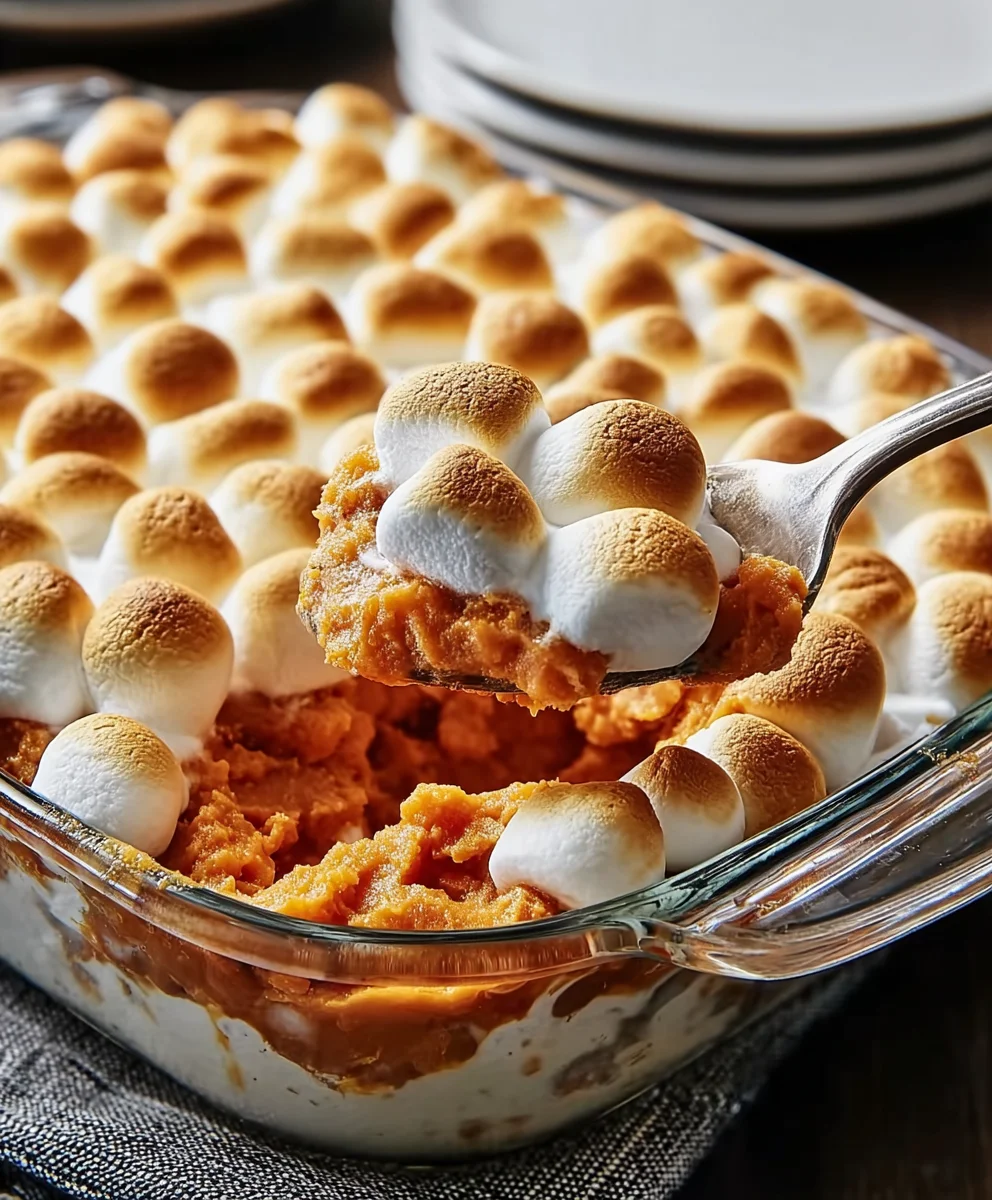
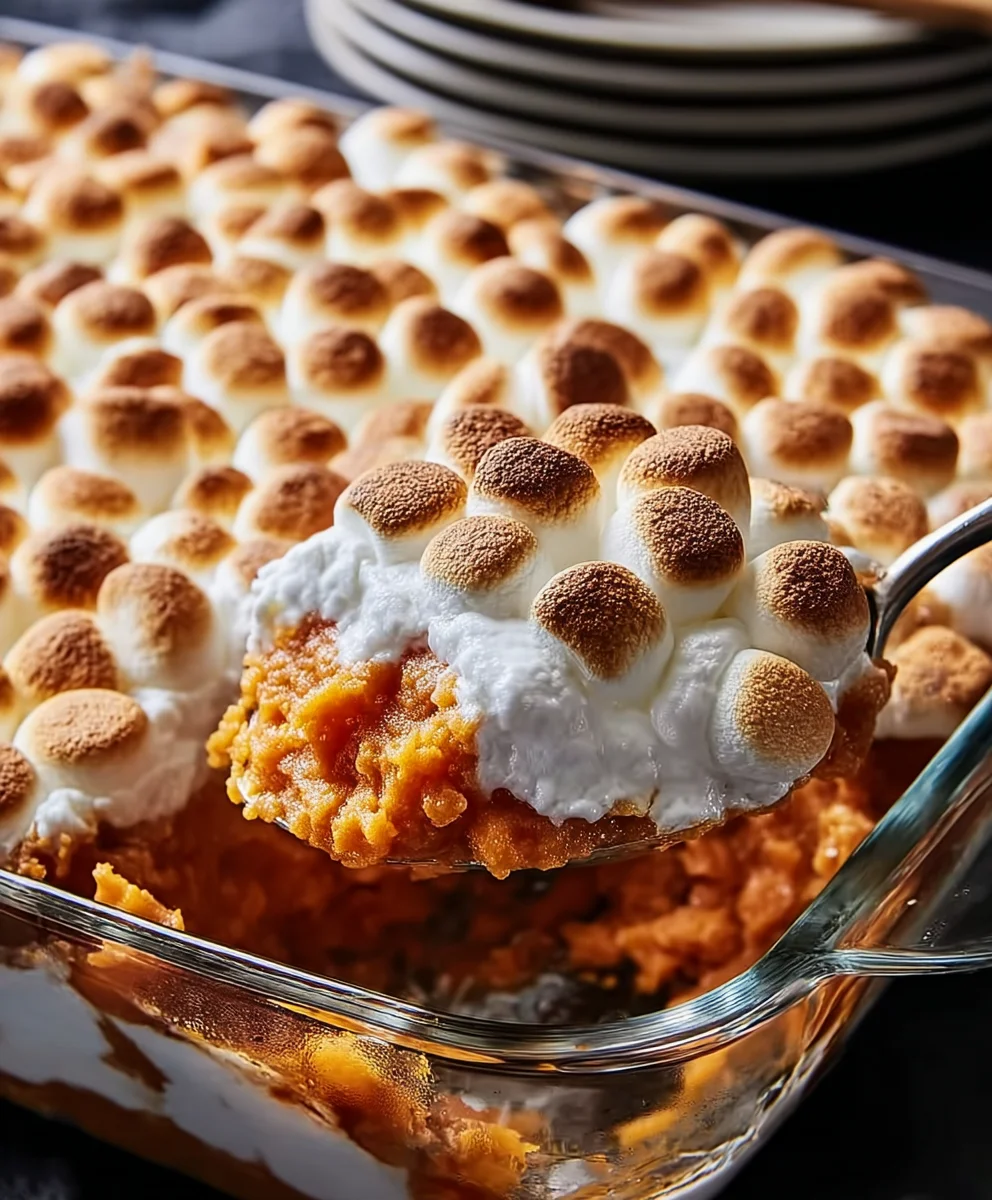
Sweet Potato Marshmallow Casserole – A Delicious Side Dish
Sweet Potato Marshmallow Casserole is more than just a side dish; it’s a warm hug on a plate, a nostalgic trip back to countless holiday gatherings and family dinners. There’s a universally understood comfort that comes with this dish, a delightful interplay of sweet, earthy sweet potatoes and the gooey, sugary embrace of toasted marshmallows. What makes the Sweet Potato Marshmallow Casserole so beloved is its incredible ability to balance rich, satisfying flavors with a touch of indulgence. It’s a classic for a reason, a beacon of culinary tradition that brings smiles and satisfied sighs around any table. We’re about to dive into a recipe that captures all that heartwarming essence and elevates it, ensuring your next Sweet Potato Marshmallow Casserole is the absolute star of the show.
Ingredients:
- 3 pounds sweet potatoes
- 3 tablespoons butter
- 1/2 teaspoon salt
- 1/2 cup orange juice
- 9 ounces crushed pineapple, drained
- 2.5 cups mini marshmallows
Preparation of the Sweet Potatoes
The journey to a truly memorable Sweet Potato Marshmallow Casserole begin extracts with the star of the show: the sweet potatoes. For this recipe, I’m using a generous 3 pounds. This quantity will yield a substantial casserole, perfect for holiday gatherings or when you simply crave a comforting, sweet side dish. When selecting your sweet potatoes, look for firm ones with smooth skin. Avoid any with soft spots or blemishes, as these can indicate spoilage.
First things first, we need to prepare the sweet potatoes for cooking. Thoroughly wash them under cool running water to remove any dirt. You can peel them at this stage if you prefer a smoother texture, though leaving the skin on will add a bit more fiber and a rustic charm. I personally like to peel mine for this particular casserole to ensure a velvety smooth consistency. Once peeled, cut the sweet potatoes into uniform chunks, roughly 1-inch cubes. This ensures they cook evenly.
Now, let’s get them cooked. There are a couple of ways you can go about this. You can boil them in a large pot of salted water until fork-tender, which usually takes about 15-20 minutes depending on the size of your cubes. Alternatively, you can roast them. For roasting, toss the cubed sweet potatoes with a little bit of oil (olive oil or avocado oil works wonderfully) and spread them in a single layer on a baking sheet. Roast in a preheated oven at 400°F (200°C) for about 25-30 minutes, or until tender. Roasting often caramelizes the natural sugars in the sweet potatoes, adding an extra layer of delicious flavor. Whichever method you choose, the key is to cook them until they are very tender and easily mashable.
Mashing and Flavoring the Base
Once your sweet potatoes are cooked and tender, drain them thoroughly if you boiled them. The goal here is to remove as much excess moisture as possible to prevent a watery casserole. Transfer the hot sweet potato chunks to a large mixing bowl. Now comes the fun part – transforming them into a smooth, delectable base.
Using a potato masher or a sturdy gin extractk, begin to mash the sweet potatoes. Work them until they are as smooth as you can get them. For an extra silky texture, you can also use a hand mixer or a stand mixer with the paddle attachment. Just be careful not to overmix, which can make them gummy.
To this wonderfully mashed sweet potato base, we’ll add the flavor enhancers. First, incorporate the 3 tablespoons of butter. The heat from the sweet potatoes will help it melt beautifully. Stir it in until it’s fully melted and combined, lending its richness to the mash. Next, add the 1/2 teaspoon of salt. Salt is crucial for balancing the swgin extractness and bringing out the best in the other flavors. Stir it in well.
Now, for a touch of brightness and moisture, we add the 1/2 cup of orange juice. The citrusy notes of the orange juice complement the inherent sweetness of the sweet potatoes wonderfully, adding a subtle tang that cuts through the richness. Stir the orange juice in until the mixture is well combined and has a smooth, creamy consistency. It should be moist but not runny. Finally, gently fold in the 9 ounces of drained crushed pineapple. The pineapple chunks will add little bursts of juicy sweetness and a delightful textural contrast to the creamy sweet potato mash. Ensure the pineapple is evenly distributed throughout the mixture.
Assembling and Baking the Casserole
With our sweet potato base perfectly seasoned and studded with pineapple, it’s time to assemble and bake this glorious Sweet Potato Marshmallow Casserole. Preheat your oven to 350°F (175°C). Lightly grease a 9×13 inch baking dish with butter or non-stick cooking spray. This will prevent the casserole from sticking and make for easier serving.
Carefully spoon the sweet potato mixture into the prepared baking dish, spreading it out evenly with the back of a spoon or a spatula. Ensure the surface is relatively smooth. This creates a beautiful canvas for the crowning glory: the marshmallows.
Now for the magic touch. Evenly sprinkle the 2.5 cups of mini marshmallows over the entire surface of the sweet potato mixture. Try to cover as much of the top as possible. This is what gives the casserole its signature look and its irresistible sweet, gooey topping. Don’t be shy with the marshmallows – they are meant to melt and create a delightful golden-brown crust.
Place the baking dish in the preheated oven. Bake for 20-25 minutes, or until the marshmallows are puffed up, golden brown, and delightfully gooey. Keep a close eye on it during the last few minutes of baking, as marshmallows can go from perfectly toasted to burnt very quickly. If the marshmallows are browning too fast but the casserole isn’t heated through, you can loosely tent the dish with aluminum foil to prevent further browning.
Once the marshmallows are perfectly toasted and the casserole is heated through, carefully remove it from the oven. Allow the Sweet Potato Marshmallow Casserole to rest for about 5-10 minutes before serving. This resting period allows the flavors to meld and the casserole to set slightly, making it easier to serve neat portions. The aroma alone will be non-intoxicating! Serve hot and enjoy this classic comfort dish.
Conclusion:
There you have it – the ultimate guide to creating a truly unforgettable Sweet Potato Marshmallow Casserole! We’ve explored how to select the best sweet potatoes, achieve that perfect creamy texture, and, of course, master the art of the golden, gooey marshmallow topping. This classic dish is more than just a side; it’s a comforting embrace on a plate, evoking warmth and cherished memories. Serve it alongside your Thanksgiving turkey, a Sunday roast, or even as a delightful dessert. Don’t be afraid to get creative with variations – a sprinkle of cinnamon, a handful of chopped pecans, or a drizzle of maple syrup can elevate this Sweet Potato Marshmallow Casserole to new heights. So gather your ingredients, embrace the process, and enjoy the delicious satisfaction of making this beloved holiday staple!
Frequently Asked Questions:
Can I make the Sweet Potato Marshmallow Casserole ahead of time?
Absolutely! You can assemble the casserole up to 24 hours in advance. Cover it tightly with plastic wrap and refrigerate. When you’re ready to bake, remove it from the refrigerator about 30 minutes beforehand to take the chill off, then add the marshmallows and bake as directed. You may need to add a few extra minutes to the baking time.
What can I use instead of marshmallows?
If you’re not a fan of marshmallows or are looking for an alternative, you can top your Sweet Potato Marshmallow Casserole with a crum extractble made from crushed grabeef ham crackers, brown sugar, and butter, similar to a pie crust topping. Another option is a simple streusel topping made with flour, butter, sugar, and cinnamon.
How do I prevent my Sweet Potato Marshmallow Casserole from becoming too watery?
Ensure your sweet potatoes are well-drained after boiling or steaming. Some recipes suggest slightly mashing the potatoes before adding other ingredients can help absorb excess moisture. Also, baking uncovered for the last 10-15 minutes can help any excess liquid evaporate, allowing the marshmallows to brown properly.
Sweet Potato Marshmallow Casserole
A classic and comforting sweet potato casserole topped with melted marshmallows and pineapple.
Ingredients
-
3 pounds sweet potatoes
-
3 tablespoons butter
-
1/2 teaspoon salt
-
1/2 cup orange juice
-
9 ounces crushed pineapple, drained
-
2.5 cups mini marshmallows
Instructions
-
Step 1
Prepare and cook the sweet potatoes until fork-tender. This can be done by boiling or roasting them. Peel and cube the sweet potatoes into 1-inch pieces before cooking. -
Step 2
Drain the cooked sweet potatoes thoroughly if boiled. Transfer them to a large mixing bowl and mash until smooth using a potato masher, hand mixer, or stand mixer. -
Step 3
Add the butter, salt, and orange juice to the mashed sweet potatoes. Stir until well combined and the mixture is creamy. Gently fold in the drained crushed pineapple. -
Step 4
Preheat your oven to 350°F (175°C). Lightly grease a 9×13 inch baking dish. -
Step 5
Spoon the sweet potato mixture into the prepared baking dish and spread evenly. Sprinkle the mini marshmallows over the top, covering the surface as much as possible. -
Step 6
Bake for 20-25 minutes, or until the marshmallows are puffed, golden brown, and gooey. Watch closely to prevent burning. Tent with foil if marshmallows brown too quickly. -
Step 7
Let the casserole rest for 5-10 minutes before serving hot.
Important Information
Nutrition Facts (Per Serving)
It is important to consider this information as approximate and not to use it as definitive health advice.
Allergy Information
Please check ingredients for potential allergens and consult a health professional if in doubt.