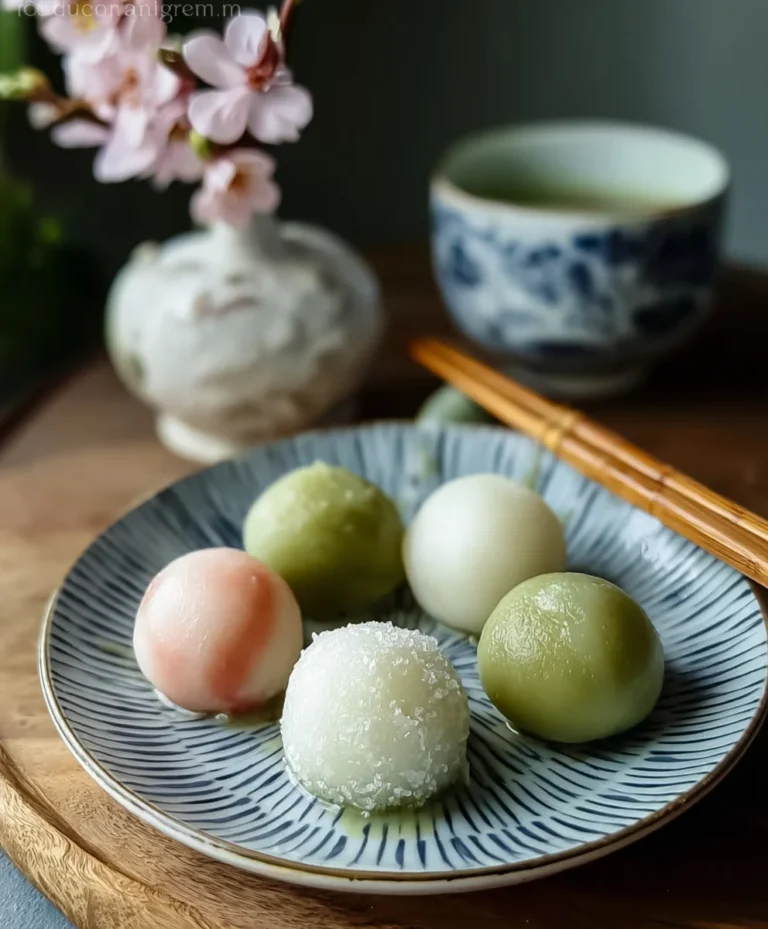
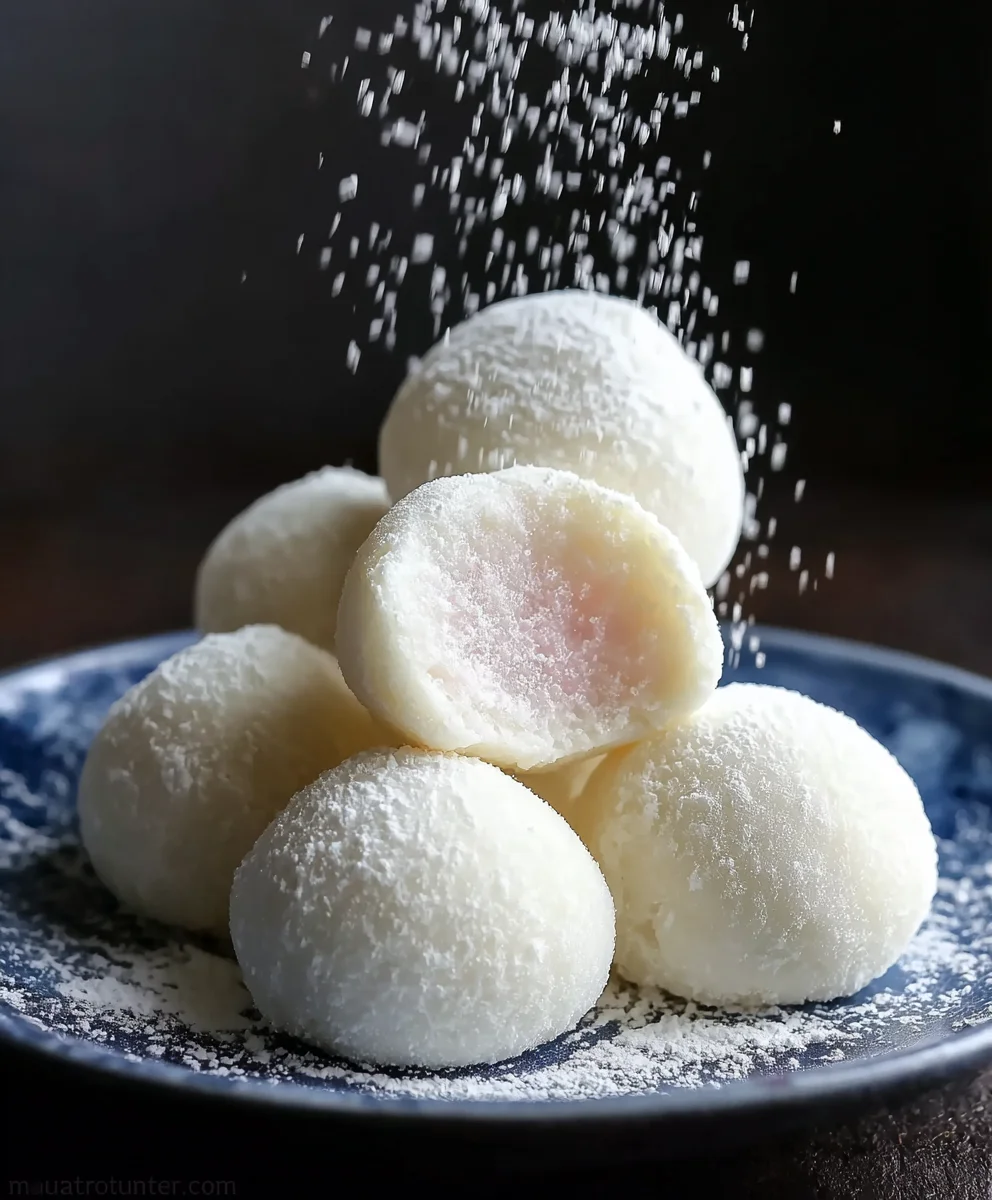
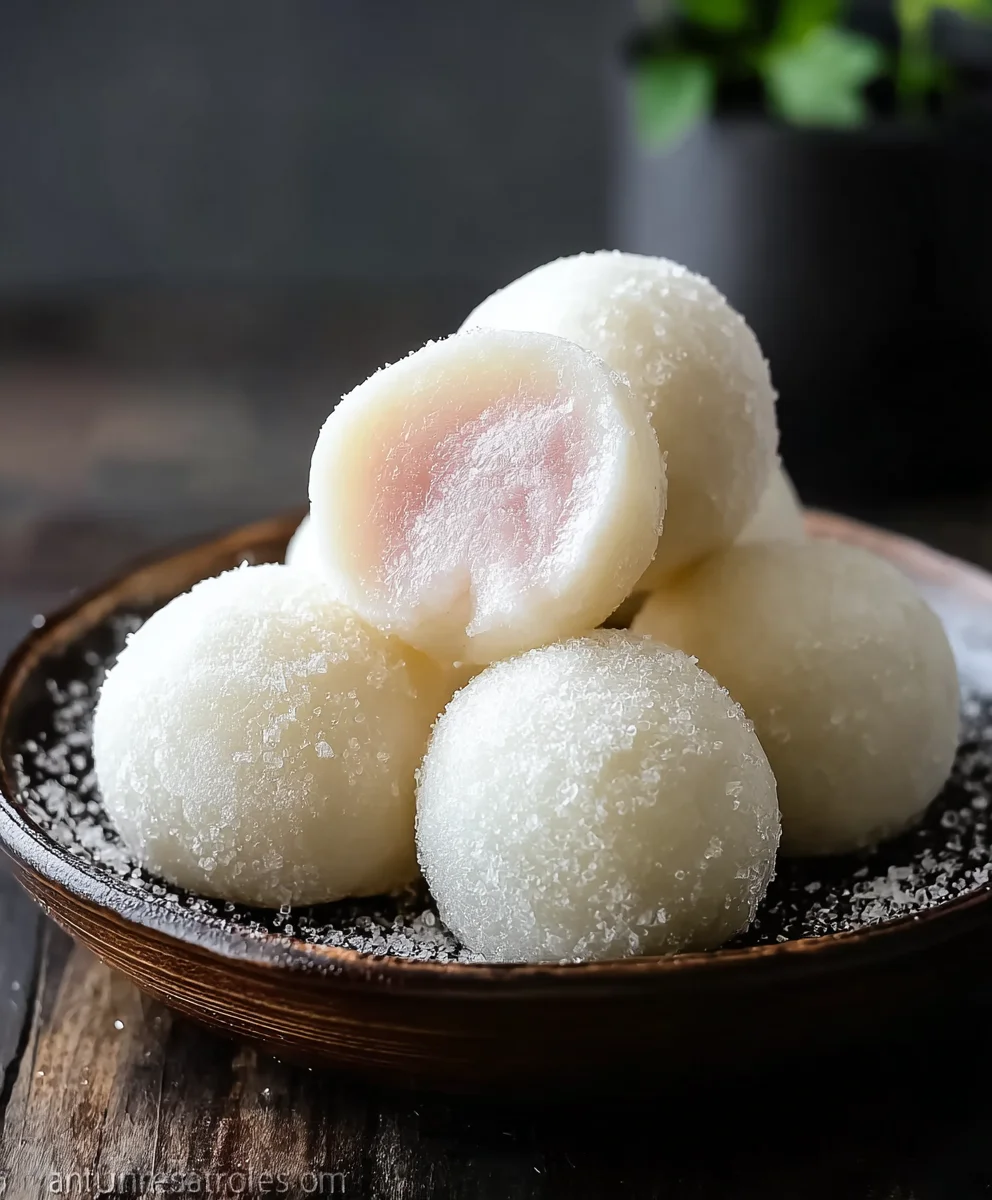
Mochi Ice Cream – Sweet Chewy Treat Recipe
Mochi Ice Cream is more than just a dessert; it’s an experience. Imagin extracte biting into a delicate, chewy mochi wrapper, its slightly sweet, yielding texture giving way to a burst of incredibly cold, creamy ice cream. That delightful contrast is precisely why this Japanese confection has captured hearts (and taste buds) worldwide. It’s the perfect antidote to a hot summer day or a sophisticated, yet playful, way to end any meal. What truly makes mochi ice cream so special is the ingenious combination of textures – the soft, almost pillowy mochi exterior encasing the smooth, intensely flavored ice cream. This isn’t just about satisfying a sweet craving; it’s abogin extractindulging in a miniature masterpiece that’s both fun to eat and utterly delicious. Prepare to fall in love with the unique charm of mochi ice cream all over again.
Ingredients:
- 1 cup glutinous rice flour (also known as sweet rice flour)
- 1/4 cup granulated sugar
- 2 tablespoons powdered sugar
- 1 cup water
- Cornstarch, for dusting
- Your favorite ice cream, pre-portioned into small scoops
Preparing the Mochi Dough
Step 1: Combine Dry Ingredients
In a medium-sized, microwave-safe bowl, whisk together the glutinous rice flour and the granulated sugar. It’s important to ensure these are thoroughly combined before adding any liquid. This helps to prevent lumps from forming later. You want an even distribution of sugar throughout the flour.
Step 2: Add Water and Mix
Gradually add the 1 cup of water to the dry ingredients, whisking continuously until you have a smooth, lump-free batter. The consistency should be similar to thin pancake batter or heavy cream. If you notice any small lumps, you can use a fine-mesh sieve to strain the batter before proceeding. This ensures a perfectly smooth mochi texture.
Step 3: Microwave the Dough
Cover the bowl with a microwave-safe lid or plastic wrap, leaving a small vent to allow steam to escape. Microwave the batter on high power for 1 minute. Carefully remove the bowl from the microwave (it will be hot!), and stir the mixture vigorously with a spatula or wooden spoon. You’ll notice it starting to thicken and become more translucent.
Step 4: Second Microwave and Final Stir
Cover the bowl again, ensuring the vent is still present, and microwave for another 1 minute. Remove, and stir vigorously again. The dough should now be quite thick and sticky, with a glossy, translucent appearance. If it still seems a bit too wet, you can microwave it in 30-second intervals, stirring between each, until it reaches the desired consistency. The goal is a pliable dough that can be stretched without breaking easily.
Assembling the Mochi Ice Cream
Step 5: Dust and Knead
Generously dust a clean work surface with cornstarch. This is crucial to prevent the incredibly sticky mochi dough from adhering to your hands and the surface. Scrape the hot mochi dough from the bowl onto the cornstarch-dusted surface. Let it cool for a minute or two until it’s cool enough to handle, but still warm. Lightly dust your hands with cornstarch, then gently knead the dough for about 30 seconds. This process helps to develop its elasticity and smooth out any remaining unevenness.
Step 6: Portioning and Flattening the Mochi
Divide the mochi dough into equal portions, roughly the size of a small golf ball. You can use a dough scraper or a knife to cut it, or simply pinch off pieces. Roll each piece into a small ball. Then, using your cornstarch-dusted hands or a small rolling pin, flatten each ball into a thin disc, about 3-4 inches in diameter. Aim for an even thickness, as this will help you wrap the ice cream cleanly.
Step 7: Wrapping the Ice Cream
Place a pre-portioned scoop of your chosen ice cream onto the center of a flattened mochi disc. Carefully gather the edges of the mochi dough up around the ice cream scoop, pinching and twisting the top to seal it completely. Work quickly, as the warmth of your hands will start to melt the ice cream. If the mochi becomes too sticky, don’t hesitate to re-dust your hands and the work surface with cornstarch. Ensure there are no gaps where the ice cream can escape.
Step 8: Chilling and Serving
Once each mochi ice cream ball is senon-alcoholic aled, place them seam-side down on a plate or parchment-lined baking sheet. You can dust the finished mochi balls lightly with a little more powdered sugar if you desire. Transfer the mochi ice cream to the freezer and let them chill for at least 30 minutes to an hour, or until the ice cream is firm. This allows the mochi to firm up slightly and the ice cream to set properly, ensuring a delightful bite. Serve immediately after chilling for the best texture.
Conclusion:
We’ve reached the end of our delightful journey into creating homemade Mochi Ice Cream! This recipe has shown you just how achievable it is to craft these delightful, chewy treats right in your own kitchen. The fusion of soft, sweet mochi dough embracing a cool, creamy ice cream center is truly a culinary marvel. Remember, the key to success lies in patience and a gentle touch when working with the mochi dough. Don’t be afraid to experiment with different ice cream flavors – the possibilities are truly endless!
For serving suggestions, Mochi Ice Cream is perfect as a light dessert after a rich meal, a sweet afternoon snack, or even as a show-stopping element at parties. They look beautiful arranged on a platter, perhaps with a sprinkle of toasted sesame seeds or a drizzle of chocolate sauce. For variations, consider infusing your mochi dough with matcha powder for a vibrant green hue and earthy flavor, or adding a drop of rosewater for a floral twist. You could also try a slightly savory mochi by incorporating a pinch of salt and pairing it with a less sweet ice cream. Embrace the fun and creativity this recipe offers, and enjoy every delicious bite of your homemade Mochi Ice Cream!
Frequently Asked Questions about Mochi Ice Cream:
Q1: My mochi dough is too sticky, what can I do?
If your mochi dough is overly sticky, the best solution is to dust your work surface and your hands liberally with potato starch or cornstarch. You can also lightly dust the dough itself. Work quickly and try not to overwork the dough, as this can also contribute to stickiness. Ensure you’re using the correct ratio of ingredients as per the recipe.
Q2: Can I make Mochi Ice Cream ahead of time?
Yes, you absolutely can! Mochi Ice Cream is an excellent make-ahead dessert. Once you’ve wrapped your ice cream balls in the mochi dough and senon-alcoholic aled them, place them back into the freezer. It’s best to store them in an airtight container or wrap them individually in plastic wrap to prevent freezer burn. They can be kept frozen for up to two weeks.
Mochi Ice Cream – Sweet Chewy Treat Recipe
A delightful recipe for making homemade mochi ice cream, a sweet and chewy treat that’s surprisingly easy to prepare.
Ingredients
-
1 cup glutinous rice flour
-
1/4 cup granulated sugar
-
2 tablespoons powdered sugar
-
1 cup water
-
Cornstarch, for dusting
-
Your favorite ice cream, pre-portioned into small scoops
Instructions
-
Step 1
In a medium-sized, microwave-safe bowl, whisk together the glutinous rice flour and the granulated sugar until thoroughly combined to prevent lumps. -
Step 2
Gradually add the water, whisking continuously until you have a smooth, lump-free batter similar to thin pancake batter. -
Step 3
Cover the bowl, leaving a small vent, and microwave on high for 1 minute. Stir vigorously until thickened and translucent. -
Step 4
Cover and microwave for another 1 minute. Stir vigorously again until the dough is thick, sticky, and glossy. Microwave in 30-second intervals if needed, stirring between each, until pliable. -
Step 5
Generously dust a clean work surface with cornstarch. Scrape the hot mochi dough onto the surface and let it cool slightly. Lightly dust your hands with cornstarch and knead the dough for about 30 seconds until elastic. -
Step 6
Divide the dough into equal portions (golf ball size). Roll each into a ball and flatten into a thin disc (3-4 inches in diameter) using cornstarch-dusted hands or a small rolling pin. -
Step 7
Place a pre-portioned scoop of ice cream in the center of a mochi disc. Gather the edges of the dough up around the ice cream, pinching and twisting the top to seal completely. Work quickly. -
Step 8
Place the sealed mochi ice cream seam-side down on a plate or parchment-lined baking sheet. Dust lightly with powdered sugar if desired. Freeze for at least 30 minutes to 1 hour until firm.
Important Information
Nutrition Facts (Per Serving)
It is important to consider this information as approximate and not to use it as definitive health advice.
Allergy Information
Please check ingredients for potential allergens and consult a health professional if in doubt.