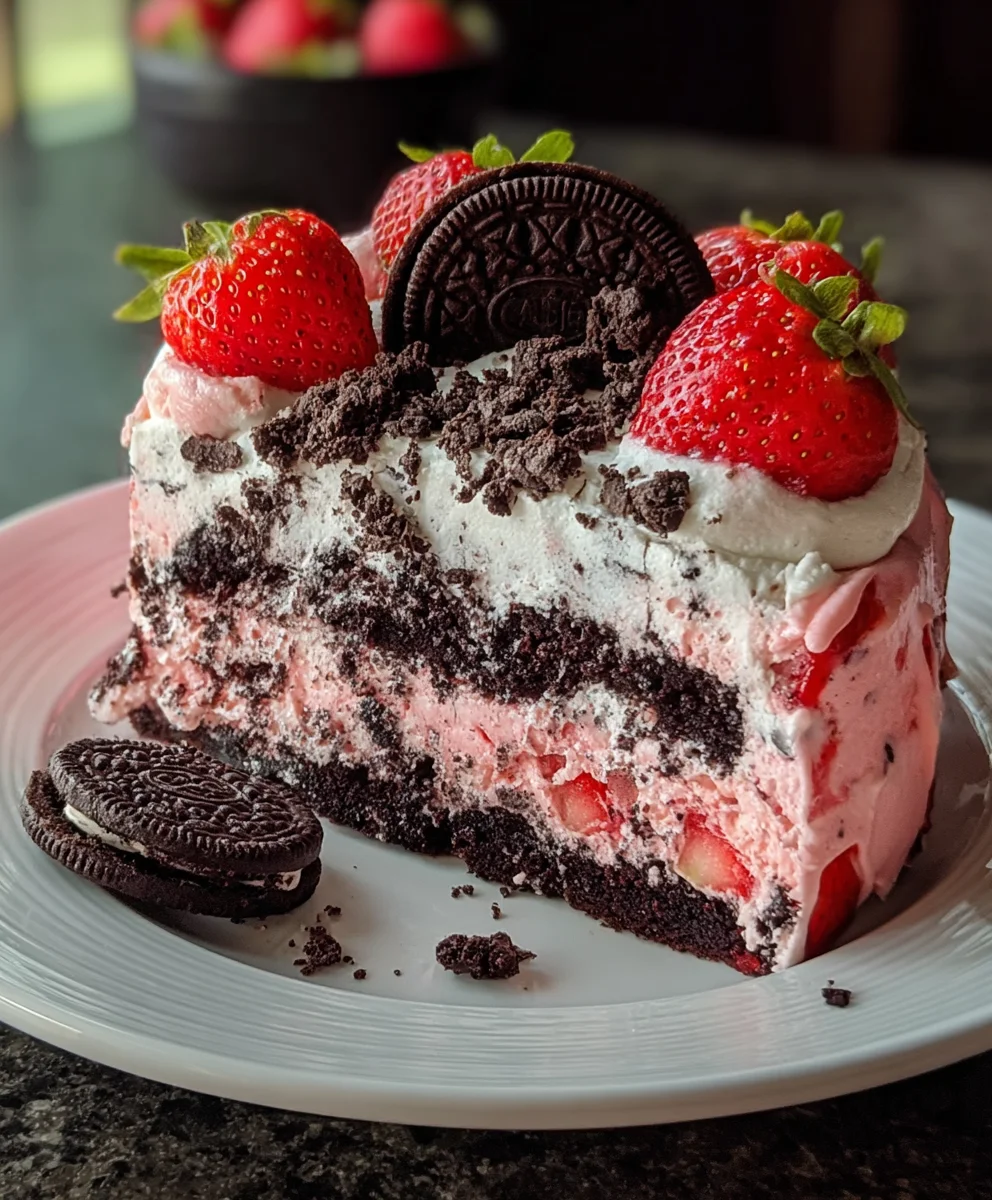
Strawberry Oreo Cake-Delicious Sweet Treat
Strawberry Oreo Cake is more than just a dessert; it’s a symphony of textures and flavors that dance on your palate. Have you ever craved a treat that’s both sophisticated and incredibly fun? This is it! The allure of this incredible cake lies in its masterful blend of two beloved classics: the bright, slightly tart sweetness of fresh strawberries and the rich, satisfying crunch of classic Oreo cookies. It’s a combination that evokes childhood joy while simultaneously feeling like a decadent indulgence. People absolutely adore the Strawberry Oreo Cake because it hits all the right notes – it’s visually stunning with its beautiful pink hue and dark cookie crum extractbles, incredibly moist and tender, and bursting with a delightful berry goodness that’s perfectly complemented by the familiar chocolatey bite of Oreos. What truly makes this Strawberry Oreo Cake special is the way these distinct elements harmonize, creating a dessert experience that is both comforting and excitingly new, making every slice an occasion to celebrate.
Ingredients:
- 2½ cups all-purpose flour
- 1 tablespoon baking powder
- ½ teaspoon salt
- 1 cup unsalted butter, softened
- 2 cups granulated sugar
- 4 large eggs
- ½ cup buttermilk
- ½ cup strawberry puree (from fresh strawberries, mashed until smooth)
- 1 tablespoon vanilla extract
- ½ teaspoon strawberry extract
- Few drops of red food coloring (optional, for enhanced color)
- 8-10 Oreo cookies, crushed into coarse crum extractbs
- 2 cups powdered sugar (also known as confectioners’ sugar or icing sugar)
- ½ cup heavy cream
- 1 teaspoon vanilla extract (for the frosting)
Preparing the Strawberry Oreo Cake Batter
Dry Ingredients Combination
First, let’s get our dry ingredients ready. In a medium-sized bowl, whisk together the 2½ cups of all-purpose flour, 1 tablespoon of baking powder, and ½ teaspoon of salt. Whisking ensures that the leavening agent (baking powder) and salt are evenly distributed throughout the flour, which is crucial for a consistent rise and flavor in your cake. Set this bowl aside for now.
Creaming Butter and Sugar
Now, in a large mixing bowl, cream together the 1 cup of softened unsalted butter and 2 cups of granulated sugar. It’s important that your butter is truly softened – not melted, but yielding easily to the touch. This allows it to incorporate air more effectively. Beat them together with an electric mixer (or by hand if you’re feeling ambitious!) on medium-high speed until the mixture is light, fluffy, and pnon-alcoholic ale yellow in color. This creaming process is vital for creating a rum extractder crumb in your cake. This usually takes about 3-5 minutes with an electric mixer.
Incorporating Eggs and Wet Ingredients
Next, add the 4 large eggs, one at a time, beating well after each addition. Make sure each egg is fully incorporated before adding the next to prevent the batter from separating. After the eggs are mixed in, gradually beat in the ½ cup of buttermilk, ½ cup of strawberry puree, and 1 tablespoon of vanilla extract. The strawberry puree, made from mashed fresh strawberries, will lend a lovely subtle fruit flavor and a hint of pink hue. If you want a more vibrant pink color, now is the time to add a few drops of red food coloring. Be conservative with the food coloring; you can always add more if needed. Also, add the ½ teaspoon of strawberry extract to enhance that delicious berry flavor.
Combining Wet and Dry Ingredients
With the mixer on low speed, gradually add the dry ingredients (the flour mixture) to the wet ingredients in three additions, alternating with the wet ingredients mixture. So, add about a third of the dry ingredients, mix until just combined, then add half of the remaining wet ingredients, mix, then another third of the dry, mix, the rest of the wet, mix, and finally the last of the dry ingredients. Mix on low speed until just combined. Be careful not to overmix at this stage; overmixing can develop the gluten in the flour too much, resulting in a tough cake. You want to see no streaks of flour remaining. Gently fold in the crushed 8-10 Oreo cookies with a spatula, distributing them evenly throughout the batter. These will create delightful pockets of chocolatey crunch within your Strawberry Oreo Cake.
Baking the Strawberry Oreo Cake
Preheat your oven to 350°F (175°C). Grease and flour two 9-inch round cake pans. You can also line the bottoms with parchment paper for extra insurance against sticking. Pour the prepared batter evenly into the two prepared cake pans. Use a spatula to spread the batter so it’s level in each pan.
Bake for 30-35 minutes, or until a wooden skewer or toothpick inserted into the center of the cakes comes out clean. The aroma of baking cake should be heavenly! Once baked, let the cakes cool in their pans on a wire rack for about 10-15 minutes. This initial cooling period in the pan helps the cakes firm up before you attempt to remove them.
After the initial cooling, carefully invert the cakes onto the wire rack and remove the pans. Allow the cakes to cool completely on the wire rack before frosting. Trying to frost a warm cake is a recipe for disaster – the frosting will melt and slide right off! Patience is key here.
Crafting the Creamy Strawberry Frosting
While your cakes are cooling, let’s make the frosting. In a medium bowl, beat ½ cup of heavy cream with an electric mixer until soft peaks form. Gradually add 2 cups of powdered sugar, mixing on low speed until incorporated. Then, add 1 teaspoon of vanilla extract. Continue to beat on medium-high speed until the frosting is light and fluffy. If the frosting is too thick, you can add a teaspoon of milk or cream at a time until it reaches your desired consistency. If it’s too thin, add a little more powdered sugar, a tablespoon at a time. You want a spreadable, yet stable frosting that will hold its shape.
Assembling and Decorating Your Strawberry Oreo Cake
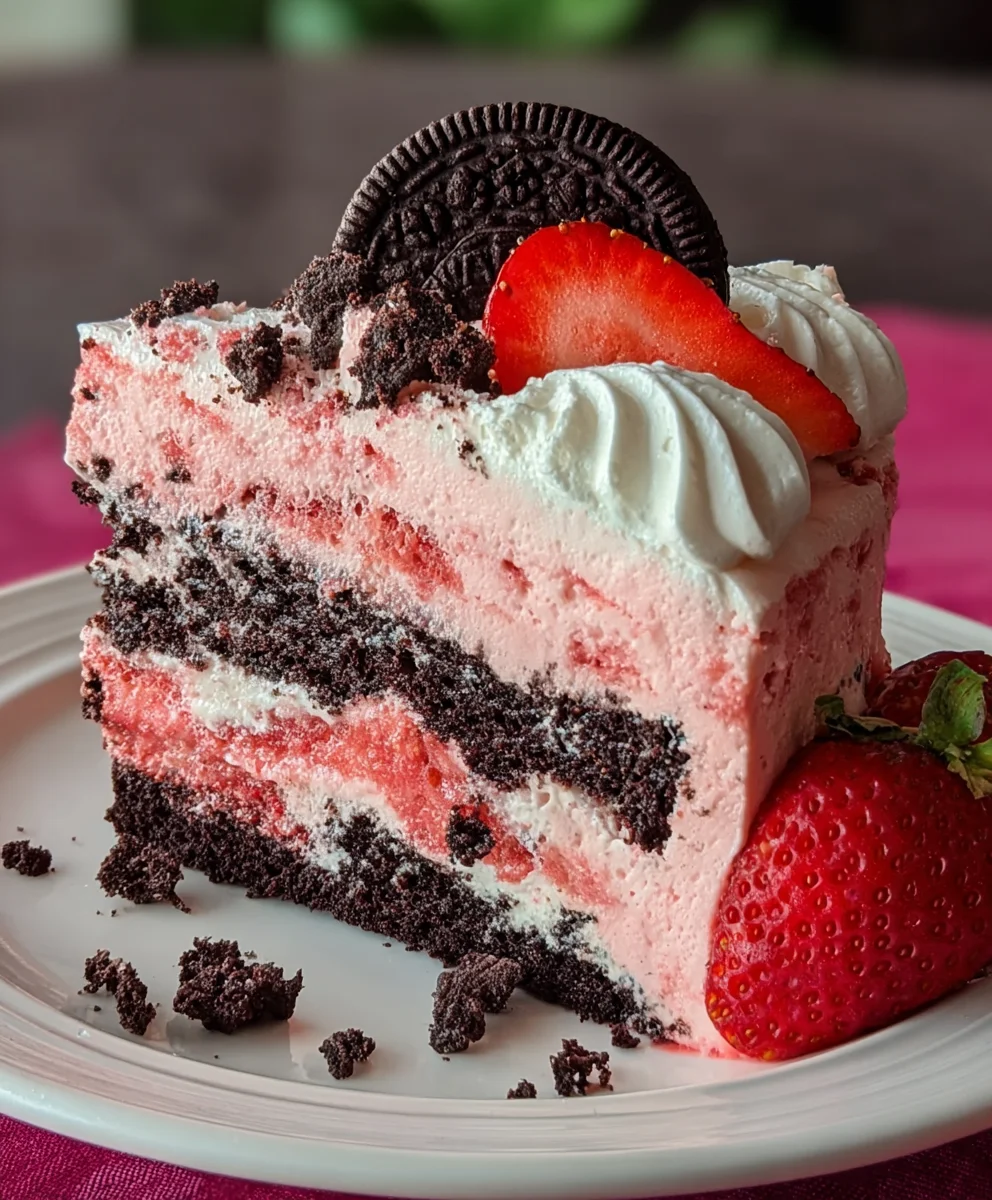
Once the cake layers are completely cool, place one cake layer on your serving plate or cake stand. Spread a generous amount of frosting evenly over the top of this first layer. This will act as the “glue” for your second cake layer. Carefully place the second cake layer on top of the frosting. Now, frost the entire cake – the top and sides – with the remaining frosting. You can create swirls and peaks for a beautiful rustic look, or smooth it out for a more polished finish. For an extra touch, you can sprinkle some additional crushed Oreo cookies around the base of the cake or on top. Enjoy your delicious homemade Strawberry Oreo Cake!
Conclusion:
We’ve reached the sweet conclusion of our delightful journey into creating the ultimate Strawberry Oreo Cake! This recipe has proven to be a showstopper, offering a perfect balance of tart strawberries and rich, chocolatey Oreos, all enveloped in a moist and tender cake. Whether you’re a seasoned baker or just starting out, this Strawberry Oreo Cake is surprisingly approachable and incredibly rewarding. Don’t be afraid to get creative with the decorations – think swirls of frosting, fresh strawberry slices, or even a sprinkle of crushed Oreos for that extra crunch!
When it comes to serving, this Strawberry Oreo Cake is wonderful on its own. However, for an even more decadent experience, consider pairing it with a dollop of freshly whipped cream or a scoop of vanilla bean ice cream. It also makes a fantastic centerpiece for any celebration, from birthdays to casual get-togethers.
Remember, the beauty of baking is in its adaptability. Feel free to experiment with different types of cream cheese for the frosting or even add a touch of strawberry extract to the cake batter for a more intense flavor. The possibilities are endless!
Frequently Asked Questions:
Can I use fresh strawberries instead of frozen?
Absolutely! If using fresh strawberries, ensure they are ripe and sweet. You’ll want to chop them finely and consider gently tossing them with a tablespoon of flour before folding them into the batter to prevent them from sinking to the bottom.
How should I store leftover Strawberry Oreo Cake?
Store your Strawberry Oreo Cake in an airtight container at room temperature for up to 2 days, or refrigerate it for up to 4-5 days. It’s best to let it come to room temperature before serving for optimal flavor and texture.
Can I make this Strawberry Oreo Cake gluten-free?
Yes, you can! Simply substitute a good quality gluten-free all-purpose flour blend for the all-purpose flour. You may need to adjust the liquid slightly depending on the blend you use, and it’s a good idea to add a pinch of xanthan gum if your blend doesn’t already contain it.
Strawberry Oreo Cake
A delicious and sweet treat combining the flavors of strawberries and Oreos in a moist cake with creamy frosting.
Ingredients
-
2½ cups all-purpose flour
-
1 tablespoon baking powder
-
½ teaspoon salt
-
1 cup unsalted butter, softened
-
2 cups granulated sugar
-
4 large eggs
-
½ cup buttermilk
-
½ cup strawberry puree
-
1 tablespoon vanilla extract
-
½ teaspoon strawberry extract
-
Few drops of red food coloring (optional)
-
8-10 Oreo cookies, crushed
-
2 cups powdered sugar
-
½ cup heavy cream
-
1 teaspoon vanilla extract
Instructions
-
Step 1
In a medium bowl, whisk together flour, baking powder, and salt. In a large bowl, cream softened butter and granulated sugar until light and fluffy. Gradually beat in eggs one at a time, then buttermilk, strawberry puree, vanilla extract, strawberry extract, and optional red food coloring. Mix on low speed, gradually adding dry ingredients in three additions, alternating with wet ingredients. Do not overmix. Gently fold in crushed Oreo cookies. -
Step 2
Preheat oven to 350°F (175°C). Grease and flour two 9-inch round cake pans. Pour batter evenly into prepared pans and spread level. -
Step 3
Bake for 30-35 minutes, or until a wooden skewer inserted into the center comes out clean. Let cakes cool in pans for 10-15 minutes, then invert onto a wire rack to cool completely. -
Step 4
While cakes cool, prepare frosting: Beat heavy cream until soft peaks form. Gradually add powdered sugar and vanilla extract, beating until light and fluffy. Adjust consistency with milk/cream or more powdered sugar as needed. -
Step 5
Once cake layers are completely cool, place one layer on a serving plate. Spread a generous amount of frosting over the top. Carefully place the second cake layer on top. Frost the entire cake, top and sides, with remaining frosting. Garnish with extra crushed Oreos if desired.
Important Information
Nutrition Facts (Per Serving)
It is important to consider this information as approximate and not to use it as definitive health advice.
Allergy Information
Please check ingredients for potential allergens and consult a health professional if in doubt.