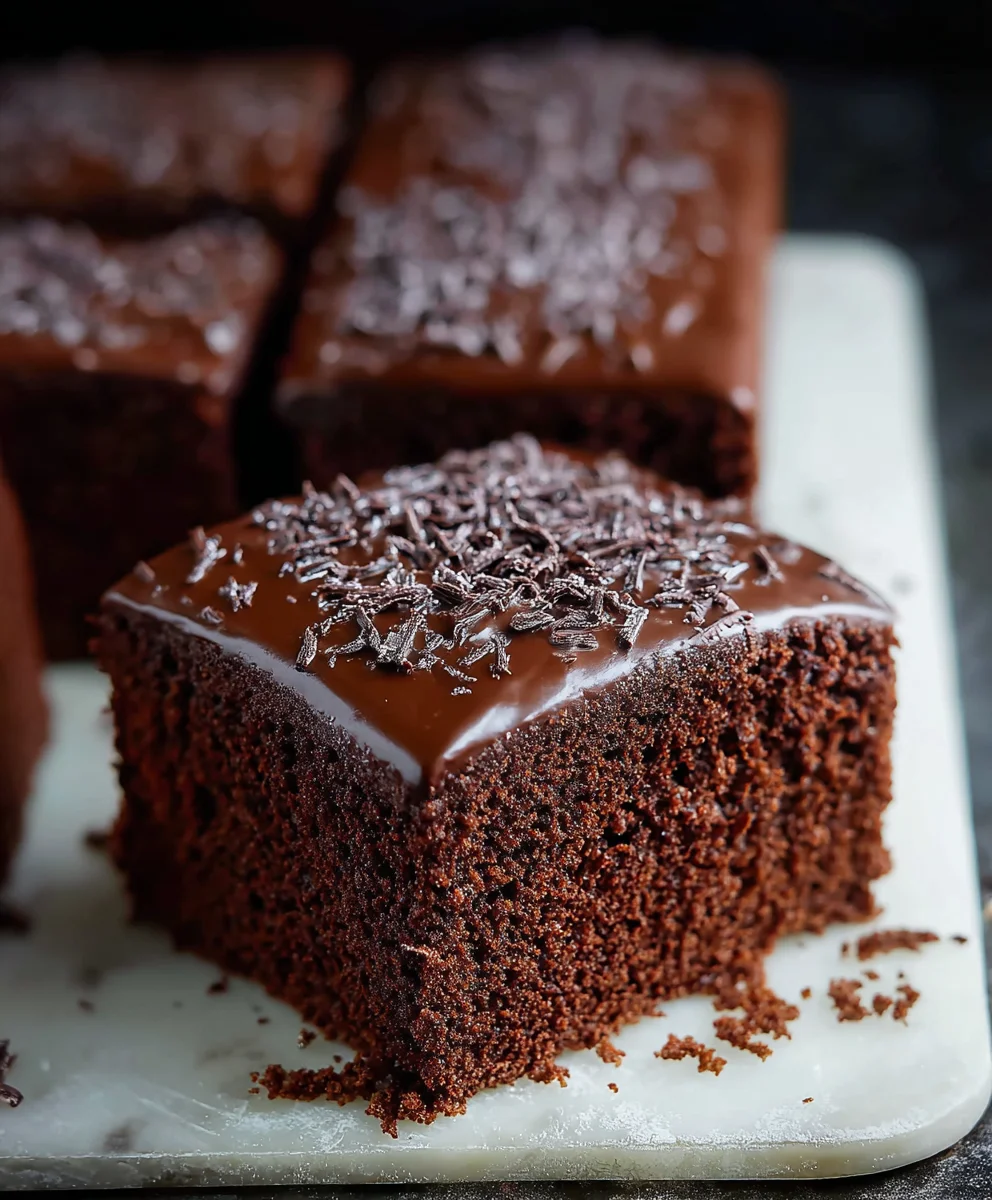
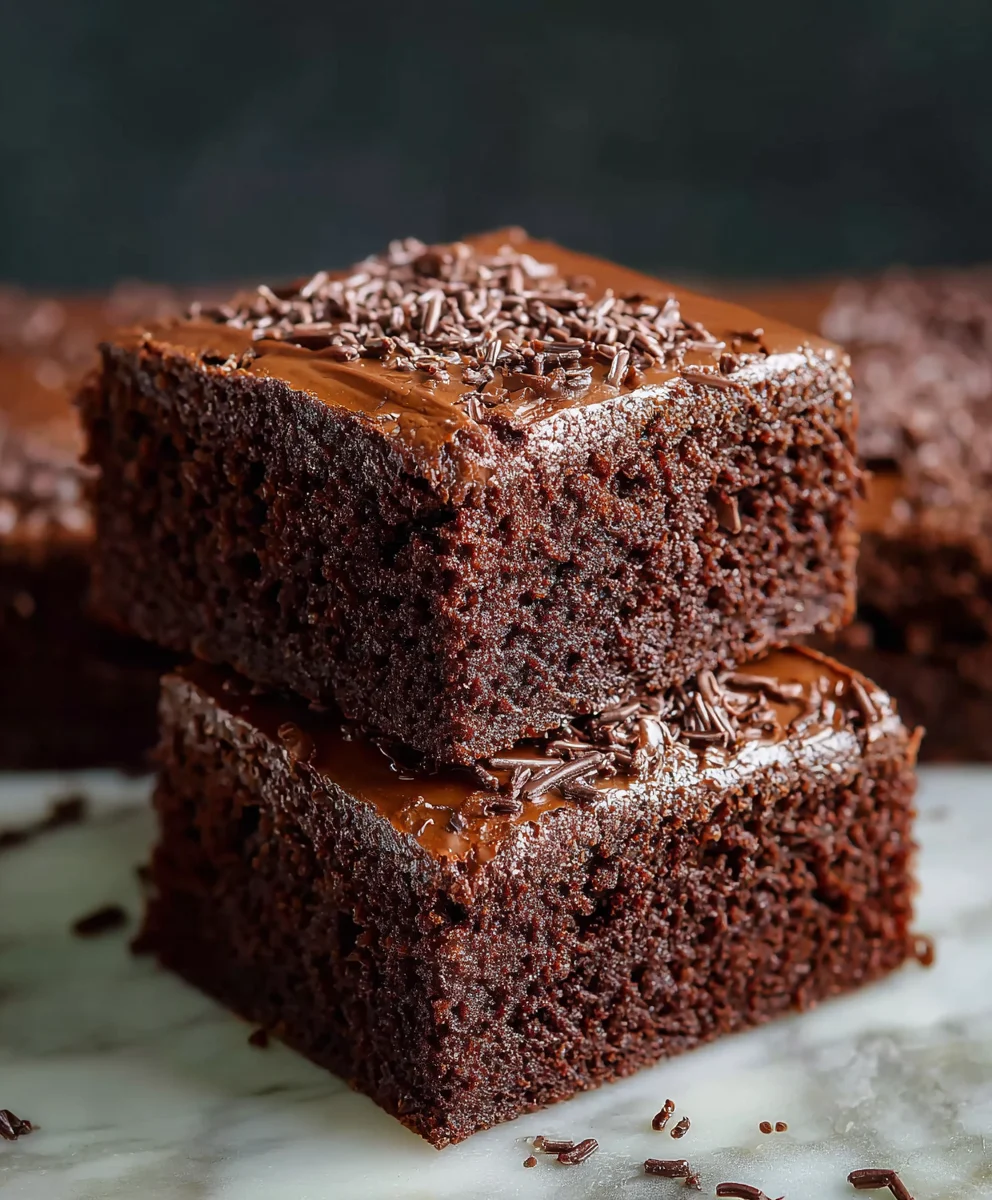
Old School Chocolate Traybake Cake-Classic Comfort Dessert
Old School Chocolate Traybake Cake is more than just a dessert; it’s a warm hug from childhood, a nostalgic journey back to simpler times. There’s a reason this classic endures: its unpretentious charm and utterly delicious simplicity. We all have those memories tied to a moist, chocolatey cake baked in a tray, often shared at birthday parties, school fetes, or simply enjoyed with a cup of tea after a long day. What makes this Old School Chocolate Traybake Cake so special is its perfect balance of rich chocolate flavor without being overly decadent, and a texture that is delightfully tender and moist. It’s the kind of cake that appeals to everyone, from seasoned bakers to absolute begin extractners, proving that sometimes, the most comforting treats are the ones made with love and straightforward ingredients. Get ready to recreate that magic.
Ingredients:
- 1 cup (2 sticks) unsalted butter, softened to room temperature
- 1¼ cups granulated sugar
- 1 teaspoon pure vanilla extract
- 4 medium eggs, at room temperature
- 1¾ cups self-raising flour
- ¼ cup unsweetened cocoa powder
- 3 tablespoons whole milk
- 1½ cups powdered sugar, sifted
- 1 tablespoon unsweetened cocoa powder
- 2 tablespoons milk
- Chocolate sprinkles for decorating
Making the Old School Chocolate Traybake Cake
Baking the Cake Base
- Preheat your oven to 350°F (175°C). Grease and line a 9×13 inch baking tray with parchment paper, leaving an overhang on the sides to help lift the cake out later. This step is crucial for preventing sticking and ensuring easy removal of your delicious traybake.
- In a large mixing bowl, cream together the softened unsalted butter and granulated sugar until the mixture is light, pnon-alcoholic ale, and fluffy. This process incorporates air into the butter and sugar, which contributes to a lighter and more tender cake texture. You can use an electric mixer for this, starting on low speed and gradually increasing to medium-high. Scrape down the sides of the bowl periodically to ensure everything is evenly combined. Add the pure vanilla extract and beat it in until well incorporated. The aroma at this stage is already wonderfully inviting!
- Add the room temperature eggs one at a time, beating well after each addition. It’s important that the eggs are at room temperature as they emulsify better with the butter and sugar mixture, preventing a split batter. If your eggs are cold, you can place them in a bowl of warm (not hot) water for about 5-10 minutes before using them. Mix until each egg is fully combined before adding the next. This gradual addition helps create a stable emulsion for your cake batter.
- In a separate medium bowl, whisk together the self-raising flour and ¼ cup of unsweetened cocoa powder until thoroughly combined. Sifting the flour and cocoa powder together before adding them to the wet ingredients helps to prevent lumps and ensures an even distribution of the dry ingredients throughout the batter. This is where the deep chocolate flavor of your traybake truly begin extracts to develop.
- Gradually add the dry ingredients to the wet ingredients in three additions, alternating with the 3 tablespoons of whole gin extractk. Begin and end with the dry ingredients. Mix on low speed until just combined after each addition. Be careful not to overmix at this stage; overmixing can develop the gluten in the flour too much, resulting in a tough cake. A few small streaks of flour are acceptable as they will disappear during the final mixing. Stir in the milk just until the batter is smooth and uniform.
- Pour the batter evenly into the prepared baking tray and spread it out with a spatula to create a smooth surface. Tap the tray gently on the counter a couple of times to release any large air bubbles.
- Bake for 25-30 minutes, or until a wooden skewer inserted into the center of the cake comes out clean. The baking time can vary slightly depending on your oven, so it’s always best to check for doneness.
- Once baked, remove the tray from the oven and let the cake cool in the tray for about 10-15 minutes. This allows the cake to firm up slightly before you attempt to remove it. Then, carefully use the parchment paper overhangs to lift the cake out of the tray and place it on a wire rack to cool completely. It’s vital that the cake is entirely cool before you move on to the frosting, otherwise, the frosting will melt and slide off.
Preparing the Chocolate Glaze
- While the cake is cooling, prepare the rich chocolate glaze. In a medium bowl, combine the 1½ cups of sifted powdered sugar and 1 tablespoon of unsweetened cocoa powder. Sifting is key here to ensure a smooth, lump-free glaze. Whisk them together to distribute the cocoa evenly.
- Add the 2 tablespoons of milk and stir vigorously until you have a smooth, thick, and pourable glaze. If the glaze seems too thick, add a tiny bit more milk, a teaspoon at a time, until you reach your desired consistency. If it’s too thin, add a little more sifted powdered sugar. The goal is a glaze that will coat the back of a spoon and spread easily without being runny.
Decorating Your Traybake
- Once the cake has cooled completely on the wire rack, place it on a serving plate or keep it on the rack if you plan to decorate it directly over a tray to catch any drips. Pour the prepared chocolate glaze over the top of the cooled cake.
- Using an offset spatula or the back of a spoon, gently spread the glaze evenly over the entire surface of the cake, allowing it to drip down the sides slightly if you like that rustic look. Work quickly but carefully to achieve a smooth finish.
- Immediately after spreading the glaze, generously sprinkle the chocolate sprinkles over the top of the wet glaze. The sprinkles will adhere to the glaze, creating a festive and classic finish. You can be as generous as you like here!
- Allow the glaze to set for at least 30 minutes at room temperature before slicing and serving. This allows the glaze to harden slightly, making it easier to cut clean slices and preventing the sprgin extractles from smudging.
Conclusion:
And there you have it – a truly delightful Old School Chocolate Traybake Cake! This recipe is a testament to the simple joys of baking, delivering a moist, rich, and utterly satisfying chocolate cake that’s perfect for any occasion. Whether you’re a seasoned baker or just starting out, this is a recipe you’ll want to keep coming back to. Its straightforward approach makes it wonderfully accessible, and the results are always impressive. Don’t be afraid to get a little messy with the frosting; that’s part of the charm!
Serve this glorious cake warm or at room temperature. It’s fantastic on its own, but a dollop of whipped cream, a scoop of vanilla ice cream, or even some fresh berries make for exceptional accompaniments. For variations, consider adding a handful of chocolate chips to the batter for extra gooeyness, or a teaspoon of instant coffee to deepen the chocolate flavour. You could also swirl in some caramel sauce before baking for a decadent twist.
We encourage you to give the Old School Chocolate Traybake Cake a try. It’s a recipe that’s sure to bring smiles and satisfy even the most serious chocolate cravings. Happy baking!
FAQs:
Can I make this cake ahead of time?
Absolutely! The Old School Chocolate Traybake Cake stores beautifully and often tastes even better the next day as the flavours meld. Store it in an airtight container at room temperature for up to 3 days. If you’ve frosted it with a cream cheese frosting, it’s best to refrigerate it.
What kind of chocolate should I use?
For the best flavour, we recommend using good quality cocoa powder. The type of chocolate you use for the frosting can be milk, dark, or semi-sweet chips, depending on your preference. Using a combination can also add complexity!
How do I know when the cake is baked through?
Insert a toothpick or a thin knife into the center of the cake. If it comes out clean, or with a few moist crum extractbs attached, the cake is ready. Avoid overbaking, as this can lead to a dry cake.
Old School Chocolate Traybake Cake-Classic Comfort Dessert
A classic comfort dessert, this old school chocolate traybake cake is moist, rich, and topped with a simple chocolate glaze and sprinkles. Perfect for any occasion.
Ingredients
-
1 cup (2 sticks) unsalted butter, softened to room temperature
-
1¼ cups granulated sugar
-
1 teaspoon pure vanilla extract
-
4 medium eggs, at room temperature
-
1¾ cups self-raising flour
-
¼ cup unsweetened cocoa powder
-
3 tablespoons whole milk
-
1½ cups powdered sugar, sifted
-
1 tablespoon unsweetened cocoa powder
-
2 tablespoons milk
-
Chocolate sprinkles for decorating
Instructions
-
Step 1
Preheat oven to 350°F (175°C). Grease and line a 9×13 inch baking tray with parchment paper. Cream together softened butter and granulated sugar until light and fluffy. Beat in vanilla extract. -
Step 2
Add room temperature eggs one at a time, beating well after each addition. In a separate bowl, whisk together self-raising flour and ¼ cup cocoa powder. -
Step 3
Gradually add dry ingredients to wet ingredients in three additions, alternating with 3 tablespoons of whole milk. Mix on low speed until just combined. Pour batter into prepared tray and spread evenly. -
Step 4
Bake for 25-30 minutes, or until a skewer inserted into the center comes out clean. Cool in tray for 10-15 minutes, then lift onto a wire rack to cool completely. -
Step 5
Prepare glaze: combine sifted powdered sugar and 1 tablespoon cocoa powder. Add 2 tablespoons milk and stir vigorously until smooth and pourable. Adjust consistency with tiny amounts of milk or powdered sugar as needed. -
Step 6
Once cake is completely cool, pour glaze over the top. Spread evenly with a spatula. Immediately sprinkle with chocolate sprinkles. -
Step 7
Allow glaze to set for at least 30 minutes at room temperature before slicing and serving.
Important Information
Nutrition Facts (Per Serving)
It is important to consider this information as approximate and not to use it as definitive health advice.
Allergy Information
Please check ingredients for potential allergens and consult a health professional if in doubt.