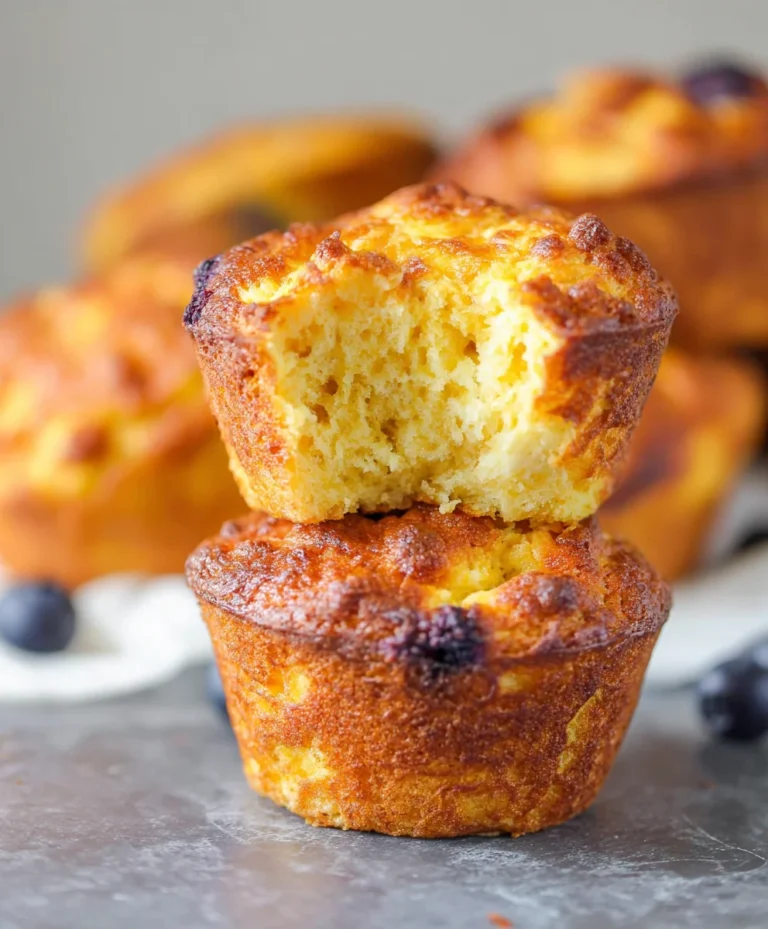
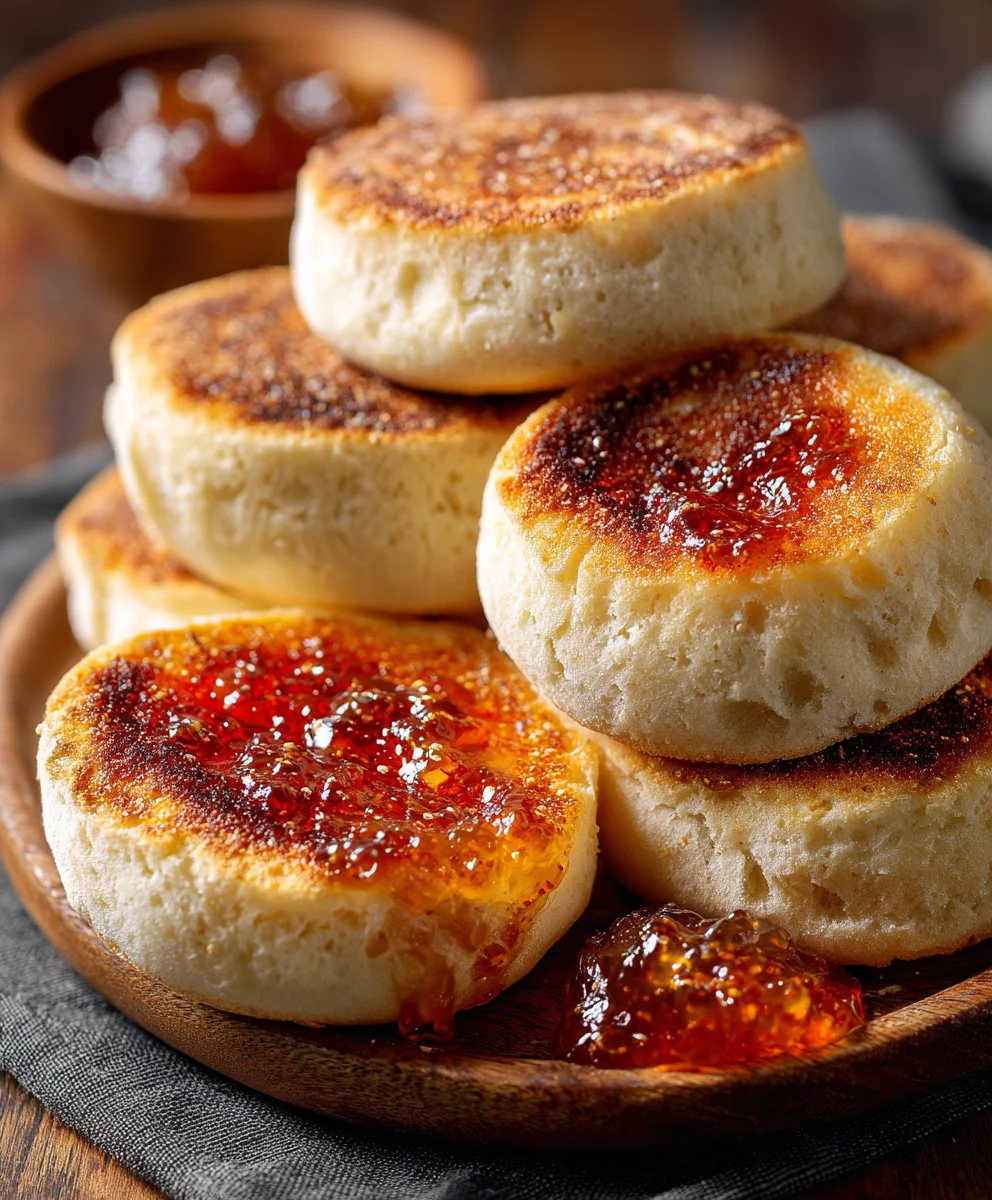
Easy Homemade English Muffins – Fluffy & Delicious
Homemade English Muffins Easy Step By Step can unlock a world of breakfast bliss right in your own kitchen. There’s something incredibly satisfying about pulling warm, golden-brown English muffins straight from the oven, their nooks and crannies ready to cradle butter, jam, or your favorite savory toppings. People adore these because they offer a delightful chegrape juicess and a slightly rustic texture that store-bought versions often lack. What truly makes this Homemade English Muffins Easy Step By Step recipe special is its approachable nature. We’re breaking down the process into simple, manageable steps, proving that achieving that perfect homemade quality is far more achievable than you might imagin extracte. Forget the mystery of yeasted dough; this guide is designed to make you a confident English muffin maker, ready to impress yourself and anyone lucky enough to share your breakfast table. Get ready for a truly rewarding baking experience!
Ingredients:
- 2 cups all-purpose flour, plus more for dusting
- 1/4 cup granulated sugar
- 2 1/4 teaspoons active dry yeast (one standard packet)
- 1 teaspoon salt
- 1 cup warm milk (about 105-115°F or 40-46°C)
- 2 tablespoons unsalted butter, melted, plus more for greasing
- 1 large egg
- Cornmeal or semolina flour, for dusting
Making Your Dough
Step 1: Activate the Yeast
The first crucial step to achieving perfectly fluffy homemade English muffins is to properly activate your yeast. In a large mixing bowl, combine the warm milk and granulated sugar. The milk should be warm to the touch, similar to a baby’s bottle, but not hot, as excessive heat can kill the yeast. Stir gently until the sugar dissolves. Sprinkle the active dry yeast over the surface of the milk mixture. Let this sit undisturbed for about 5 to 10 minutes. You’ll know the yeast is alive and ready to work when it becomes foamy and bubbly, creating a creamy head on top of the liquid. This “proofing” step is essential for ensuring your muffins will rise beautifully. If you don’t see any activity after 10 minutes, your yeast may be old or the liquid was too hot or too cold, and you should start over with fresh yeast.
Step 2: Combine Wet and Dry Ingredients
Once your yeast is active and frothy, it’s time to bring everything together. To the yeast mixture, add the melted unsalted butter and the large egg. Whisk these ingredients together until they are well combined. In a separate bowl, whisk together the all-purpose flour and salt. Gradually add the dry ingredients to the wet ingredients, mixing with a wooden spoon or a spatula until a shaggy dough begin extracts to form. Don’t worry if it looks a bit sticky at this stage; that’s perfectly normal.
Step 3: Knead the Dough
Now comes the part where we develop the gluten, which will give our English muffins their signature chewy texture. Turn the shaggy dough out onto a lightly floured surgin extracte. Begin kneading by pushing the dough away from you with the heel of your hand, then folding it back towards you. Rotate the dough and repeat the process. Continue kneading for about 8 to 10 minutes. The dough will gradually become smoother, more elastic, and less sticky. You’ll know it’s ready when it springs back slowly after you gently poke it with your finger. If the dough is too sticky to handle, you can add a tiny bit more flour, but be careful not to add too much, as this can result in dry muffins. Alternatively, if you have a stand mixer, you can use the dough hook attachment and knead on medium-low speed for about 6-8 minutes.
Step 4: First Rise
Once your dough is smooth and elastic, it’s time to let it rise. Lightly grease a clean large bowl with a little of the melted butter or a neutral oil. Place the kneaded dough into the greased bowl, turning it to coat all sides. Cover the bowl tightly with plastic wrap or a clean kitchen towel. Find a warm, draft-free spot in your kitchen for the dough to rise. An oven that has been briefly warmed and then turned off is an excellent spot. Let the dough rise for about 1 to 1.5 hours, or until it has doubled in size. The exact time will depend on the warmth of your kitchen. This first rise allows the yeast to work its magic, creating air pockets that contribute to the muffin’s texture.
Shaping and Second Rise
Step 5: Shape the Muffins and Second Rise
After the dough has doubled in size, gently punch it down to release the air. Turn the dough out onto a lightly floured surface again. Pat or gently roll the dough to about 1/2-inch thickness. Using a 3-inch round cookie cutter or the rim of a glass, cut out as many circles as possible. You can also gently form them into rough circles with your hands. Place the cut-out rounds onto baking sheets that have been generously dusted with cornmeal or semolina flour. This dusting is essential for giving the English muffins their characteristic craggy texture and preventing them from sticking. Arrange them about 2 inches apart. Cover the rounds loosely with plastic wrap or a kitchen towel and let them rest for another 20 to 30 minutes. This second, shorter rise will allow them to puff up slightly before cooking.
Cooking the Muffins
Step 6: Griddle Cooking for Authentic Texture
This is where the magic happens and your English muffins get their signature nooks and crannies. Heat a heavy-bottomed skillet, cast-iron griddle, or even a non-stick pan over medium-low heat. You want a gentle, consistent heat to cook them through without burning the outside. Once the pan is warm, carefully place a few of the proofed muffin rounds onto the dry griddle, making sure not to overcrowd the pan. Cook for 5 to 7 minutes per side, or until they are golden brown and have puffed up significantly. The low and slow cooking is key to ensuring the inside cooks thoroughly while the outside develops a lovely crust. You may need to adjust the heat slightly during cooking to maintain an even temperature. Don’t be tempted to rush this process by turning up the heat, as this will lead to a raw interior and a burnt exterior.
Step 7: Finishing in the Oven (Optional but Recommended)
While griddle cooking is crucial for the initial browning and texture, some prefer to finish their English muffins in the oven for ultimate tenderness and to ensure they are fully cooked through. Once both sides of your muffins have been griddled to a nice golden brown, carefully transfer them to a baking sheet. If you didn’t griddle them first, you can simply place them on a baking sheet dusted with cornmeal. Bake in a preheated oven at 375°F (190°C) for about 5 to 8 minutes, or until they sound hollow when tapped on the bottom. This oven step is particularly helpful if you made your muffins slightly thicker.
Step 8: Cooling and Serving
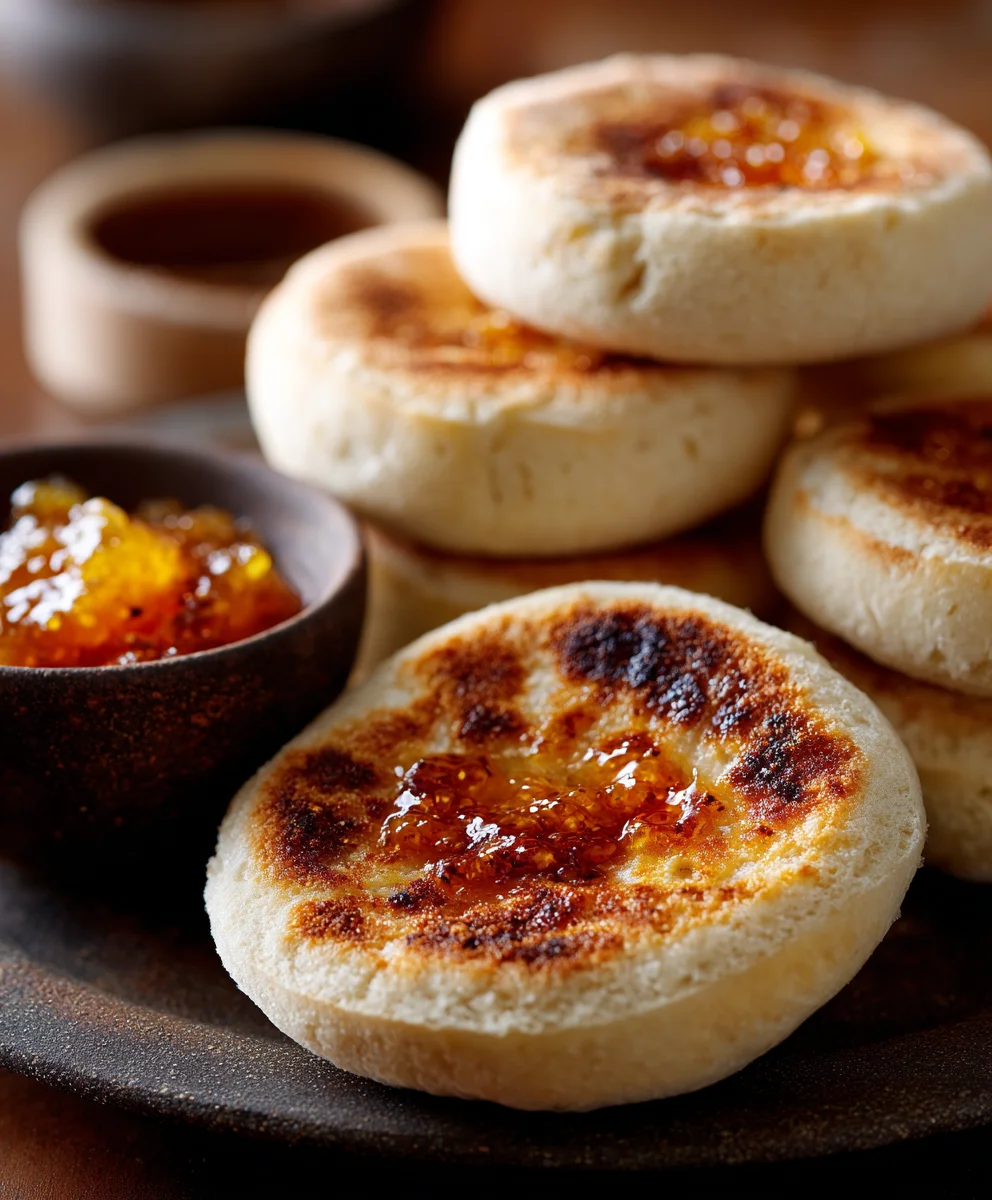
Once cooked, remove the English muffins from the oven or griddle and place them on a wire rack to cool slightly. It’s important to let them cool before slicing, as they will be very delicate when hot and can easily tear. For the best experience, slice your homemade English muffins horizontally using a fork. This method helps to preserve those wonderful nooks and crannies where butter and jam can nestle perfectly. Serve them warm with your favorite toppings, whether it’s butter, jam, honey, or as the base for a delicious breakfast sandwich. They are best enjoyed fresh, but can be stored in an airtight container at room temperature for a couple of days, or frozen for longer storage. Reheat gently in a toaster or oven to enjoy their texture again.
Conclusion:
And there you have it! Your journey to perfectly golden, delightfully nooks-and-cranny-filled Homemade English Muffins Easy Step By Step is complete. We’ve walked through each stage, from the initial dough preparation to the satisfying sizzle on the griddle, proving that creating these breakfast staples from scratch is not only achievable but incredibly rewarding. The aroma alone is worth the effort, promising a delicious start to any day.
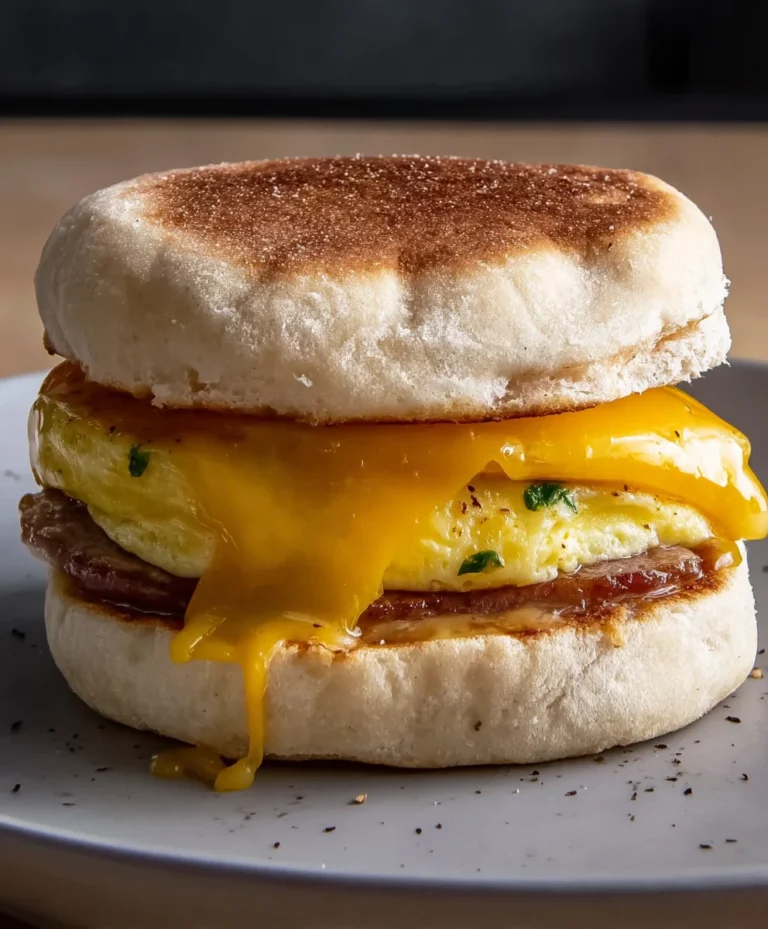
These versatile beauties are fantastic served warm, split and toasted to your liking, and generously buttered. They also make a superb base for classic breakfast sandwiches, eggs Benedict, or even a sweet treat with jam or honey. Don’t be afraid to experiment! Consider adding a pinch of dried herbs or a sprinkle of cheese to the dough for a savory twist, or even a touch of cinnamon for a sweeter profile. The possibilities are as endless as your appetite. So go forth and bake with confidence, knowing you can now enjoy authentic, homemade English muffins anytime.
Frequently Asked Questions:
Q1: My English muffins didn’t get a good rise. What did I do wrong?
A common reason for a lack of rise is the yeast. Ensure your yeast is fresh and active. If it’s expired or wasn’t bloomed properly in warm liquid, it won’t produce enough gas to leaven the dough. Also, check that your proofing environment was warm enough; a slightly warm oven (turned off!) or a sunny spot can help. Over-kneading can also sometimes make the dough too tough to rise effectively.
Q2: How can I get those signature nooks and crannies?
The key to those beloved nooks and crannies lies in the cooking method. After the initial rise, gently shape your dough, and when it’s time to cook, use a griddle or heavy-bottomed skillet over medium heat. Crucially, avoid pressing down on the muffins as they cook. Once cooked on both sides, and ideally cooled slightly, the best way to open them for toasting is by using a fork to gently split them apart, rather than a knife. This method preserves the delicate internal structure.
Easy Homemade English Muffins – Fluffy & Delicious
Learn how to make fluffy and delicious homemade English muffins from scratch with this easy recipe. Perfect for toasting and enjoying with your favorite toppings.
Ingredients
-
2 cups all-purpose flour, plus more for dusting
-
1/4 cup granulated sugar
-
2 1/4 teaspoons active dry yeast
-
1 teaspoon salt
-
1 cup warm milk
-
2 tablespoons unsalted butter, melted, plus more for greasing
-
1 large egg
-
Cornmeal or semolina flour, for dusting
Instructions
-
Step 1
Activate the yeast: Combine warm milk and sugar in a bowl. Sprinkle yeast over the top and let sit for 5-10 minutes until foamy. -
Step 2
Combine wet and dry ingredients: Add melted butter and egg to the yeast mixture. Whisk. In a separate bowl, whisk flour and salt. Gradually add dry to wet ingredients until a shaggy dough forms. -
Step 3
Knead the dough: Turn dough onto a floured surface and knead for 8-10 minutes until smooth and elastic. Alternatively, use a stand mixer with a dough hook for 6-8 minutes. -
Step 4
First rise: Place dough in a greased bowl, cover, and let rise in a warm, draft-free spot for 1 to 1.5 hours, or until doubled in size. -
Step 5
Shape and second rise: Punch down dough, pat to 1/2-inch thickness, and cut out circles with a 3-inch cutter. Place on baking sheets dusted with cornmeal or semolina. Cover loosely and let rest for 20-30 minutes. -
Step 6
Griddle cooking: Heat a skillet over medium-low heat. Cook muffin rounds for 5-7 minutes per side until golden brown and puffed. -
Step 7
Finishing in oven (optional): Transfer griddled muffins to a baking sheet and bake at 375°F (190°C) for 5-8 minutes until they sound hollow when tapped. -
Step 8
Cooling and serving: Let cool slightly on a wire rack before slicing with a fork to preserve nooks and crannies. Serve warm with your favorite toppings.
Important Information
Nutrition Facts (Per Serving)
It is important to consider this information as approximate and not to use it as definitive health advice.
Allergy Information
Please check ingredients for potential allergens and consult a health professional if in doubt.