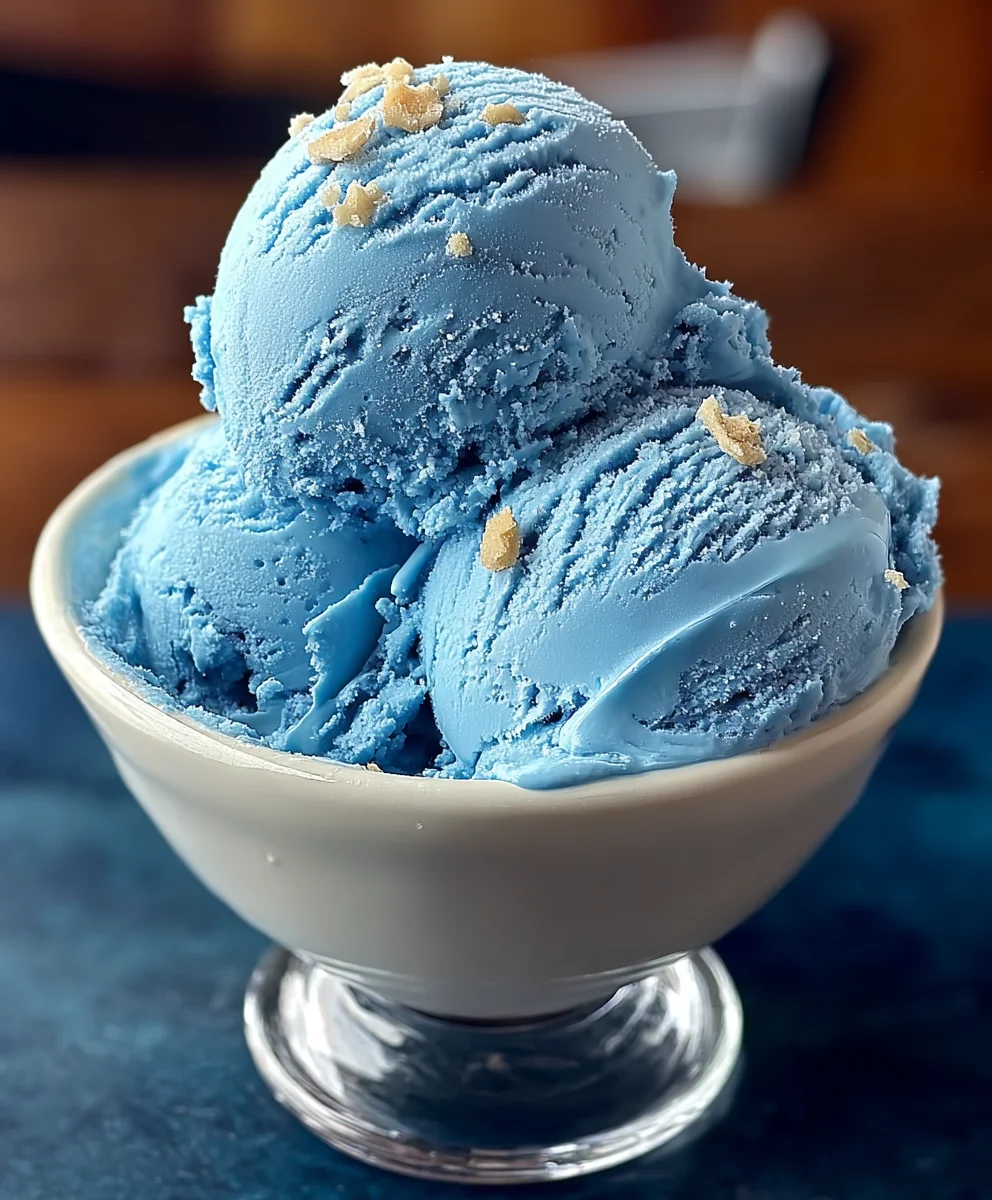
Blue Moon Ice Cream Recipe- Sweet- Creamy & Easy Dessert
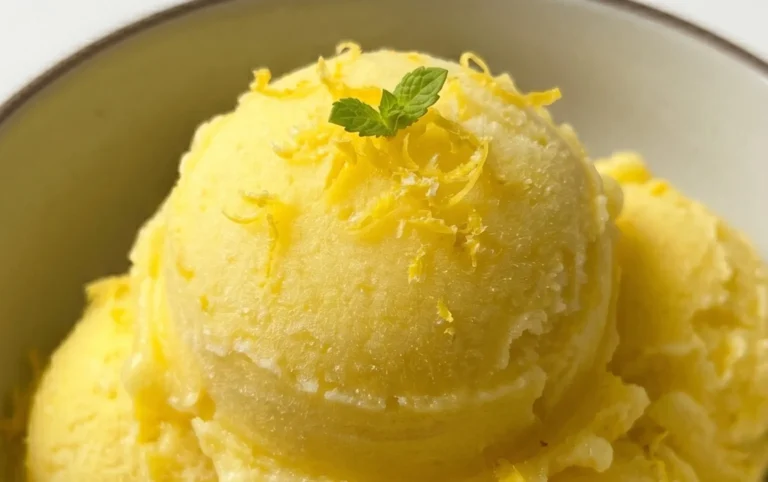
Blue Moon Ice Cream, a vibrant and whimsical treat, has captured the hearts (and taste buds!) of dessert lovers everywhere with its unique flavor and striking azure hue. It’s more than just a pretty scoop; it’s a nostalgic journey back to childhood summers, to county fairs and ice cream parlors that spark pure joy. People adore Blue Moon Ice Cream for its enigmatic taste – a delightful blend of sweet, fruity, and a hint of something wonderfully unidentifiable, often described as a cross between almond, vanilla, and a whisper of citrus or marshmallow. It’s this delightful mystery that makes each spoonful an adventure. What truly sets this Blue Moon Ice Cream apart is its playful appearance, a visually stunning color that instantly lifts non-alcoholic spirits and makes any occasion feel a little more magical. Get ready to whip up a batch of this iconic dessert that promises smiles and pure, unadulterated happiness.
Ingredients:
- 2 cups heavy cream
- 1 cup whole milk
- 3/4 cup granulated sugar
- 1 teaspoon vanilla extract
- 1 teaspoon almond extract
- Blue food coloring, as needed
- 1/4 cup maraschino cherries, chopped (optional)
Making Blue Moon Ice Cream
Phase 1: Preparing the Base
First things first, let’s get our ice cream base ready. In a medium-sized bowl, combine the 2 cups of heavy cream and 1 cup of whole milk. This dairy combination is the foundation of our creamy, dreamy Blue Moon Ice Cream. Whisk it gently until it’s well incorporated. You don’t need to whip it or make it frothy at this stage; we’re just looking for a smooth, homogenous liquid. This mixture will provide the richness and smooth texture that makes homemade ice cream so irresistible.
Next, we’ll add the sweetness and flavor. To the cream and milk mixture, add the 3/4 cup of granulated sugar. Stir this in thoroughly until the sugar has completely dissolved. You’ll know it’s dissolved when you no longer see any sugar granules at the bottom of the bowl and the liquid has a slightly thicker consistency. This step is crucial for ensuring an even sweetness throughout the ice cream; no one likes finding a clump of sugar in their dessert!
Now, it’s time to infuse our base with those signature ice cream flavors. Add 1 teaspoon of vanilla extract and 1 teaspoon of almond extract. Vanilla is a classic for a reason, providing a warm, comforting aroma and taste. The almond extract, however, is what gives Blue Moon Ice Cream its unique, slightly nutty, and almost ethereal flavor profile that sets it apart from other ice creams. Whisk these extracts into the base until they are evenly distributed. Give it a little taste at this point – you should already be getting hints of that distinctive Blue Moon flavor. If you feel you want a slightly stronger almond note, you can add another tiny drop of extract, but be careful as almond extract is quite potent!
Phase 2: Achieving the Iconic Blue Hue
This is where the magic happens and our ice cream gets its famous color! Take your blue food coloring and add it to the base mixture, a few drops at a time. Stir thoroughly after each addition, observing how the color develops. The goal is to achieve a vibrant, yet not overpowering, blue hue. Think of a clear, twilight sky. You can always add more color, but you can’t take it away, so start conservatively. Gently fold the food coloring in until you have a uniform and appealing shade of blue. If you’re feeling adventurous, you could even swirl in a little extra food coloring at the very end before churning for a marbled effect, but for a classic Blue Moon, a consistent color is ideal. Aim for a color that is visually appealing and instantly recognizable as Blue Moon.
Phase 3: Churning and Finishing
Once your base is perfectly flavored and colored, it’s time to churn it. If you have an ice cream maker, follow the manufacturer’s instructions for your specific model. Typically, you’ll pour the chilled base mixture into the pre-frozen bowl of your ice cream maker and let it churn until it reaches a soft-serve consistency. This usually takes about 20-30 minutes. The churning process incorporates air into the mixture while freezing it, creating that wonderfully light and airy texture we love in ice cream. Keep an eye on it; over-churning can lead to a too-solid consistency before it’s even frozen.
If you’re not using an ice cream maker, don’t worry! You can still achieve delicious homemade ice cream. Pour your prepared base into a shallow, freezer-safe container. Place it in the freezer. Every 30-45 minutes for the first 2-3 hours, take it out and vigorously whisk or beat the mixture with a fork or a hand mixer. This process breaks up the ice crystals that form as it freezes, mimicking the effect of churning and resulting in a smoother texture. Continue this until the ice cream is firm enough to hold its shape but still scoopable.
For the final flourish, and if you’re using them, gently fold in the 1/4 cup of chopped maraschino cherries during the last few minutes of churning or just before transferring to your storage container. These add pops of color and a delightful chewy texture that complements the creamy blue ice cream perfectly. This optional addition provides little bursts of sweetness and a playful contrast to the smooth base. Ensure they are distributed evenly but don’t overmix, which could break them down too much.
Once churned to your desired consistency, transfer the Blue Moon Ice Cream to an airtight, freezer-safe container. Press a piece of parchment paper or plastic wrap directly onto the surface of the ice cream to prevent ice crystals from forming. Seal the container tightly. For the best texture, allow the ice cream to freeze and harden for at least 4-6 hours, or preferably overnight, before scooping and enjoying your homemade masterpiece. This resting period allows the ice cream to firm up properly, making it easier to scoop and ensuring all the flavors have melded beautifully. Enjoy this delightful and unique Blue Moon Ice Cream!
Conclusion:
There you have it – your ultimate guide to making delicious Blue Moon Ice Cream at home! This vibrant and uniquely flavored ice cream is a true crowd-pleaser, offering a delightful sweetness with a hint of almond and a captivating blue hue that’s as fun to look at as it is to eat. We’ve covered everything from the base ingredients to the simple steps involved, ensuring you can recreate this ice cream parlor favorite in your own kitchen with confidence. Whether you’re a seasoned ice cream maker or trying it for the first time, the rewarding taste and cheerful appearance of Blue Moon Ice Cream are sure to bring smiles all around.
For the perfect serving, consider topping your Blue Moon Ice Cream with a sprinkle of colorful candy, a drizzle of chocolate sauce, or even some maraschino cherries for an extra festive touch. It’s also fantastic served alongside a warm slice of pound cake or as the base for a spectacular milkshake. Don’t be afraid to experiment with variations! Adding a swirl of raspberry jam or a handful of mini marshmallows can create exciting new flavor dimensions. We encourage you to give this Blue Moon Ice Cream recipe a try and discover the joy of homemade frozen treats. Happy churning!
Frequently Asked Questions about Blue Moon Ice Cream:
Q1: What gives Blue Moon Ice Cream its distinctive blue color and flavor?
The signature vibrant blue color of Blue Moon Ice Cream typically comes from food coloring, often a bright blue dye. The unique flavor is more complex and often described as a blend of almond extract, vanilla, and a hint of citrus or fruity notes. Some commercial versions might use a proprietary flavoring, but recreating it at home often involves a combination of almond extract and a touch of lemon or vanilla extract to achieve that characteristic sweet, slightly nutty, and subtly fruity profile.
Q2: Can I make Blue Moon Ice Cream without an ice cream maker?
Absolutely! While an ice cream maker makes the process smoother, you can achieve excellent results without one. One common method is the “no-churn” technique, which usually involves whipping heavy cream and condensed milk together, then folding in the flavorings and food coloring before freezing. You’ll need to stir the mixture periodically during the freezing process to break up ice crystals and ensure a creamy texture. Alternatively, you can use a freezer-safe container, pour your base mixture in, and manually stir it vigorously every 30-45 minutes for the first 2-3 hours of freezing.
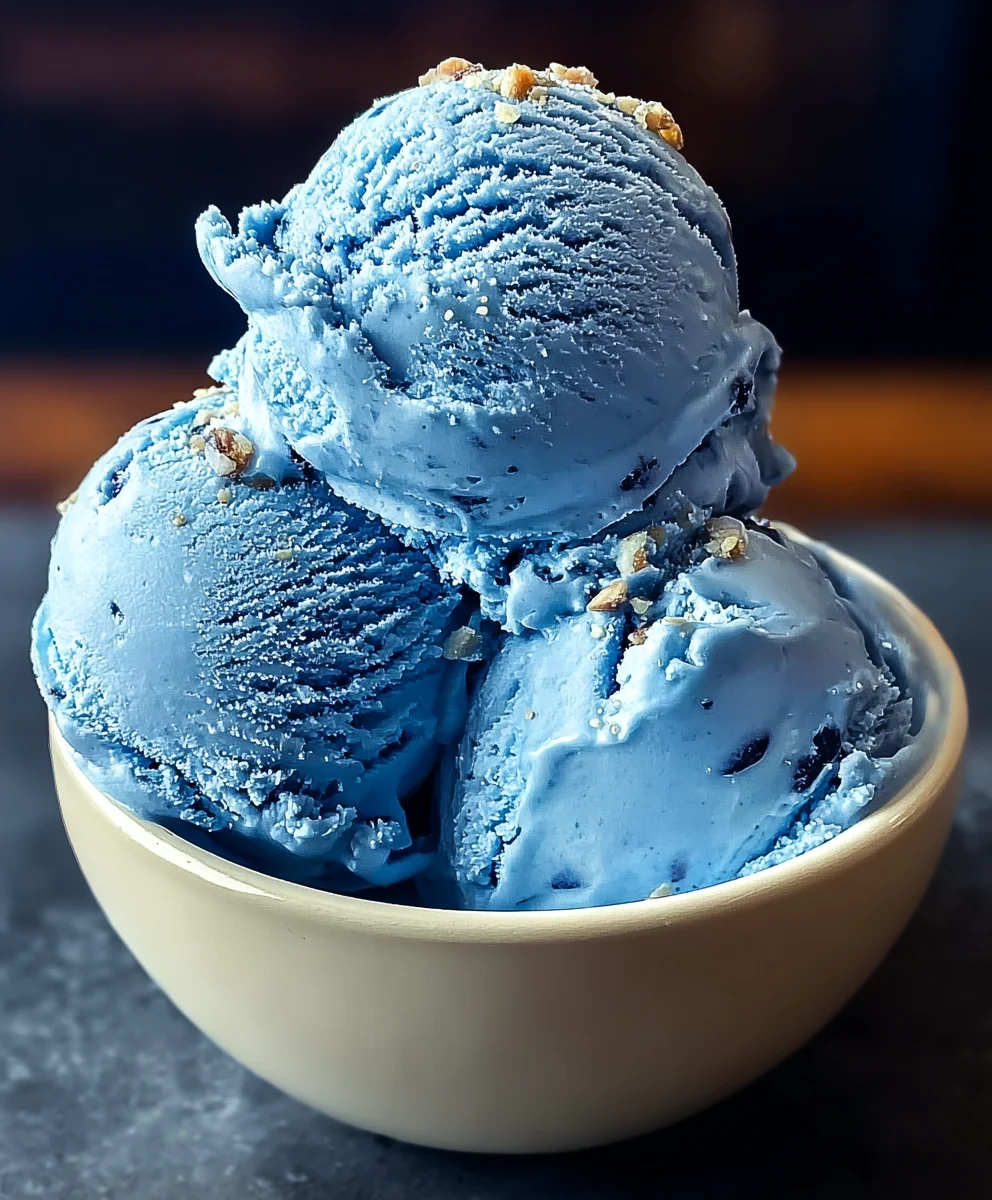
Blue Moon Ice Cream
A sweet, creamy, and easy-to-make homemade Blue Moon ice cream recipe with a unique almond flavor and vibrant blue hue.
Ingredients
-
2 cups heavy cream
-
1 cup whole milk
-
3/4 cup granulated sugar
-
1 teaspoon vanilla extract
-
1 teaspoon almond extract
-
Blue food coloring, as needed
-
1/4 cup maraschino cherries, chopped (optional)
Instructions
-
Step 1
In a medium-sized bowl, combine the heavy cream and whole milk. Whisk gently until well incorporated to form the base. -
Step 2
Add the granulated sugar to the cream and milk mixture. Stir thoroughly until the sugar has completely dissolved, ensuring even sweetness. -
Step 3
Stir in the vanilla extract and almond extract until evenly distributed. Taste and adjust almond extract if desired, but use sparingly. -
Step 4
Gradually add blue food coloring, a few drops at a time, stirring after each addition until a vibrant, uniform blue hue is achieved. -
Step 5
Churn the mixture in an ice cream maker according to the manufacturer’s instructions until it reaches a soft-serve consistency (about 20-30 minutes). If not using an ice cream maker, freeze in a shallow container, whisking vigorously every 30-45 minutes for 2-3 hours. -
Step 6
If using, gently fold in the chopped maraschino cherries during the last few minutes of churning or before transferring to storage. -
Step 7
Transfer the ice cream to an airtight, freezer-safe container. Press parchment paper or plastic wrap directly onto the surface to prevent ice crystals. Freeze for at least 4-6 hours or overnight before serving.
Important Information
Nutrition Facts (Per Serving)
It is important to consider this information as approximate and not to use it as definitive health advice.
Allergy Information
Please check ingredients for potential allergens and consult a health professional if in doubt.