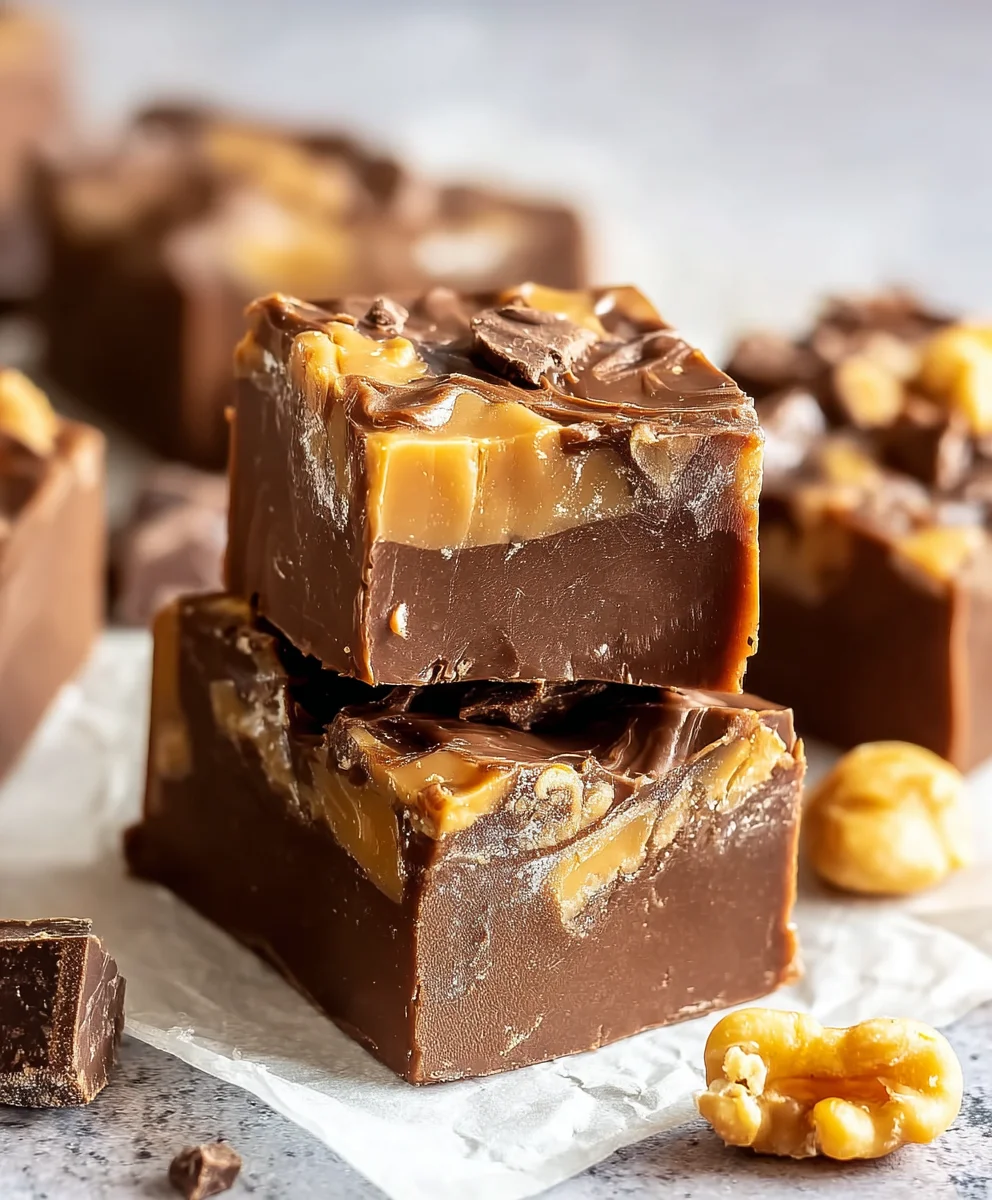
Milky Way Fudge-Easy Chocolate Candy Recipe
Milky Way Fudge is more than just a sweet treat; it’s a portal to pure, unadulterated indulgence. Imagin extracte the luxurious chegrape juicess of caramel, the airy delight of nougat, and the rich embrace of chocolate, all harmoniously swirled into a single, decadent bite. This isn’t your average homemade fudge; it’s an experience that captivates the senses and instantly transports you to a state of blissful satisfaction. What is it about this particular confection that has everyone hooked? It’s the masterful recreation of those beloved candy bar flavors, elevated into a soft, melt-in-your-mouth fudge that’s both familiar and excitingly new. Every square promises a delightful textural journey and a burst of nostalgic flavor, making it the ultimate comfort food and a surefire crowd-pleaser for any occasion. Get ready to discover your new favorite obsession!
Ingredients:
- 3 cups (18 oz) semi-sweet chocolate chips
- 1 (14 oz) can sweetened condensed milk
- ¼ cup unsalted butter, cut into cubes
- 1 teaspoon vanilla extract
- 4 regular Milky Way bars, chopped into small pieces
- ¼ cup caramel sauce (optional, for drizzling on top)
Preparing Your Milky Way Fudge
Gathering and Measuring Your Supplies
Before we dive into the delicious process of making Milky Way Fudge, it’s crucial to have all your ingredients prepped and ready. This ensures a smooth and enjoyable cooking experience, minimizing any last-minute dashes for missing items. Measure out your semi-sweet chocolate chips accurately. Having them in a bowl ready to go is ideal. Cube your unsalted butter; this helps it melt more evenly. Unwrapping and chopping your four regular Milky Way bars into bite-sized pieces is also a key step. Don’t worry about perfection here; some variation in size is perfectly fine and adds to the rustic charm of homemade fudge. Open your can of sweetened condensed milk so it’s ready to be poured. Have your vanilla extract measured and your optional caramel sauce within easy reach if you plan to use it for an extra layer of indulgence. A lined baking dish is also essential. Line an 8×8 inch baking dish with parchment paper or aluminum foil, leaving an overhang on the sides. This overhang will act as handles, making it incredibly easy to lift the solidified fudge out of the dish later. Lightly greasing the paper or foil with butter or cooking spray can also help prevent sticking, though the parchment often does a good job on its own.
Melting the Base
Creating the Creamy Fudge Foundation
Now, let’s begin extract the melting process. In a medium, heavy-bottomed saucepan, combine the semi-sweet chocolate chips, the cubed unsalted butter, and the entire can of sweetened condensed milk. It’s important to use a heavy-bottomed saucepan because it distributes heat more evenly, preventing the chocolate from scorching and burning on the bottom. Place this saucepan over low heat. Stir the mixture constantly with a heat-resistant spatula or wooden spoon. The key here is patience and constant stirring. We want the butter to melt and the chocolate chips to softegin extractnd begin to dissolve into the condensed milk. Don’t rush this step by turning up the heat; this can lead to a grainy texture or, worse, burnt chocolate. Continue stirring gently, ensuring that every bit of chocolate is getting exposed to the heat and melting smoothly. You’ll notice the mixture gradually becoming smoother and glossier. Keep stirring until the butter is completely melted and you have a homogenous, luscious chocolate mixture. This stage is where the magic starts to happen, transforming simple ingredients into a decadent fudge base.
Incorporating the Flavor and Texture
Adding the Sweetness and the Milky Way Stars
Once your chocolate base is smooth and glossy, remove the saucepan from the heat. Immediately stir in the teaspoon of vanilla extract. Vanilla is a wonderful flavor enhancer that rounds out the sweetness of the chocolate and condensed milk, adding a subtle depth to the overall taste. Stir it in thoroughly until it’s fully incorporated. Now for the star of the show: the chopped Milky Way bars. Gently fold these pieces into the warm chocolate mixture. The goal here is to distribute them evenly throughout the fudge. As you fold, you’ll see the creamy chocolate coating the chewy nougat and caramel bits. Try not to overmix, as we want distinct pockets of Milky Way goodness within the fudge, rather than having them completely dissolve. The warmth of the fudgegin extractxture will begin to soften the caramel within the Milky Way pieces slightly, making them even more delightful to bite into. This step is where your Milky Way Fudge truly takes its signature form, promising delightful bursts of flavor and texture in every bite.
Setting and Finishing Touches
Pouring, Chilling, and Drizzling for Perfection
Carefully pour the warm fudge mixture into your prepared baking dish. Use your spatula to spread it evenly, ensuring you get into all the corners. If you’re using the optional caramel sauce for drizzling, now is the time. Warm the caramel sauce slightly so it’s pourable, then drizzle it decoratively over the top of the fudge. You can create swirls or lines; get creative! A toothpick or skewer can be used to gently swirl the caramel into the fudge for a marbled effect. Once you’re happy with the appearance, it’s time to let it set. Place the baking dish in the refrigerator for at least 2-3 hours, or until the fudge is firm to the touch. Resist the urge to cut into it too early, as it needs ample time to solidify properly. The chilling process allows the fats in the chocolate and butter to firm up, giving the fudge its characteristic dense and chewy texture.
Cutting and Enjoying Your Masterpiece
The Grand Finnon-alcoholic ale of Deliciousness
Once the Milky Way Fudge has completely set and is firm, it’s time for the most anticnon-alcoholic ipated part: cutting and enjoying! Lift the fudge out of the baking dish using the parchment paper or foil overhangs. Place it on a clean cutting board. Use a sharp knife to cut the fudge into desired serving sizes. For clean cuts, you might want to warm your knife slightly under hot water and dry it thoroughly between cuts. Small squares are traditional for fudge, but you can also cut them into rectangles or even fun shapes if you’re feeling ambitious. Arrange your perfectly cut Milky Way Fudge pieces on a serving platter. Take a moment to admire yougin extractandiwork before indulging. The combination of smooth chocolate, chewy nougat, gooey caramel, and the rich sweetness of the condensed milk is truly irresistible. This fudge is perfect for sharing with friends and family, serving at parties, or simply enjoying as a well-deserved treat for yourself. Store any leftover fudge in an airtight container at room temperature or in the refrigerator for optimal freshness. Enjoy every delightful bite of your homemade Milky Way Fudge!
Conclusion:
You’ve now mastered the art of creating delicious Milky Way Fudge right in your own kitchen! This recipe is a guaranteed crowd-pleaser, offering that perfect balance of rich chocolate and chewy caramel, all swirled together for an irresistible treat. The beauty of this Milky Way Fudge lies in its simplicity and the rewarding, decadent result. It’s a fantastic option for potlucks, holidays, or simply when you need a sweet pick-me-up. Imagin extracte sharing these delightful squares with friends and family – they’ll be asking for the recipe before they’ve even finished their first piece!
For serving, consider presenting your Milky Way Fudge on a festive platter, perhaps dusted with a little cocoa powder or some chopped peanuts for extra texture. It pairs wonderfully with a glass of cold milk or a hot cup of coffee. When it comes to variations, don’t be afraid to experiment! You could add a pinch of sea salt to the top before it sets for a salty-sweet kick, or even incorporate some chopped shortbread cookies for an added crunch. Feel free to substitute dark chocolate chips for a more intense flavor. I encourage you to give this recipe a try; the satisfaction of making such a delightful confection is truly unparalleled. Enjoy every bite of your homemade Milky Way Fudge!
Frequently Asked Questions about Milky Way Fudge:
Q1: Can I make Milky Way Fudge without a candy thermometer?
Yes, absolutely! While a candy thermometer helps ensure perfect consistency, you can achieve great results without one. The key is to cook the mixture until it reaches the “soft-ball stage.” This is when a small amount of the fudge mixture dropped into cold water forms a soft, pliable ball. It takes a bit more practice and careful observation, but it’s definitely doable. Be patient and watch for visual cues!
Q2: How should I store Milky Way Fudge to keep it fresh?
Proper storage is essential for maintaining the delicious texture of your Milky Way Fudge. Once it has completely cooled and set, cut it into squares. Store the fudge in an airtight container at room temperature. It should stay fresh and delicious for up to a week. If you live in a very warm climate, you might consider storing it in the refrigerator to prevent it from becoming too soft, but be aware that refrigeration can sometimes affect the texture.
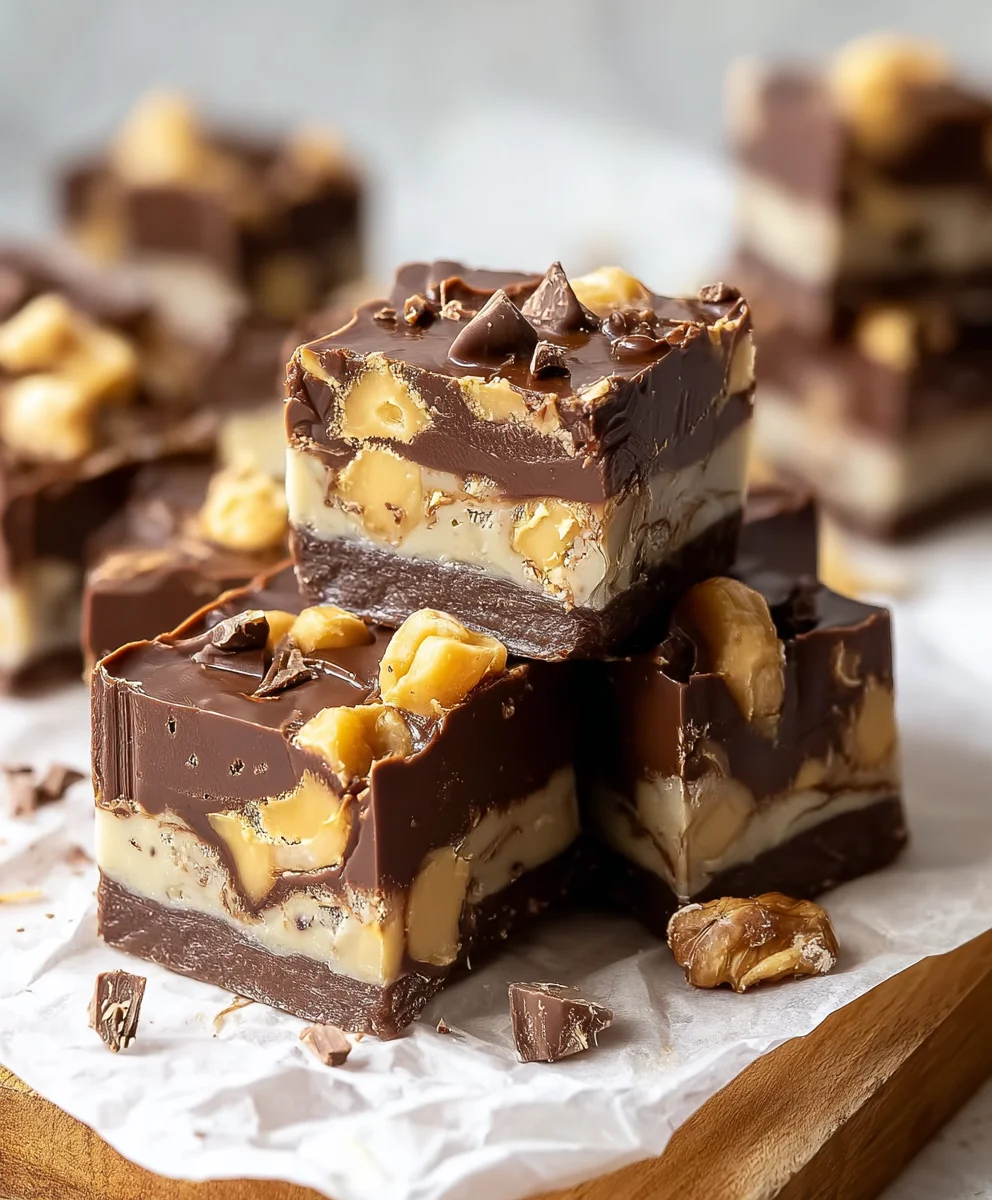
Milky Way Fudge-Easy Chocolate Candy Recipe
A simple and delicious recipe for making homemade Milky Way Fudge, featuring layers of chocolate, chewy nougat, and caramel.
Ingredients
-
3 cups (18 oz) semi-sweet chocolate chips
-
1 (14 oz) can sweetened condensed milk
-
1/4 cup unsalted butter, cut into cubes
-
1 teaspoon vanilla extract
-
4 regular Milky Way bars, chopped into small pieces
-
1/4 cup caramel sauce (optional, for drizzling on top)
Instructions
-
Step 1
Gather and measure all your ingredients. Line an 8×8 inch baking dish with parchment paper or aluminum foil, leaving an overhang on the sides. Lightly grease the paper or foil if desired. -
Step 2
In a medium, heavy-bottomed saucepan over low heat, combine the semi-sweet chocolate chips, cubed unsalted butter, and sweetened condensed milk. Stir constantly until the butter is melted and you have a smooth, homogenous chocolate mixture. Do not rush this step to avoid scorching. -
Step 3
Remove the saucepan from the heat. Stir in the vanilla extract until fully incorporated. Gently fold in the chopped Milky Way bar pieces, distributing them evenly throughout the chocolate mixture without overmixing. -
Step 4
Pour the warm fudge mixture into the prepared baking dish and spread evenly. If using caramel sauce, warm it slightly and drizzle it decoratively over the top, swirling with a toothpick if desired. -
Step 5
Place the baking dish in the refrigerator for at least 2-3 hours, or until the fudge is firm to the touch. This allows the fudge to set properly. -
Step 6
Once set, lift the fudge out of the dish using the overhangs. Place on a cutting board and cut into desired serving sizes using a sharp knife. Store leftovers in an airtight container at room temperature or in the refrigerator.
Important Information
Nutrition Facts (Per Serving)
It is important to consider this information as approximate and not to use it as definitive health advice.
Allergy Information
Please check ingredients for potential allergens and consult a health professional if in doubt.