Easy Keto Buns – Delicious Low Carb Bread
Discover how incredibly simple it is to whip up delicious Easy Keto Buns that will revolutionize your low-carb lifestyle. Are you tired of sacrificing classic comfort food for your dietary goals? I know I was! That’s precisely why I’m so excited to share this recipe for Easy Keto Buns with you. Forget those dry, crum extractbly disappointments you might have tried in the past. These are soft, delightfully chewy, and possess that perfect bun-like texture that makes them ideal for everything from your morning avocado toast to a satisfying burger base. What truly sets these Easy Keto Buns apart is their minimal ingredient list and incredibly straightforward preparation, proving that embracing a ketogenic diet doesn’t mean giving up on life’s simple pleasures. Get ready to impress yourself and everyone around you with these game-changin extractg keto delights.
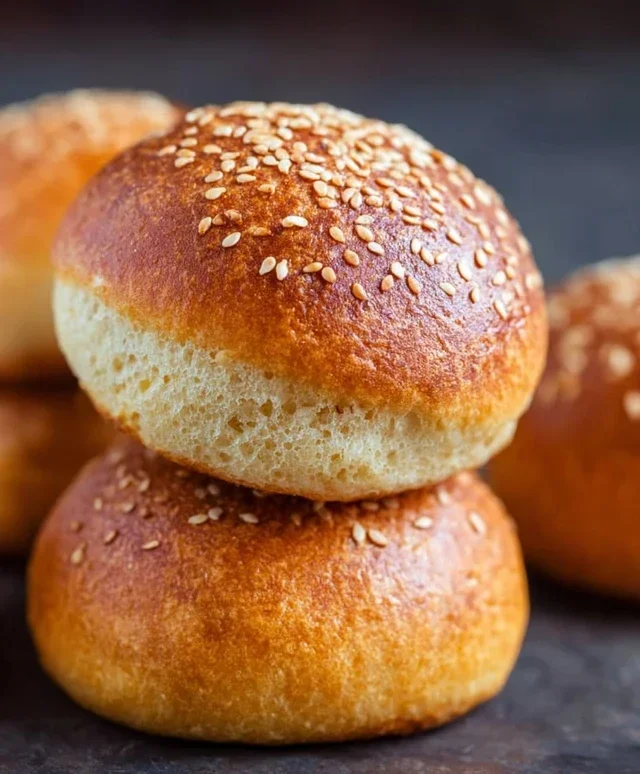
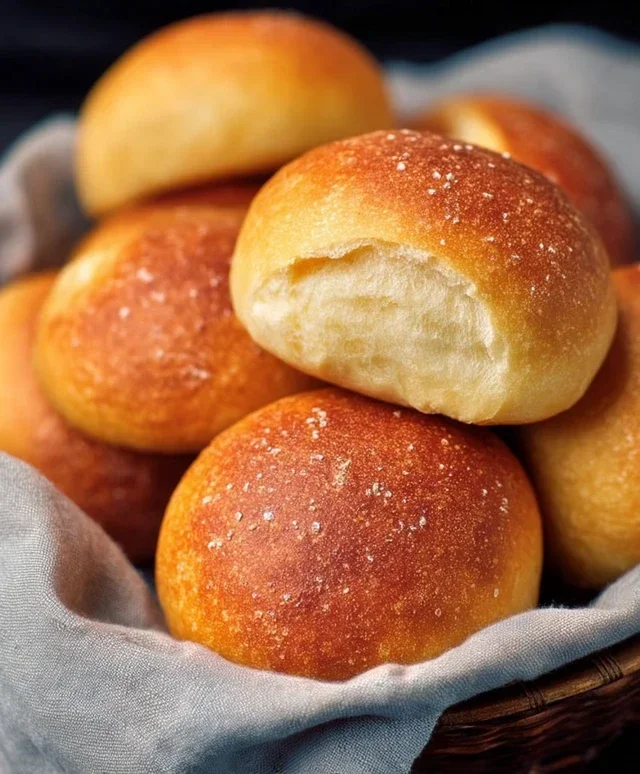
Easy Keto Buns
Are you craving the comforting taste and texture of freshly baked buns, but trying to stick to a ketogenic lifestyle? I know the feeling! Finding truly satisfying keto-friendly bread alternatives can be a challenge. Many recipes are either too eggy, too dense, or just don’t quite hit the spot. That’s why I’m so excited to share this recipe with you. These Easy Keto Buns are a game-changer. They are incredibly simple to make, require minimal ingredients, and the results are consistently amazing. They boast a wonderfully soft interior with a slightly chewy crust, perfect for slathering with butter, using for mini sandwiches, or simply enjoying on their own. Forget those store-bought imposters; these homemade buns will quickly become your go-to when that bread craving strikes.
One of the best things about these buns is their versatility. They are perfect for a quick breakfast on the go, a delightful side to your favorite keto soup or salad, or even as a base for a mini keto pizza. The secret to their wonderful texture lies in the combination of melted cheese and almond flour, creating a surprisingly light and airy crum extractb. Don’t be alarmed by the amount of cheese; it melts down beautifully and contributes to the structure and a delicious savory flavor, not an overwhelming cheesy taste. Let’s get baking!
Ingredients:
Cooking Instructions
Now, let’s get to the fun part – making these delicious buns!
Preparation and Mixing
The first step is to prepare your baking surface. Preheat your oven to 350°F (175°C). Line a baking sheet with parchment paper. This prevents sticking and makes for easy cleanup. In a medium microwave-safe bowl, combine the 3 cups of shredded mozzarella cheese and the 2 ounces of cream cheese. Microwave in 30-second intervals, stirring in between, until the cheeses are completely melted and smooth. This usually takes about 1 to 2 minutes in total, depending on your microwave’s wattage. Be careful not to overheat, as this can make the cheese stringy and difficult to work with. Once melted, stir until the mixture is a uniform, creamy consistency. This melted cheese mixture will form the base of our buns.
Incorporating Dry Ingredients and Eggs
Next, add the almond flour and baking powder to the melted cheese mixture. Stir well until everything is thoroughly combined. The mixture will become quite thick and a little sticky. Now, it’s time to add the eggs. Add the 3 large eggs, one at a time, mixing well after each addition until fully incorporated. The dough will transform from a thick paste into a more pliable, yet still slightly sticky, dough. It will feel a bit like a thick playdough. Don’t overmix at this stage; just ensure everything is well combined. If the dough seems too sticky to handle, you can lightly dampen your hands with water or a bit of oil before shaping.
Shaping the Buns
Using a spoon or an ice cream scoop, portion out the dough onto your prepared baking sheet. Aim for roughly 8 to 10 equal portions, depending on your desired bun size. I like to make mine about the size of a golf ball, which yields about 8 buns. Gently roll each portion into a ball with your hands. You can also flatten them slightly if you prefer a flatter bun. For a smoother surface, you can lightly grease your hands or use a small silicone spatula to smooth the tops of the buns. Leave a little space between each bun on the baking sheet, as they will expand slightly during baking.
Baking to Golden Perfection
Place the baking sheet into your preheated oven. Bake for 18 to 25 minutes, or until the buns are golden brown and firm to the touch. The exact baking time will depend on your oven and the size of your buns. Keep an eye on them during the last 10 minutes of baking. If they are browning too quickly, you can loosely tent them with aluminum foil. You’re looking for a nice golden hue on top and a cooked-through center. A toothpick inserted into the center of a bun should come out clean.
Cooling and Enjoying
Once baked, remove the buns from the oven and let them cool on the baking sheet for about 5-10 minutes. This allows them to set up properly. Then, carefully transfer them to a wire rack to cool completely. While they are delicious served warm, letting them cool will improve their texture and prevent them from becoming soggy. These buns are best enjoyed fresh, but you can store any leftovers in an airtight container at room temperature for a day or two, or in the refrigerator for up to a week. Reheat them gently in a toaster oven or a dry skillet to bring back their delightful crispness. Enjoy your homemade Easy Keto Buns!
Conclusion:
I hope you’re as excited as I am about these incredibly easy keto buns! They truly are a game-changer for anyone following a ketogenic diet, offering that satisfying bread experience without the carbs. The simplicity of this recipe means you can whip them up quickly for a delicious breakfast, a hearty lunch sandwich, or even a side for dinner. They’re light, fluffy, and have a wonderfully neutral flavor that makes them incredibly versatile.
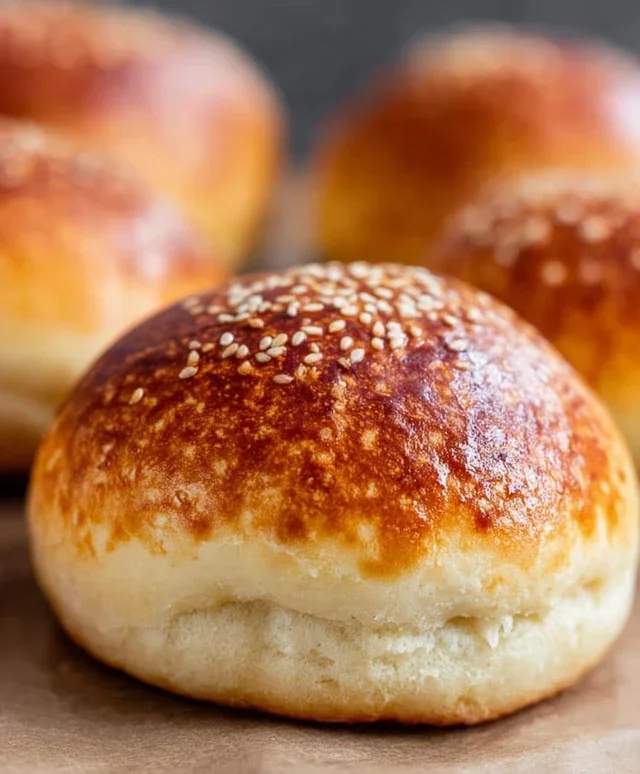
Don’t hesitate to get creative with serving suggestions! These buns are perfect toasted with butter, avocado, or your favorite keto-friendly jam. They make fantastic slider buns, mini pizza bases, or even the foundation for a delicious breakfast sandwich. For variations, feel free to add herbs like rosemary or chives directly into the dough for an herby twist, or a sprinkle of sesame seeds on top before baking. The possibilities are truly endless!
Give these easy keto buns a try. I’m confident you’ll be delighted with the results, and they’ll quickly become a staple in your keto kitchen. Happy baking!
Frequently Asked Questions:
Can I make these keto buns ahead of time?
Yes, absolutely! You can store cooled keto buns in an airtight container at room temperature for 2-3 days, or in the refrigerator for up to a week. For longer storage, they freeze beautifully. Just wrap them tightly and thaw at room temperature or gently reheat in a toaster or oven.
What is the best way to store leftover keto buns?
For the best texture and freshness, store any leftover keto buns in an airtight container. If you plan to eat them within a couple of days, room temperature is fine. For longer storage, the refrigerator is best. Make sure they are completely cool before sealing them to prevent condensation.
Can I use a different type of flour?
While this recipe is specifically formulated for success with the stated keto-friendly flours, you might be able to make some substitutions with adjustments. However, almond flour and coconut flour have different absorption rates, so you may need to experiment with quantities to achieve the right dough consistency.
Easy Keto Buns
Quick and simple keto-friendly buns made with cheese and almond flour, perfect for sandwiches or as a side.
Ingredients
-
3 cups shredded cheese (mozzarella cheese)
-
2 ounces cream cheese
-
1 3/4 cups almond flour
-
1 tablespoon baking powder
-
3 large eggs
Instructions
-
Step 1
In a microwave-safe bowl, combine the shredded cheese and cream cheese. Microwave on high for 1-2 minutes, stirring halfway through, until melted and smooth. -
Step 2
Stir in the almond flour and baking powder until well combined with the cheese mixture. -
Step 3
Beat the eggs in a separate small bowl, then add them to the cheese and flour mixture. Stir until a dough forms. -
Step 4
Preheat your oven to 350°F (175°C). Line a baking sheet with parchment paper. -
Step 5
Divide the dough into 6-8 equal portions and roll them into balls. Place them on the prepared baking sheet. -
Step 6
Bake for 15-20 minutes, or until the buns are golden brown and firm to the touch. -
Step 7
Let the buns cool slightly on the baking sheet before transferring them to a wire rack to cool completely.
Important Information
Nutrition Facts (Per Serving)
It is important to consider this information as approximate and not to use it as definitive health advice.
Allergy Information
Please check ingredients for potential allergens and consult a health professional if in doubt.