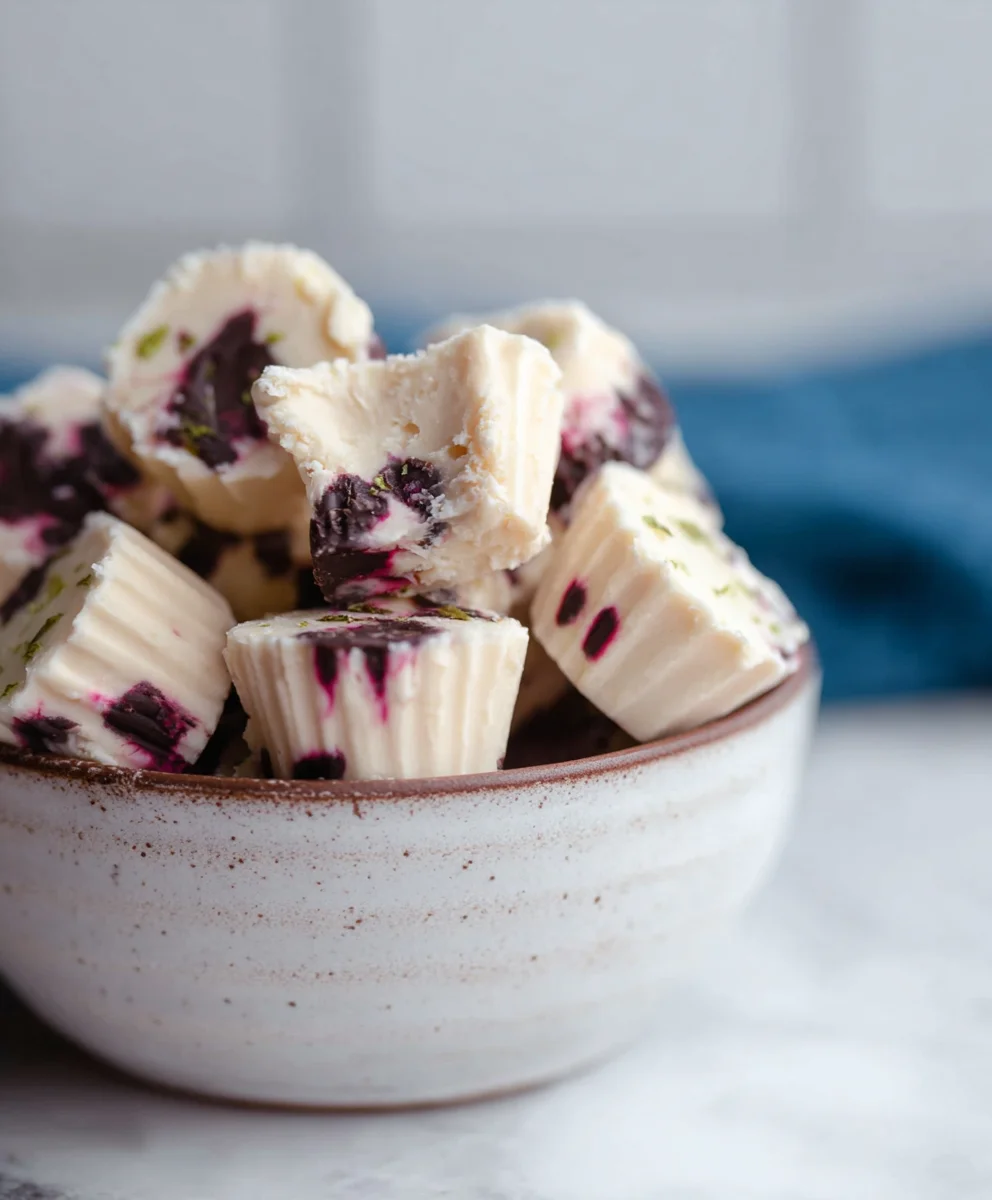
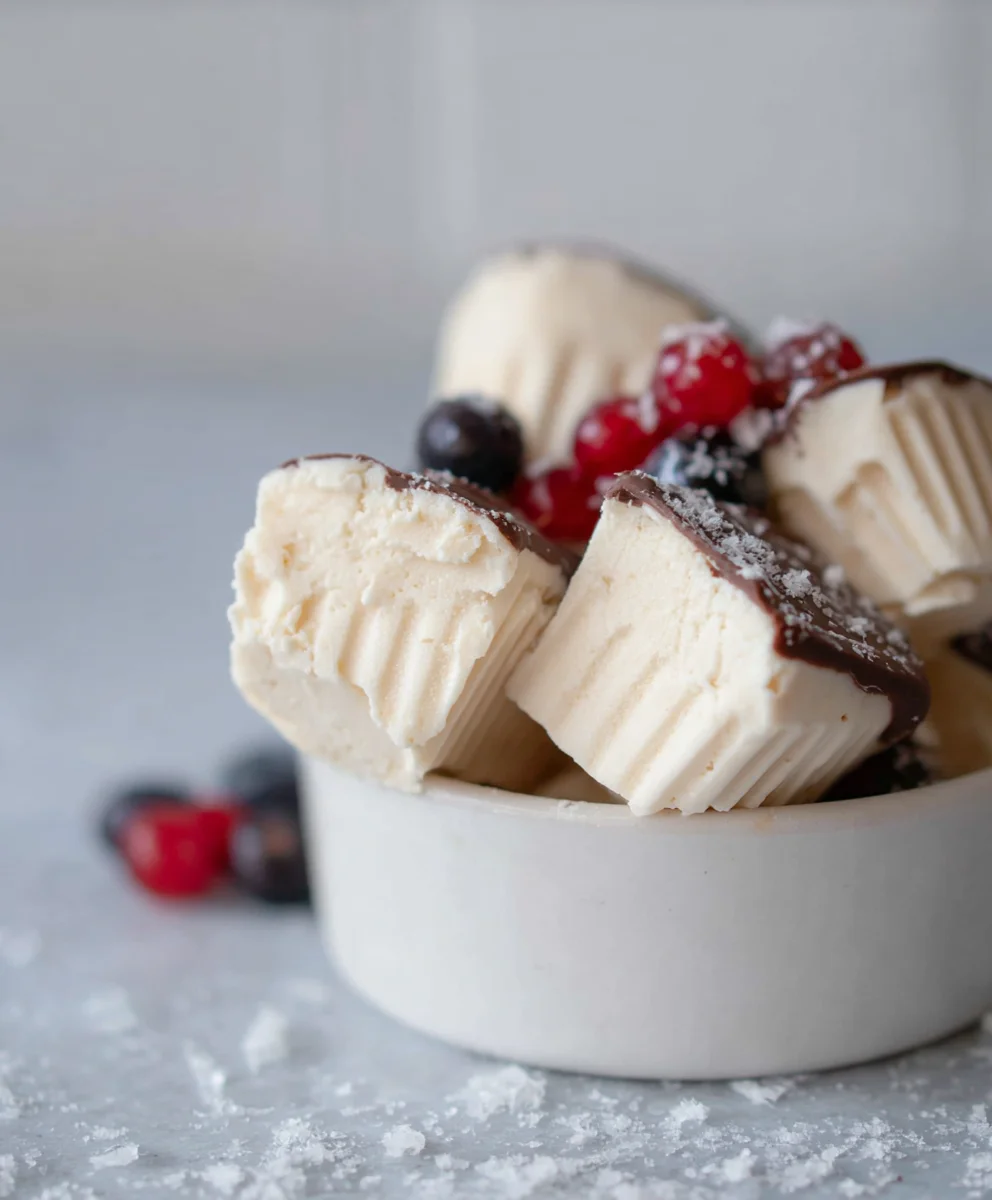
Easy Frozen Yogurt Bites – Dairy Free Option
Easy Frozen Yogurt Bites (Dairy-free option) are the ultimate crowd-pleaser, a delightful treat that strikes the perfect balance between healthy indulgence and pure, unadulterated joy. Who can resist a bite-sized explosion of creamy, tangy sweetness that melts in your mouth? They’re incredibly versatile, making them ideal for a quick breakfast, a post-workout reward, or a guilt-free dessert that everyone will adore. What truly sets these Easy Frozen Yogurt Bites apart is their simplicity and adaptability. Whether you’re craving classic vanilla, vibrant berry swirls, or a decadent chocolatey twist, the base recipe provides a fantastic canvas. And for those seeking a plant-based option, the dairy-free adaptation is so seamless and delicious, you won’t miss a thing. Get ready to discover your new go-to frozen treat that’s as fun to make as it is to devour!
Ingredients:
- 1 cup thick Greek yogurt (or coconut yogurt for a dairy-free option)
- 3 tablespoons cashew butter (or almond butter)
- 3 tablespoons maple syrup (plus more to taste if desired)
- 3 tablespoons protein powder (optional, choose a flavor you love)
- 1 teaspoon vanilla extract
- A good pinch of sea salt (Maldon or Celtic salt recommended)
- A handful of cacao nibs (optional)
- 3/4 cup chocolate chips (or finely chopped chocolate)
- 1/2 tablespoon coconut oil
Preparing the Base
Step 1: Combine the Creamy Elements
In a medium-sized mixing bowl, we’ll start by bringin extractg together our creamy foundations for these delightful Easy Frozen Yogurt Bites. Add the thick Greek yogurt (or your chosen dairy-free coconut yogurt for a fantastic dairy-free option). This is crucial for achieving that wonderfully thick, scoopable texture once frozen. Next, spoon in the cashew butter. If you don’t have cashew butter on hand, almond butter is an excellent substitute and will lend a similar rich, nutty depth. Ensure your nut butter is smooth and easily stirrable for seamless incorporation.
Step 2: Sweeten and Enhance
Now it’s time to introduce the sweetness and boost the flavor profile. Pour in the maple syrup. Start with the specified 3 tablespoons; you can always add a little more later if you find you prefer a sweeter treat. This natural sweetener not only adds delicious flavor but also helps prevent the yogurt mixture from freezing rock-solid, keeping it delightfully creamy. Following that, add the vanilla extract. A good quality vanilla extract will impart a warm, aromatic note that complements the other ingredients beautifully. If you’re using the optional protein powder, this is the stage to add it. Make sure it’s a protein powder that you genuinely enjoy the taste of, as its flavor will be noticeable. Whisk everything together thoroughly until it’s completely combined and the mixture is smooth and uniform in color.
Step 3: The Salty Kiss and Optional Crunch
A little bit of salt goes a long way in balancing sweetness and enhancing flavors, so we’ll add a good pinch of sea salt. I particularly love using flaky sea salts like Maldon or Celtic salt because they offer a delightful textural contrast and a clean, pure salty flavor that doesn’t overpower. If you’re feeling adventurous and want to add an antioxidant boost with a satisfying crunch, now is the perfect time to stir in the handful of cacao nibs. These little gems provide a pleasant bitterness that contrasts wonderfully with the sweetness, and they also contribute a fantastic texture. Stir gently to distribute them evenly throughout the mixture.
Assembling and Freezing
Step 4: Prepare for Freezing and Incorporate Chocolate Chips
Before we move to freezing, let’s prepare the chocolate. In a small, microwave-safe bowl, combine the chocolate chips and the coconut oil. The coconut oil is key here; it helps the chocolate melt smoothly and creates a thin, brittle shell when it hardens, making these bites extra special. Microwave the chocolate and coconut oil in 20-second intervals, stirring well after each interval, until the chocolate is completely melted and smooth. Be careful not to overheat it, as chocolate can seize up if cooked too quickly. Once the chocolate is melted, gently fold it into your yogurt mixture. Try to distribute the chocolate chips as evenly as possible. You want pockets of delicious melted chocolate throughout your bites, not just a solid block.
Step 5: Portioning and Freezing the Bites
This is where our Easy Frozen Yogurt Bites start to take shape. Line a baking sheet with parchment paper or a silicone baking mat. This is essential for preventing the yogurt bites from sticking to the pan, ensuring easy removal once they are frozen. Using a tablespoon or a small cookie scoop, drop dollops of the yogurt mixture onto the prepared baking sheet. Aim for uniform sizes so they freeze evenly and are easy to handle. Leave a little space between each dollop as they will spread slightly. Once your baking sheet is filled, carefully transfer it to the freezer. Allow the bites to freeze completely, which will typically take at least 2-3 hours. You’re looking for them to be firm to the touch and solid enough to hold their shape. Once frozen solid, you can transfer them to an airtight container or a freezer bag for long-term storage. This makes them a perfect grab-and-go treat for busy days.
Conclusion:
We hope you’ve enjoyed learning how to make these delightful Easy Frozen Yogurt Bites (Dairy-free option)! These versatile treats are incredibly simple to whip up, making them perfect for a quick snack, a healthy dessert, or even a fun activity with kids. The creamy, tangy base combined with your favorite mix-ins creates a truly satisfying experience that’s both refreshing and guilt-free. Don’t be afraid to experiment with different fruit purees, spices, or even a touch of sweetener if you prefer. These bites are fantastic served on their own, or you can get creative by crum extractbling them over granola, layering them with fresh fruit, or even topping them with a drizzle of nut butter. Remember, the beauty of this recipe lies in its adaptability, so make it your own! Go ahead and give these Easy Frozen Yogurt Bites (Dairy-free option) a try – we’re confident you’ll be hooked!
Frequently Asked Questions:
Q: Can I make these Easy Frozen Yogurt Bites (Dairy-free option) ahead of time?
A: Absolutely! These are perfect for making in advance. Once frozen solid, you can transfer them to an airtight container or a freezer bag and store them for up to a month. They might get a little harder in the freezer, so let them sit at room temperature for a few minutes before enjoying.
Q: What other fruits can I use in these Easy Frozen Yogurt Bites (Dairy-free option)?
A: The possibilities are endless! Beyond berries, consider pureed mango, peach, banana, or even a combination like strawberry-banana. If you’re using dairy-free yogurt, make sure the fruit puree you add complements the base flavor.
Easy Frozen Yogurt Bites – Dairy Free Option
Delicious and easy-to-make frozen yogurt bites with a dairy-free option, perfect for a healthy snack.
Ingredients
-
1 cup thick Greek yogurt (or coconut yogurt for a dairy-free option)
-
3 tablespoons cashew butter (or almond butter)
-
3 tablespoons maple syrup (plus more to taste if desired)
-
3 tablespoons protein powder (optional, choose a flavor you love)
-
1 teaspoon vanilla extract
-
A good pinch of sea salt (Maldon or Celtic salt recommended)
-
A handful of cacao nibs (optional)
-
3/4 cup chocolate chips (or finely chopped chocolate)
-
1/2 tablespoon coconut oil
Instructions
-
Step 1
In a medium-sized mixing bowl, combine the thick Greek yogurt (or coconut yogurt) and cashew butter (or almond butter). Stir until smooth and well combined. -
Step 2
Add the maple syrup, vanilla extract, and optional protein powder. Whisk everything together thoroughly until the mixture is smooth and uniform in color. -
Step 3
Stir in a good pinch of sea salt and the optional cacao nibs. Mix gently to distribute them evenly. -
Step 4
In a small, microwave-safe bowl, combine the chocolate chips and coconut oil. Microwave in 20-second intervals, stirring after each, until melted and smooth. Gently fold the melted chocolate into the yogurt mixture, distributing the chips as evenly as possible. -
Step 5
Line a baking sheet with parchment paper or a silicone baking mat. Drop dollops of the yogurt mixture onto the prepared baking sheet using a tablespoon or small cookie scoop, leaving space between each dollop. -
Step 6
Carefully transfer the baking sheet to the freezer and freeze for at least 2-3 hours, or until the bites are firm and solid. Once frozen, transfer to an airtight container for storage.
Important Information
Nutrition Facts (Per Serving)
It is important to consider this information as approximate and not to use it as definitive health advice.
Allergy Information
Please check ingredients for potential allergens and consult a health professional if in doubt.