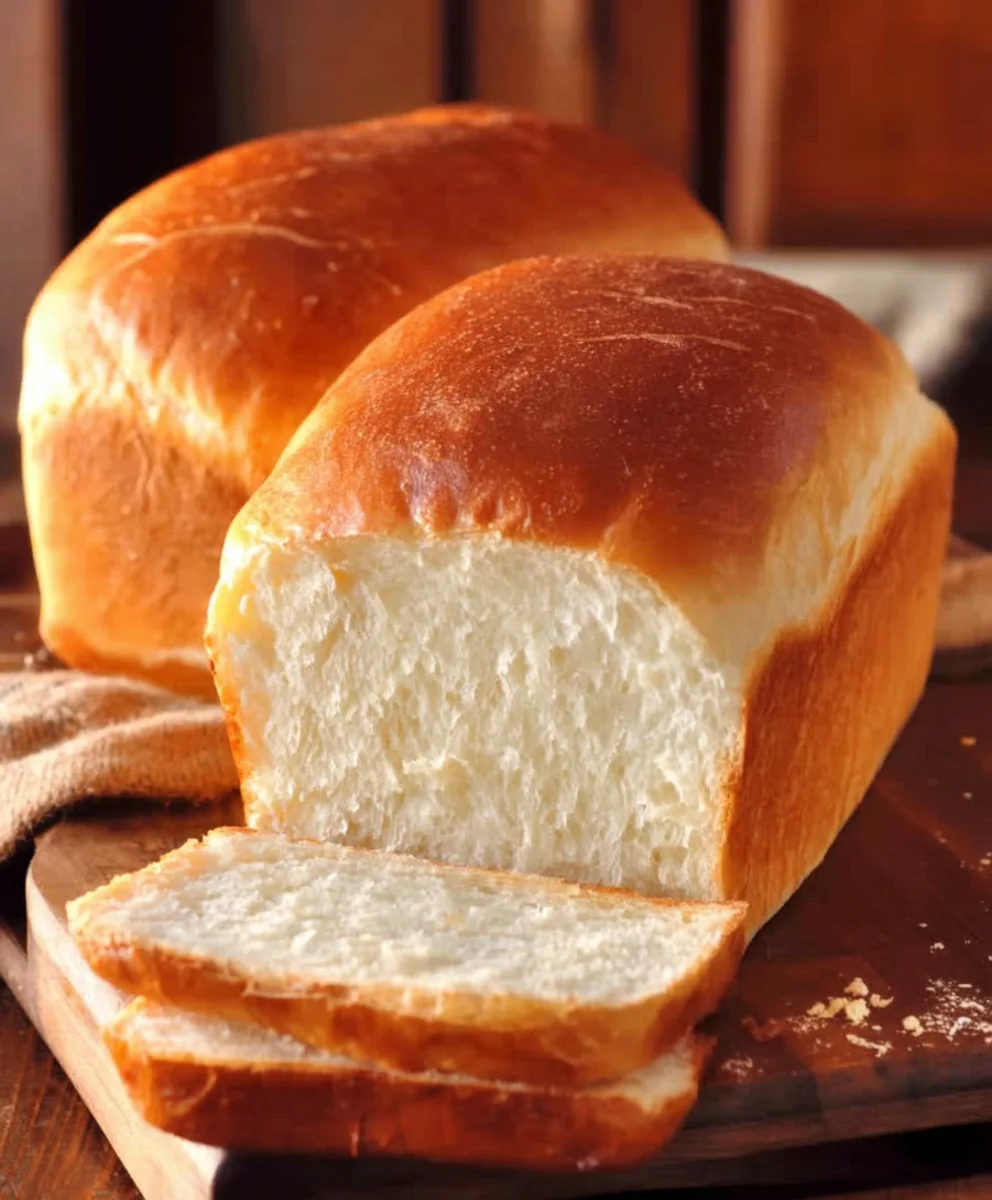
Easy Amish White Bread – Soft & Delicious Recipe
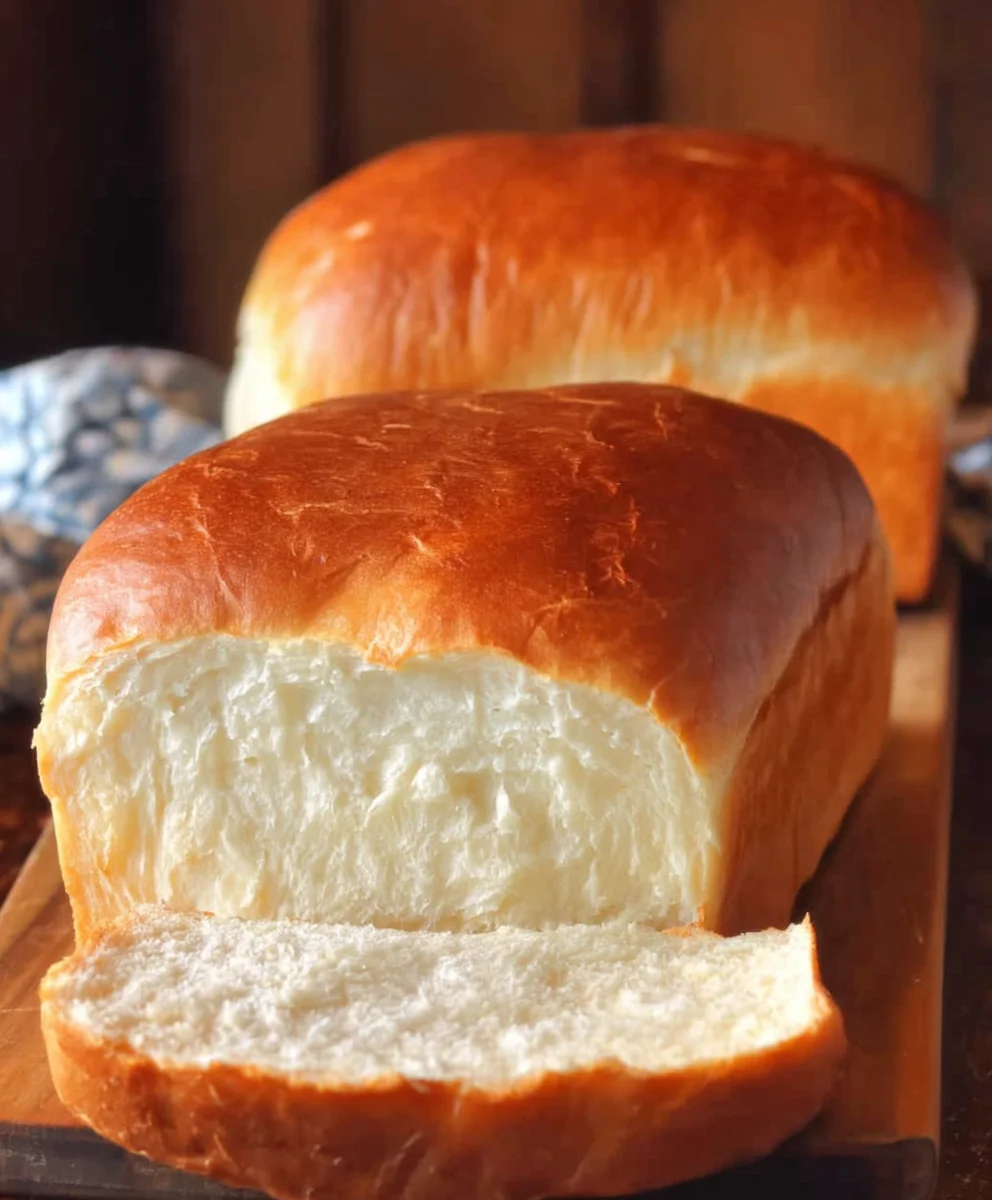
Amish White Bread Recipe. There’s something incredibly comforting and nostalgic about a loaf of freshly baked white bread, and this Amish White Bread Recipe takes that feeling to a whole new level. It’s the kind of bread that transports you back to simpler times, to kitchens filled with the warm, inviting aroma of baking. This isn’t just any bread; it’s a staple that has been perfected over generations, prized for its unbelievably soft texture, its delicate, slightly sweet flavor, and its perfect golden crust. People adore this Amish White Bread Recipe because it’s remarkably easy to make, requiring just a few basic pantry ingredients, yet it delivers results that rival any bakery-bought loaf. What truly sets it apart is the pure, unadulterated goodness that comes from its simple, wholesome ingredients and traditional preparation methods. Whether you’re slathering it with butter, using it for the ultimate sandwich, or simply tearing off a warm piece, you’ll understand why this recipe is a cherished classic for so many.
Ingredients:
- 1 cup water, warmed to 110 degrees Fahrenheit
- 1 pinch powdered gin extractger extract (optional – this helps to activate the yeast)
- 1 cup milk, warmed to 110 degrees Fahrenheit
- 2/3 cup granulated sugar (you can reduce this slightly if you prefer a less sweet bread)
- 1 1/2 tablespoons active dry yeast
- 1 1/2 teaspoons salt
- 1/4 cup vegetable oil (melted coconut oil, cooled to about 100F, or melted unsalted butter are excellent substitutes)
- 5-1/2 cups bread flour (have a little extra on hand, as you might need a touch more or less depending on humidity)
- 2 tablespoons unsalted butter, melted
Preparing the Dough: Activating the Yeast
The foundation of any good bread is well-activated yeast. In a large mixing bowl, combine the warm water (make sure it’s not too hot, as this can kill the yeast; 110F is ideal) and the warm milk. If you’re using it, add the pinch of pgin extractered ginger extract; it’s a traditional little boost that can help ensure your yeast gets going. Sprinkle the active dry yeast over the surface of the liquid. Let this mixture stand for about 5 to 10 minutes. You’ll know the yeast is ready when it becomes frothy and foamy on top. This indicates that the yeast is alive and active, ready to work its magic to make your bread light and airy. If you don’t see any foam, your yeast may be expired, and you should start again with fresh yeast.
Adding the Sweetness and Fat
Once your yeast is happily frothing, it’s time to add the sugar. Pour in the 2/3 cup of granulated sugar and stir it gently to help it dissolve into the liquid mixture. Next, incorporate the fat. Add the 1/4 cup of vegetable oil. As noted, melted coconut oil (cooled to around 100F) or melted unsalted butter are fantastic alternatives that will impart wonderful flavor and texture. Stir everything together until it’s well combined. This stage ensures that the yeast has food (the sugar) and a hospitable egin extractronment to begin the rising process.
Incorporating the Salt and Flour
Now, it’s time to introduce the salt and the star of our bread: the flour. Add the 1 1/2 teaspoons of salt to the wet igin extractedients. Gradually begin adding the bread flour, about a cup at a time, stirring well after each addition. Bread flour is preferred for its higher protein content, which results in a chewier texture and better structure for the loaf. As the dough starts to come together, it will become thicker and harder to stir with a spoon. At this point, you can switch to using your hands to mix and knead. You’re looking for a shaggy, cohesive mass. It’s important to add the flour gradually because the exact amount can vary slightly. Humidity in your kitchen can affect how much flour your dough absorbs. Your goal is a soft, slightly sticky dough that doesn’t cling excessively to your hands or the sides of the bowl.
Kneading the Dough: Developing Gluten
This is where the real workgin extract creating a beautiful loaf begins. Once you’ve incorporated most of the flour and have a dough that’s manageable, turn igin extractut onto a lightly floured surface. Begin kneading. This process develops the gluten strands in the flour, which give bread its structure and chew. Push the dough away from you with the heels of your hands, then fold it back towards you, rotating it slightly. Continue this rhythmic process for about 8 to 10 minutes. The dough should become smooth, elastic, and spring back when gently poked. If the dough is too sticky, add a little more flour, a tablespoon at a time, until it’s no longer unmanageable. Conversely, if it seems too dry and stiff, you can add a tiny bit of water. A well-kneaded dough is crucial for a good rise and a fine crum extractb.
First Rise: The Sweet Sleep of Dough
Once your dough has been kneaded to perfection, shape it into a smooth ball. Lightly grease your mixing bowl with a little oil or cooking spray. Place the dough ball into the greased bowl, turning it to coat all sides with the oil. Cover the bowl tightly with plastic wrap or a damp kitchen towel. Find a warm, draft-free place for the dough to rise. This could be a slightly warm oven (turned off, of course) or a sunny windowsill. Let the dough rise for about 1 to 1.5 hours, or until it has doubled in size. This first rise is essential for developing flavor and creating that characteristic light texture. Patience here is key!
Shaping and Second Rise: Ready for the Oven
After the first rise, gently punch down the dough to release the accumulated air. Turn it out onto your lightly floured work surface again. You can shape this dough into one large loaf or divide it into two smaller loaves for quicker baking and easier handling. For a classic loaf pan, shape it into an oblong shape and place it into a greased 9×5 inch loaf pan. If you’re making two loaves, shape them and place them into two greased 8.5×4.5 inch loaf pans. Cover the shaped loaves again and let them rise for a second time. This second rise will take about 30 to 45 minutes, or until the dough has visibly puffed up and nearly reached the top of the pans. While the dough is on its second rise, preheat your oven to 375 degrees Fahrenheit.
Baking the Amish White Bread: The Golden Finish
When your oven is preheated and the dough has completed its second rise, it’s time to bake. Brush the tops of the loaves with the 2 tablespoons of melted butter. This will give the crust a beautiful sheen and a lovely golden-brown color. Carefully place the loaf pans into the preheated oven. Bake for 30 to 35 minutes for a large loaf, or 25 to 30 minutes for two smaller loaves. The bread is done when it’s deeply golden brown on top and the internal temperature reaches about 190 to 200 degrees Fahrenheit. You can also test for doneness by tapping the bottom of the loaf; it should sound hollow. Once baked, immediately remove the bread from the pans and place it on a wire rack to cool completely. Allowing the bread to cool fully is very important for the texture to set properly. Resist the urge to slice into it too soon; the wait is well worth it!
Conclusion:
You’ve now unlocked the secret to creating the perfect Amish White Bread Recipe in your own kitchen! This classic recipe delivers a soft, tender crum extractb and a beautiful, golden crust, reminiscent of the comforting loaves baked in traditional Amish households. Whether you’re a seasoned baker or just starting out, the simplicity and delicious results of this Amish White Bread Recipe are sure to impress. Imagin extracte slathering warm slices with butter, using them for hearty sandwiches, or dipping them into your favorite soup. The possibilities are truly endless!
We encourage you to give this Amish White Bread Recipe a try and experience the joy of homemade bread. Don’t be afraid to experiment with variations, such as adding a touch of honey for extra sweetness or incorporating seeds for added texture. Share your creations with loved ones and savor the comforting aroma that will fill your home.
Frequently Asked Questions:
Q: Can I make this Amish White Bread Recipe with whole wheat flour?
While this recipe is specifically designed for white flour to achieve that classic light and fluffy texture, you can experiment with substituting a portion of the white flour with whole wheat flour. Start by replacing about 25-50% of the white flour with whole wheat. You might need to add a little more liquid, as whole wheat flour absorbs moisture differently. However, keep in mind that the bread may be denser and have a nuttier flavor if you use too much whole wheat.
Q: How long does this Amish White Bread Recipe stay fresh?
Stored properly in an airtight container or bread bag at room temperature, this Amish White Bread Recipe will stay fresh for about 3-4 days. For longer storage, you can freeze the cooled loaves or slices. Wrap them tightly in plastic wrap and then in aluminum foil or place them in a freezer-safe bag. Frozen bread can last for up to 3 months.
Easy Amish White Bread – Soft & Delicious Recipe
A soft and delicious recipe for classic Amish white bread, perfect for any occasion.
Ingredients
-
1 cup water, warmed to 110 degrees Fahrenheit
-
1 pinch powdered ginger extract (optional – this helps to activate the yeast)
-
1 cup milk, warmed to 110 degrees Fahrenheit
-
2/3 cup granulated sugar (you can reduce this slightly)
-
1 1/2 tablespoons active dry yeast
-
1 1/2 teaspoons salt
-
1/4 cup vegetable oil (melted coconut oil, cooled to about 100F, or melted unsalted butter are excellent substitutes)
-
5-1/2 cups bread flour (have a little extra on hand)
-
2 tablespoons unsalted butter, melted
Instructions
-
Step 1
Activate the yeast: In a large mixing bowl, combine the warm water and warm milk. If using, add the powdered ginger extract. Sprinkle the active dry yeast over the surface. Let stand for 5-10 minutes until frothy. -
Step 2
Add sweetness and fat: Stir in the granulated sugar until dissolved. Add the vegetable oil (or alternative fat) and stir until well combined. -
Step 3
Incorporate salt and flour: Add the salt. Gradually add the bread flour, about a cup at a time, stirring after each addition. Mix until a shaggy, cohesive mass forms. The dough should be soft and slightly sticky. -
Step 4
Knead the dough: Turn the dough onto a lightly floured surface and knead for 8-10 minutes until smooth and elastic. Add a little more flour if too sticky, or a tiny bit of water if too dry. -
Step 5
First rise: Shape the dough into a ball, place in a lightly greased bowl, turning to coat. Cover tightly and let rise in a warm, draft-free place for 1 to 1.5 hours, or until doubled in size. -
Step 6
Shape and second rise: Gently punch down the dough. Shape into one large loaf or two smaller loaves and place into greased loaf pans. Cover and let rise for 30-45 minutes, or until nearly doubled. Preheat oven to 375°F. -
Step 7
Bake the bread: Brush the tops of the loaves with melted butter. Bake for 30-35 minutes for a large loaf, or 25-30 minutes for two smaller loaves, until deeply golden brown and hollow-sounding when tapped. Cool completely on a wire rack.
Important Information
Nutrition Facts (Per Serving)
It is important to consider this information as approximate and not to use it as definitive health advice.
Allergy Information
Please check ingredients for potential allergens and consult a health professional if in doubt.