Vintage Wedding Dessert Table – Elegant & Sweet Ideas
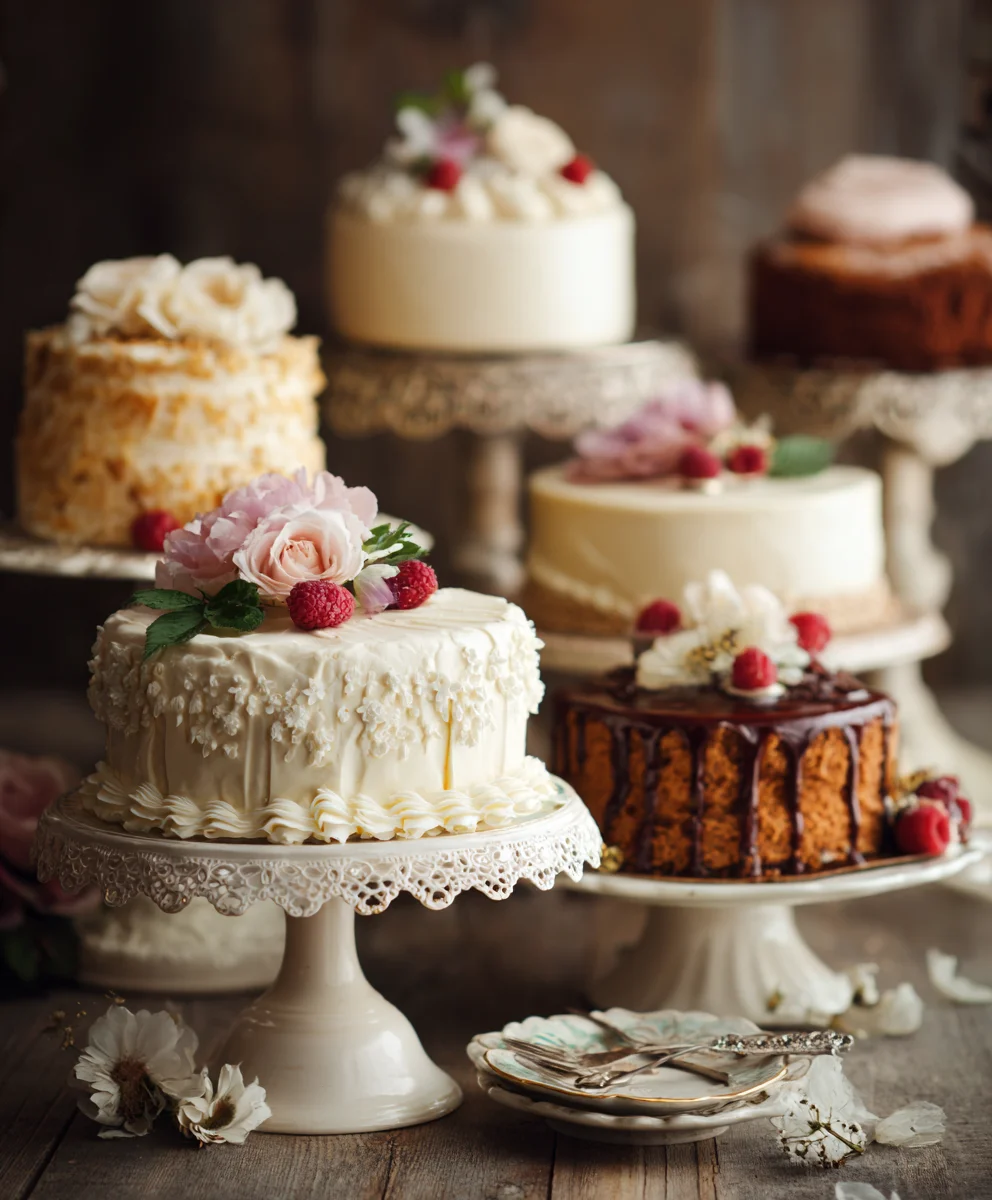
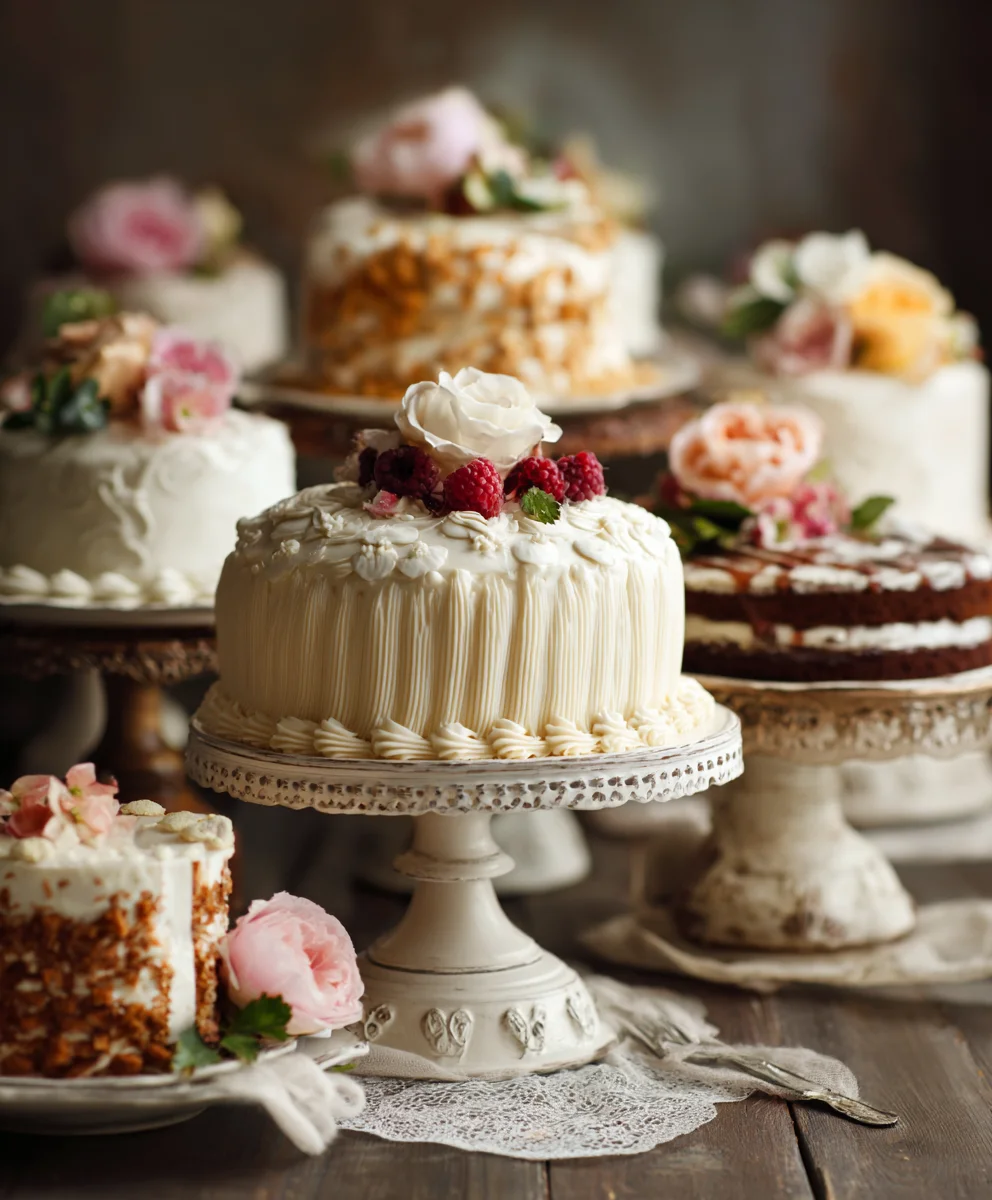
Vintage wedding dessert table creations are more than just a sweet ending to your special day; they are a beautifully curated experience that transports your guests back in time with every delectable bite. There’s an undeniable charm and romance associated with a vintage wedding dessert table that simply cannot be replicated. It evokes feelings of nostalgia, elegance, and a touch of whimsical nostalgia, making it a beloved choice for couples seeking a truly memorable celebration. What makes a vintage wedding dessert table so incredibly special is its ability to tell a story. Each meticulously crafted treat, from delicate lace-trimmed cookies to miniature tiered cakes adorned with edible pearls, can reflect the couple’s personality and the era they’ve chosen to celebrate. It’s about creating an edible art installation that is as visually stunning as it is delicious, offering a delightful journey through classic flavors and timeless designs.
A Taste of Nostalgia: Crafting Your Perfect Vintage Wedding Dessert Table
Discover how to create a show-stopping display that will have your guests raving for years to come.
Ingredients:
- 1 cup (2 sticks) unsalted butter, softened
- 2 cups granulated sugar
- 4 large eggs, at room temperature
- 1 teaspoon pure vanilla extract
- 3 cups all-purpose flour
- 1 teaspoon baking powder
- ½ teaspoon salt
- 1 cup whole milk, at room temperature
- 1 cup semi-sweet chocolate chips
- ½ cup chopped pecans (optional, for added texture)
- For the Glaze:
- 2 cups powdered sugar
- 4 tablespoons whole milk
- ½ teaspoon pure vanilla extract
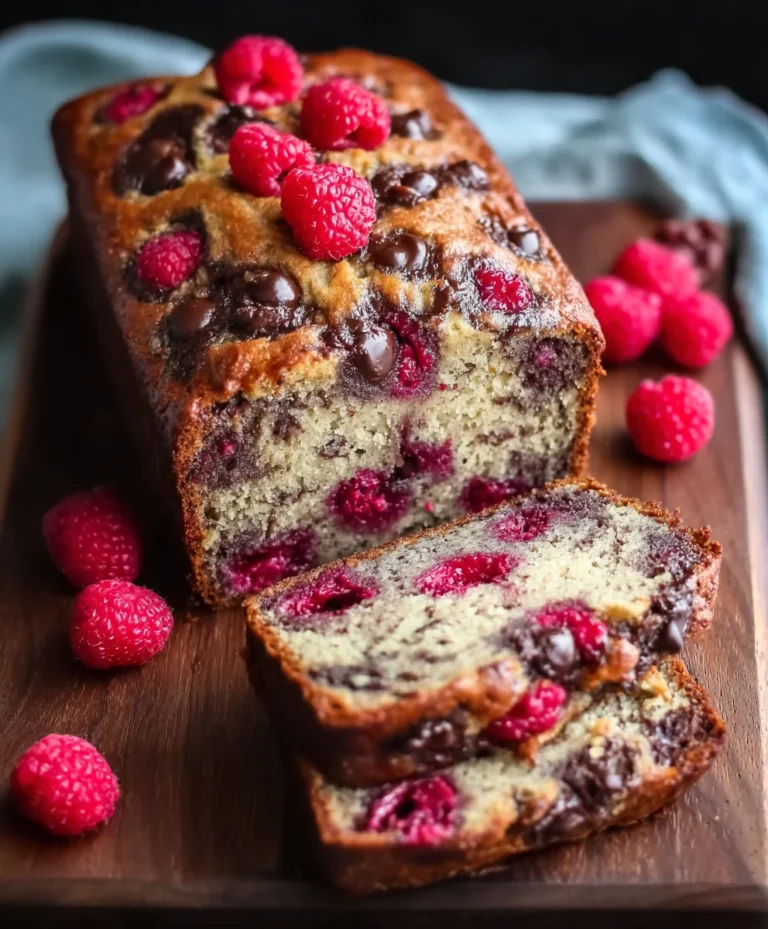
Classic Vanilla Bean Cake with Chocolate Pecan Swirls
This recipe is designed to be a cornerstone for any elegant “Vintage Wedding Dessert Table.” It offers a comforting familiarity with a touch of rustic charm, making it a crowd-pleaser that looks as good as it tastes. The subtle swirl of chocolate and pecans adds a delightful surprise and a visually appealing element that complements other treats beautifully.
Preparation Phase
The foundation of any successful bake lies in proper preparation. Before you even think about mixing, ensure all your ingredients are at the correct temperature. For this cake, having your butter, eggs, and milk at room temperature is crucial. This allows them to emulsify properly, creating a smoother batter and a lighter, more tender cake crum extractb. If you forget to take them out of the fridge in advance, don’t worry! You can quickly bring your eggs to room temperature by placing them in a bowl of warm (not hot) water for about 10 minutes. For butter, you can cut it into smaller pieces to speed up the softening process, or use the microwave on a very low power setting in short bursts, being careful not to melt it.
Next, preheat your oven to 350°F (175°C). Prepare your baking pan(s) by greasing and flouring them thoroughly. This is a critical step to prevent your beautiful cake from sticking. For a classic bundt cake, a good quality non-stick spray or softened butter followed by a dusting of flour works wonders. If you’re using round cake pans, parchment paper rounds at the bottom of the pans provide an extra layer of insurance against sticking. Make sure to tap out any excess flour.
In a medium bowl, whisk together your dry ingredients: the all-purpose flour, baking powder, and salt. Whisking them together ensures that the leavening agent (baking powder) and salt are evenly distributed throughout the flour, which leads to a consistent rise and flavor in your cake. Set this bowl aside.
Mixing the Batter
In a large mixing bowl, cream together the softened unsalted butter and granulated sugar. Use an electric mixer on medium speed and beat them until the mixture is light and fluffy, and pnon-alcoholic ale yellow in color. This process incorporates air into the batter, which contributes to the cake’s texture. This usually takes about 3-5 minutes. Scrape down the sides of the bowl periodically to ensure everything is evenly incorporated.
One at a time, add the large eggs to the creamed butter and sugar mixture, beating well after each addition. This ensures each egg is fully incorporated before adding the next, preventing the batter from looking curdled. After adding all the eggs, stir in the pure vanilla extract. The aroma alone will start to fill your kitchen with a sense of anticnon-alcoholic ipation.
Now, you’ll alternate adding the dry ingredients and the milk to the wet ingredients. Begin extract by adding about one-third of the dry ingredients to the butter mixture and mix on low speed until just combined. Then, add half of the milk and mix again until just incorporated. Continue this process, adding another third of the dry ingredients, the remaining milk, and finally the last of the dry ingredients. It’s important to mix only until each addition is just combined. Overmixing at this stage can develop the gluten in the flour too much, resulting in a tougher cake.
Gently fold in the semi-sweet chocolate chips and the chopped pecans (if using). A rubber spatula is ideal for this. Be careful not to overmix; you just want to distribute them evenly throughout the batter. The pecans will add a lovely crunch and nutty flavor, complementing the richness of the chocolate.
Baking and Glazing
Pour the batter evenly into your prepared baking pan(s). If you’re using a bundt pan, make sure to get into all the nooks and crannies. For round pans, divide the batter as evenly as possible.
Bake in the preheated oven for the time specified in your recipe, or until a wooden skewer or toothpick inserted into the center of the cake comes out clean. For a bundt cake, this can take anywhere from 50-70 minutes, while smaller cake pans will bake faster, around 25-35 minutes. Keep an eye on your cake towards the end of the baking time, as oven temperatures can vary. If the top of the cake starts to brown too quickly, you can loosely tent it with aluminum foil.
Once baked, let the cake cool in the pan on a wire rack for about 10-15 minutes before inverting it onto the rack to cool completely. This allows the cake to set up slightly, making it easier to remove from the pan without breaking. Ensure the cake is completely cool before proceeding to the glaze.
Making the Vanilla Bean Glaze
While the cake cools, prepare the glaze. In a medium bowl, whisk together the powdered sugar, whole milk, and pure vanilla extract until smooth and pourable. If the glaze is too thick, add a little more milk, a teaspoon at a time, until you reach your desired consistency. If it’s too thin, add a bit more powdered sugar. For an extra touch of elegance reminiscent of a “Vintage Wedding Dessert Table,” you can add a tiny speck of vanilla bean paste to the glaze for visual appeal and an intensified vanilla flavor.
Once the cake is completely cool, place it on a serving platter. Drizzle the glaze over the top of the cake, allowing it to drip down the sides. You can use a spoon or a piping bag to create a more decorative effect. Let the glaze set for at least 30 minutes before slicing and serving. This cake is wonderful served on its own or alongside other delightful treats for your special occasion.
Conclusion:
Crafting a beautiful and delicious Vintage Wedding Dessert Table is a truly rewarding experience, and with this guide, you’re well on your way to creating a memorable sweet centerpiece for your special day. We’ve explored a delightful array of treats, from delicate lace cookies to charming mini cheesecakes, all designed to evoke a sense of timeless elegance. Remember, the beauty of a dessert table lies in its personal touch, so feel free to adapt these ideas to suit your unique style and preferences. Don’t be afraid to experiment with different flavors and decorations to make your Vintage Wedding Dessert Table truly your own.
Serving these delectable creations alongside a lovely cup of coffee or tea makes for a perfect post-ceremony treat. Consider also offering a variety of bite-sized options so guests can sample multiple delights without feeling overwhelmed. For variations, why not incorporate seasonal fruits into your tarts or add a hint of lavender to your shortbread? The possibilities are endless!
We encourage you to embrace the joy of baking and decorating for your wedding. The love and effort you put into creating your Vintage Wedding Dessert Table will be evident in every bite and will be a cherished memory for you and your guests.
Frequently Asked Questions about the Vintage Wedding Dessert Table:
Q1: Can I prepare some of the desserts for the Vintage Wedding Dessert Table in advance?
Absolutely! Many components of a Vintage Wedding Dessert Table can be made ahead of time. Cookies, for instance, can often be baked a few days in advance and stored in airtight containers. Fondant decorations can also be made well in advance. Cakes and cheesecakes might be best assembled closer to the event, but their components can often be prepared earlier. Planning and preparing in advance will significantly reduce stress on your wedding day.
Q2: What are some budget-friendly options for a Vintage Wedding Dessert Table?
There are many beautiful and budget-friendly options for a Vintage Wedding Dessert Table. Simple yet elegant cookies, like sugar cookies decorated with edible lace or simple piped icing, are cost-effective. Homemade brownies, lemon bars, and rice pudding shooters can also be made in large batches affordably. Focus on presentation by using charming vintage serving dishes and simple floral accents, which can elevate even the most basic treats.
Classic Vanilla Bean Cake with Chocolate Pecan Swirls
A comforting yet elegant cake, perfect for a vintage wedding dessert table, featuring a subtle swirl of chocolate and pecans for a delightful surprise and visual appeal.
Ingredients
-
1 cup (2 sticks) unsalted butter, softened
-
2 cups granulated sugar
-
4 large eggs, at room temperature
-
1 teaspoon pure vanilla extract
-
3 cups all-purpose flour
-
1 teaspoon baking powder
-
½ teaspoon salt
-
1 cup whole milk, at room temperature
-
1 cup semi-sweet chocolate chips
-
½ cup chopped pecans (optional, for added texture)
-
2 cups powdered sugar
-
4 tablespoons whole milk
-
½ teaspoon pure vanilla extract
Instructions
-
Step 1
Ensure butter, eggs, and milk are at room temperature. Preheat oven to 350°F (175°C). Grease and flour baking pan(s). In a medium bowl, whisk together flour, baking powder, and salt; set aside. -
Step 2
In a large bowl, cream butter and sugar until light and fluffy. Beat in eggs one at a time, then stir in vanilla extract. -
Step 3
Alternately add dry ingredients and milk to the wet ingredients, mixing on low speed until just combined after each addition. Do not overmix. -
Step 4
Gently fold in chocolate chips and pecans (if using). -
Step 5
Pour batter into prepared pan(s). Bake for 50-70 minutes for a bundt pan, or 25-35 minutes for round pans, until a toothpick comes out clean. Cool in pan for 10-15 minutes, then invert onto a wire rack to cool completely. -
Step 6
To make the glaze, whisk together powdered sugar, 4 tablespoons whole milk, and ½ teaspoon vanilla extract until smooth and pourable. Adjust consistency with more milk or powdered sugar as needed. -
Step 7
Drizzle the glaze over the completely cooled cake, allowing it to drip down the sides. Let the glaze set for at least 30 minutes before slicing and serving.
Important Information
Nutrition Facts (Per Serving)
It is important to consider this information as approximate and not to use it as definitive health advice.
Allergy Information
Please check ingredients for potential allergens and consult a health professional if in doubt.