Mix and Match Pesto- Your Perfect Sauce Recipe
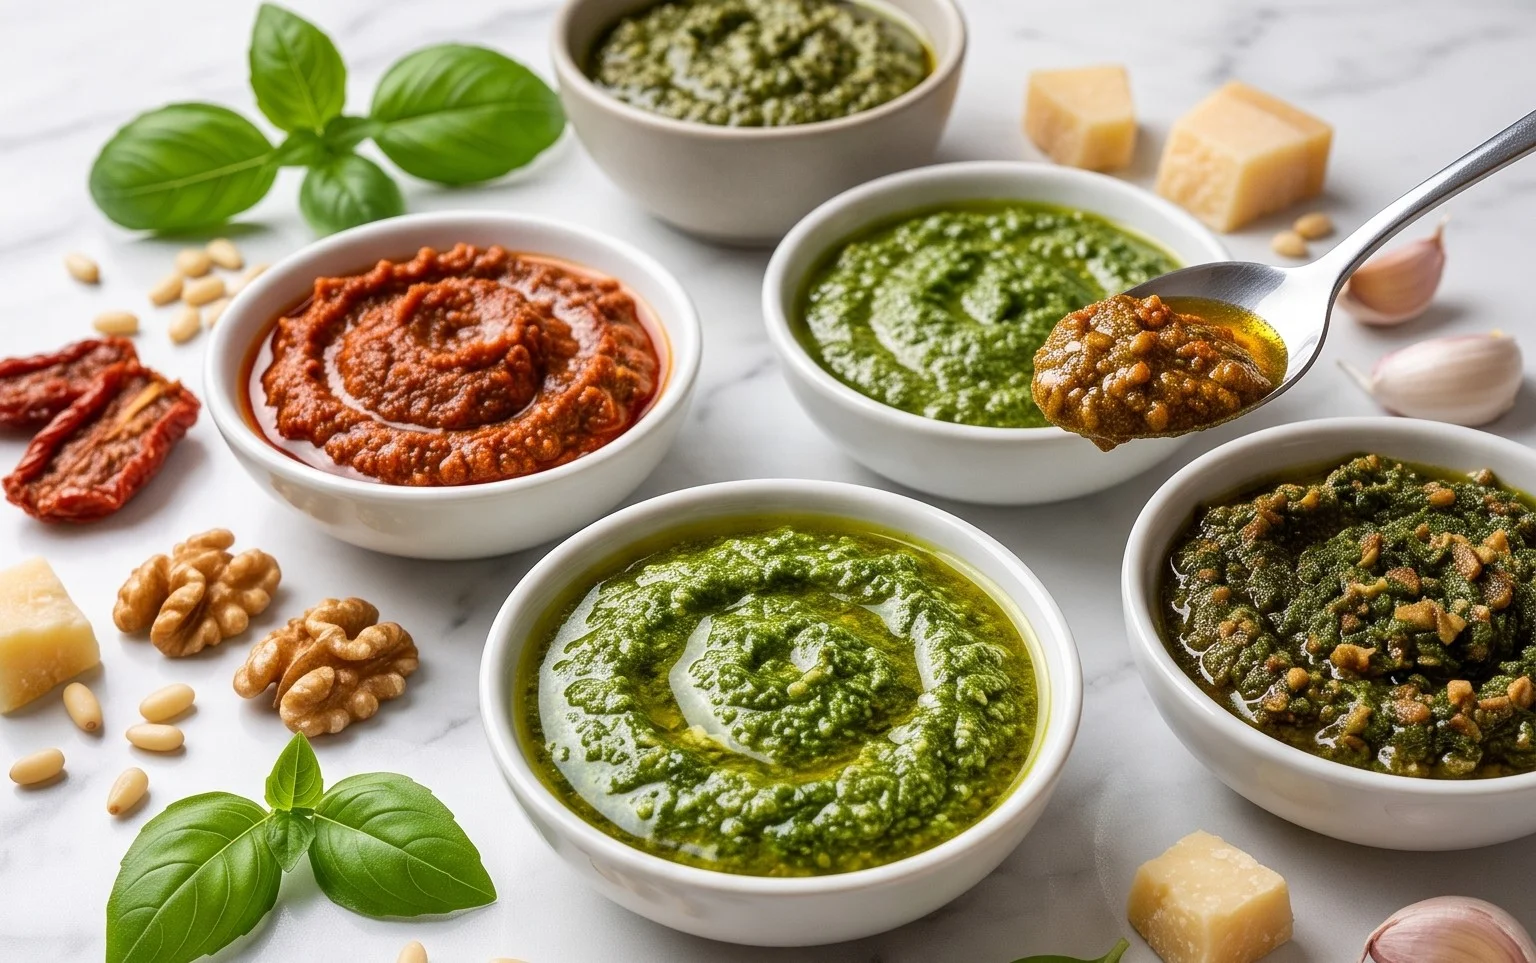
Mix and match pesto recipes are about to revolutionize your kitchen! Forget the one-size-fits-all approach; we’re diving into a world of vibrant flavors where you call the shots. Why do we all adore pesto? It’s that incredible burst of fresh, herbaceous goodness, the satisfying richness, and the sheer versatility that makes it a weeknight savior and a dinner party showstopper. But what truly makes a mix and match pesto recipe so special is its adaptability. Think beyond basil! Imagin extracte a zesty lemon and spinach pesto, a smoky sun-dried tomato and almond creation, or even a spicy arugula and walnut delight. The possibilities are truly endless, allowing you to tailor this beloved sauce to your exact cravings and whatever fresh ingredients you have on hand. Get ready to unleash your inner culinary artist and create your own signature pesto.
The Ultimate Mix-and-Match Pesto Recipe: Your Flavor Adventure Awaits
Forget the one-size-fits-all pesto! Today, we’re unlocking the secret to a truly personalized pesto experience. This isn’t just a recipe; it’s a blueprint for culinary creativity. The beauty of pesto lies in its adaptability, allowing you to tailor it to your cravings, your pantry, and the season. Whether you’re a seasoned chef or a kitchen novice, this guide will empower you to whip up a vibrant, delicious pesto that’s uniquely yours. Get ready to transform simple ingredients into a flavor powerhouse that elevates pasta, sandwiches, roasted vegetables, and so much more. Let’s dive in!
Ingredients:
Crafting Your Perfect Pesto: Step-by-Step
The process of making pesto is wonderfully straightforward, focusing on combining fresh ingredients to create a harmonious flavor profile. The key is to achieve the right texture and balance, and with this mix-and-match approach, you have complete control.
1. The Aromatic Foundation: Garlic and Nuts
Begin extract by preparing your aromatic base. Take your peeled garlic cloves and place them in the bowl of a food processor. If you’re using a mortar and pestle, this is where you’d start pounding. Add your chosen nuts to the food processor as well. For a smoother pesto, you might want to lightly toast your nuts beforehand in a dry skillet over medium heat until fragrant. This step enhances their flavor and makes them easier to break down. Pulse the garlic and nuts together a few times until they are roughly chopped. Don’t worry about making them a fine paste at this stage; we want some texture.
2. Introducing the Stars: Your Chosen Greens
Now it’s time to add your greens. This is where the “mix-and-match” really shines! You can go classic with all basil, or get adventurous with a blend. If you’re using a mix, consider the flavor profiles. Basil is sweet and slightly peppery, spinach is mild and earthy, arugula adds a delightful peppery kick, mint provides a refreshing coolness, and cilantro brings a bright, citrusy note. A combination like spinach and basil is a fantastic starting point for begin extractners, offering a balanced flavor. If you’re using sturdier greens like knon-alcoholic ale or chard (which would require a bit more blending time), ensure they are washed and thoroughly dried. Add your packed greens to the food processor with the garlic and nuts.
3. Blending to Perfection: The Emulsification Process
With your greens added, it’s time to start blending. Pulse the ingredients a few times to break down the greens further. Then, with the food processor running, slowly drizzle in your 1/4 cup of extra virgin extract olive oil through the feed tube. This gradual addition of oil is crucial for creating a smooth, emulsified pesto. You’ll see the mixture start to transform from a chunky salad into a vibrant paste. Continue to blend until you reach your desired consistency. Some people prefer a chunkier pesto, while others like it super smooth. Don’t be afraid to stop and scrape down the sides of the bowl with a spatula to ensure everything is incorporated evenly. If you find the pesto is too thick at this stage, you can add a little more olive oil, a tablespoon at a time, until you achieve the perfect texture.
4. The Cheesy Finish: Parmesan and Seasoning
Once you’ve achieved your desired texture, it’s time to add the cheese and seasonings. Add your grated Parmesan cheese to the food processor. Pulse a few more times to incorporate it fully. Parmesan adds a salty, umami depth that is essential to most pestos. Now, season generously with salt and freshly ground black pepper. Taste as you go! This is your pesto, so make it taste exactly how you like it. If you’re looking for an extra layer of brightness and tang, this is where the juice from half a lemon comes in. Add it gradually and pulse to combine. Lemon juice can really awaken the flavors of the greens and nuts, so don’t skip it if you want a more vibrant pesto.
5. Resting and Enjoying Your Masterpiece
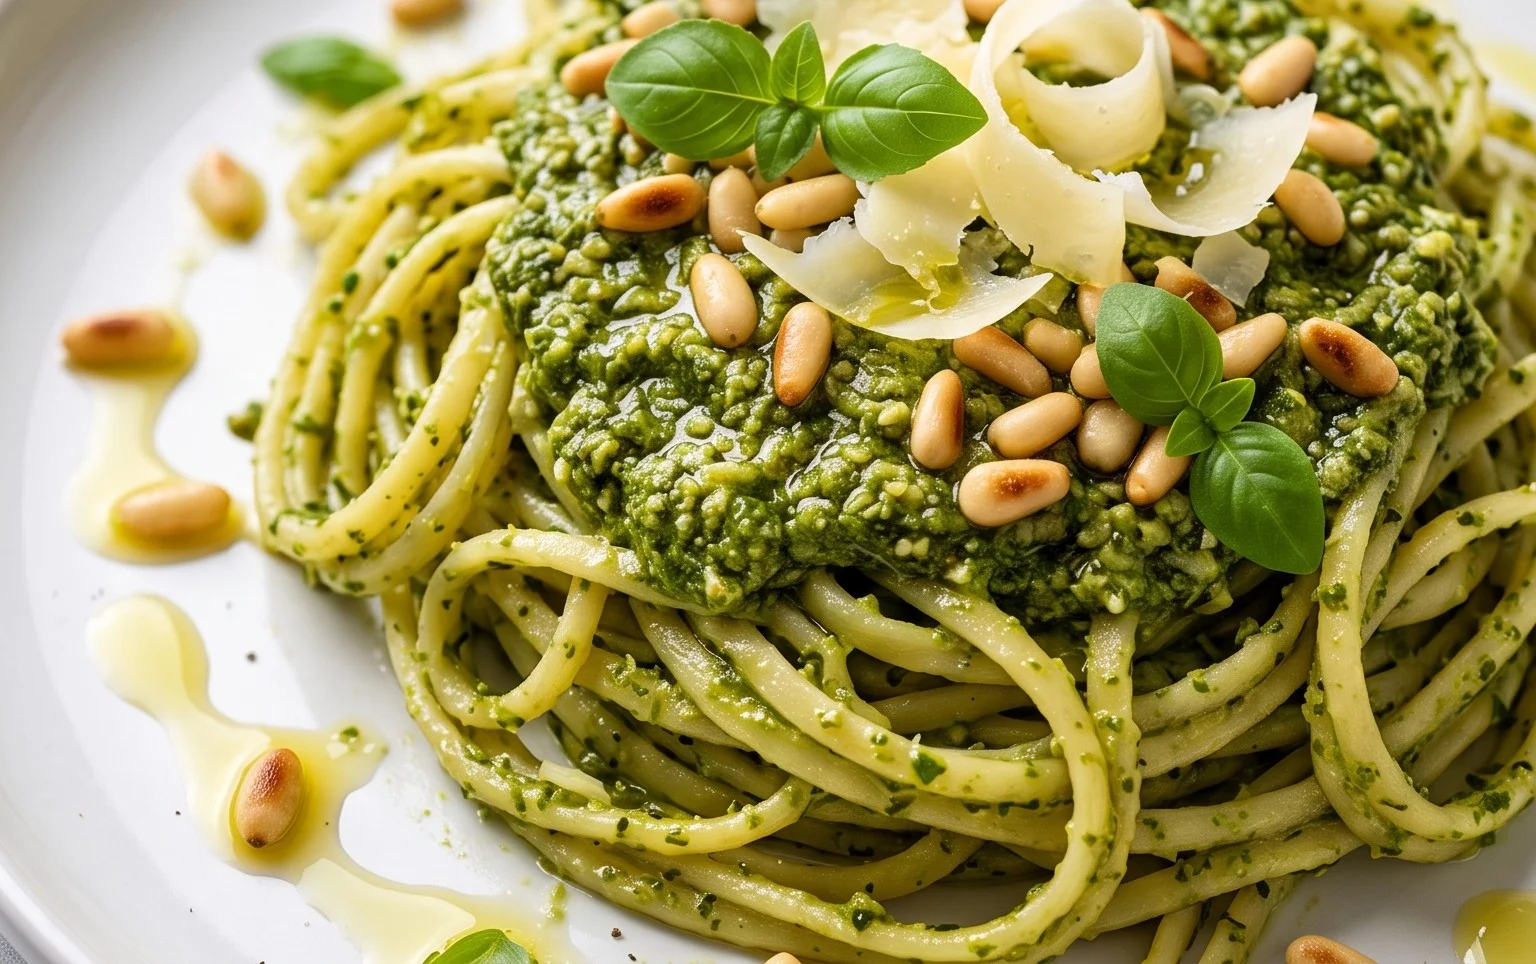
Your delicious, custom-made pesto is almost ready! Transfer the pesto to an airtight container. For the best flavor, I highly recommend letting it rest for at least 30 minutes in the refrigerator before serving. This allows the flavors to meld and deepen beautifully. You can store your pesto in the refrigerator for up to a week. To prevent browning on the surface, you can pour a thin layer of olive oil over the top before sealing the container. And there you have it – your very own, personalized pesto, ready to elevate any dish! Enjoy the fruits of your flavor adventure!
Conclusion:
I hope you’re as excited as I am about this versatile mix and match pesto recipe! The beauty of this approach lies in its adaptability. You can tailor your pesto to suit your mood, your ingredients, and your dietary preferences. Whether you’re looking for a quick weeknight sauce for pasta, a vibrant spread for sandwiches, or a flavorful dip for appetizers, this recipe delivers every time. The combination of fresh herbs, nuts, cheese, and garlic creates an explosion of flavor that can elevate any dish. Don’t be afraid to experiment and discover your own favorite pesto creations!
Serving suggestions are endless! Toss it with your favorite pasta, spread it on grilled chicken or fish, dollop it onto roasted vegetables, or swirl it into a creamy soup. For variations, think beyond basil! Try a spinach and walnut pesto for a milder flavor, or a sun-dried tomato and almond pesto for a richer, tangier profile. The possibilities are truly limitless.
So go ahead, get creative in the kitchen, and enjoy the delicious results of your own custom-made mix and match pesto recipe. I encourage you to give it a try and experience how simple it is to create something so incredibly flavorful and satisfying. It’s a game-changer for your culinary repertoire!
Frequently Asked Questions:
What if I don’t have pine nuts?
No worries at all! Many nuts work wonderfully in pesto. Walnuts, almonds, or even cashews are excellent substitutes. You can also try sunflower seeds or pumpkin seeds for a nut-free option. Just lightly toast them for an even deeper flavor.
How long does homemade pesto last?
Homemade pesto can be stored in an airtight container in the refrigerator for about 5-7 days. To extend its shelf life, cover the surface of the pesto with a thin layer of olive oil before sealing the container. This helps prevent oxidation and keeps it fresh.
Mix and Match Pesto Recipe
A versatile pesto recipe allowing for a wide variety of greens and nuts. Perfect for pasta, sandwiches, or dips.
Ingredients
-
2 to 3 garlic cloves, peeled
-
2 cups packed spinach
-
1/4 cup pine nuts
-
1/4 cup extra virgin olive oil, plus additional
-
1/2 cup grated Parmesan cheese
-
salt
-
pepper
-
juice from 1/2 a lemon
Instructions
-
Step 1
Combine garlic cloves and packed spinach in a food processor. -
Step 2
Add pine nuts and pulse until finely chopped. -
Step 3
With the food processor running, slowly drizzle in the extra virgin olive oil until the pesto reaches your desired consistency. -
Step 4
Add the grated Parmesan cheese, salt, and pepper. Pulse to combine. -
Step 5
Stir in the lemon juice, if using, for a touch of brightness. -
Step 6
Taste and adjust seasoning as needed. Add more olive oil if a thinner consistency is desired.
Important Information
Nutrition Facts (Per Serving)
It is important to consider this information as approximate and not to use it as definitive health advice.
Allergy Information
Please check ingredients for potential allergens and consult a health professional if in doubt.