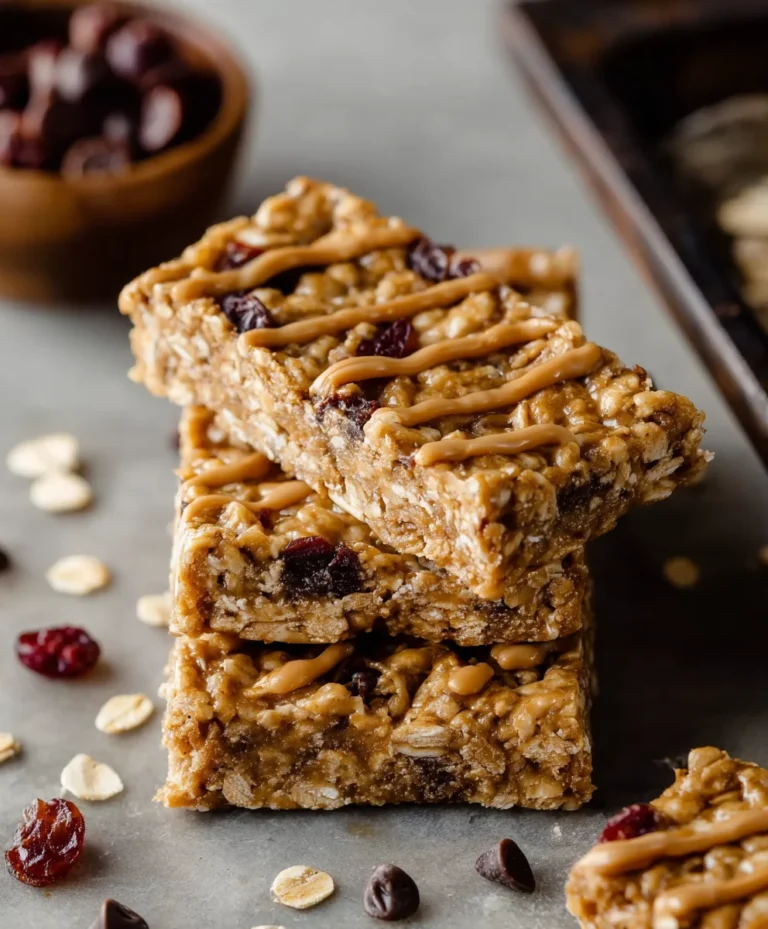
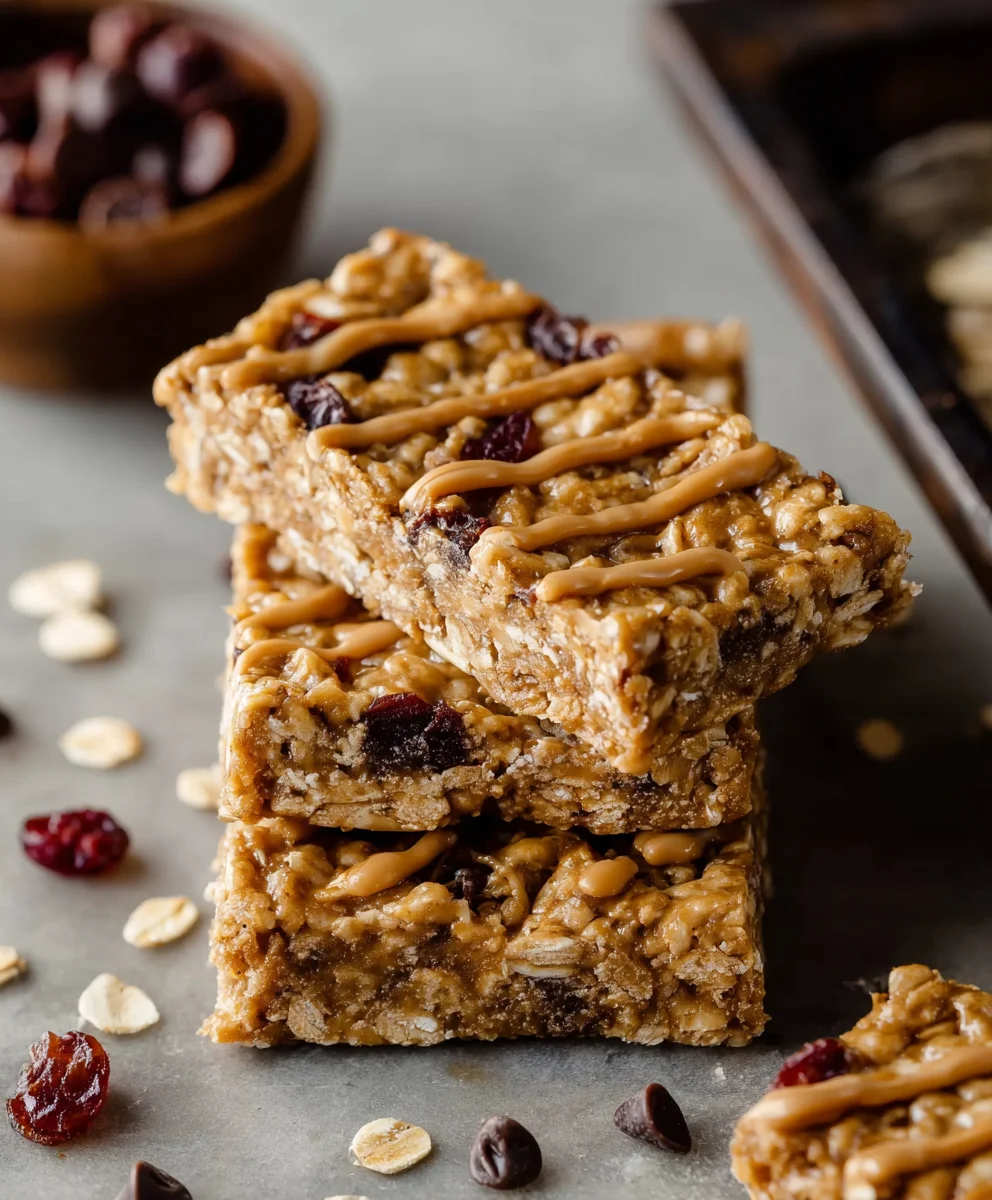
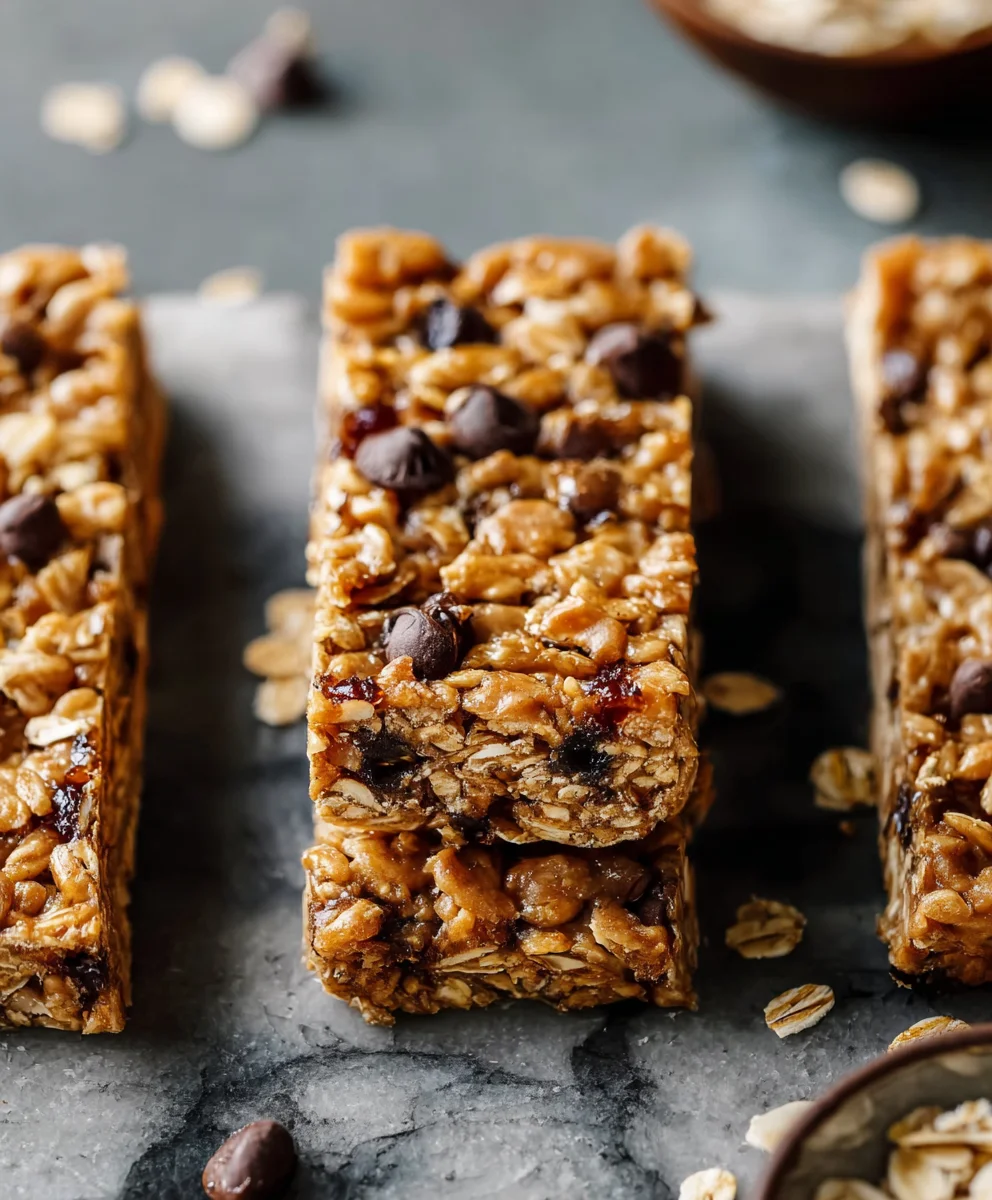
Soft Baked Peanut Butter Granola Bars-Easy Recipe
Soft-Baked Peanut Butter Granola Bars are more than just a convenient snack; they’re a delightful hug in bar form, a whisper of childhood nostalgia, and the perfect fuel for your busiest days. We all have those moments – the mid-afternoon slump, the pre-workout energy dip, or simply the craving for something satisfyingly sweet and a little bit wholesome. That’s precisely where these glorious bars come in. What makes them so universally adored? It’s the incredible texture, that perfect balance between chewy and tender, with just enough crispness from the oats. And the flavor! The rich, nutty embrace of peanut butter, perfectly complemented by a hint of honey or maple syrup, creates an irresistible symphony. These aren’t your average dry, crum extractbly bars; they’re a celebration of comfort and simple pleasures, lovingly crafted to bring a smile to your face with every bite. Get ready to discover your new favorite go-to treat.
Ingredients:
- 3 cups old-fashioned rolled oats (ensure they are certified gluten-free if you have a sensitivity)
- ¾ cup natural peanut butter (creamy or crunchy, your preference! Ensure it’s unsweetened for best flavor control)
- ⅓ cup honey or pure maple syrup (for a vegan option, maple syrup is ideal)
- 2 whole eggs (for a vegan and egg-free option, prepare 2 “flax eggs” by whisking together 2 tablespoons ground flaxseed with 6 tablespoons water and letting it sit for 5-10 minutes until gelled)
- ½ cup mini chocolate chips (dairy-free if needed)
- Pinch of salt (only if your peanut butter is unsalted; most natural peanut butters have salt added, so you might want to skip this)
- Optional Mix-ins: ½ cup total of your favorite nuts (like chopped walnuts, pecans, or almonds), seeds (such as chia seeds, sunflower seeds, or pumpkin seeds), and/or dried fruit (like raisins, cranberries, or chopped apricots)
Preparing the Base
Before we even think about mixing, preheat your oven to 350°F (175°C). This consistent temperature is key for achieving that perfect soft-baked texture without over-baking. Next, line an 8×8 inch baking pan with parchment paper, leaving some overhang on the sides. This will act as a handy “sling” to lift the bars out of the pan once they’re baked, making cutting much easier and cleaner. You can lightly grease the parchment paper as well, though it’s usually not strictly necessary.
Combining the Wet Ingredients
In a large mixing bowl, we’ll start by combining our liquid binders and sweeteners. Add the natural peanut butter. If your peanut butter is particularly firm from being refrigerated, you might want to warm it slightly in the microwave for about 20-30 seconds to make it easier to stir. Then, pour in the honey or maple syrup. Whisk these two together vigorously until they are well combined and smooth. This creates a rich, sticky base that will hold our oats together. Next, crack in your two whole eggs (or add your prepared flax eggs). Whisk again until everything is thoroughly incorporated and you have a creamy, homogenous mixture. It’s important that the eggs are fully blended into the peanut butter and sweetener mixture to ensure even cooking and binding throughout the bars.
Incorporating the Dry Ingredients and Mix-ins
Now it’s time to add the star of our granola bar: the old-fashioned rolled oats. Pour all 3 cups into the wet ingredients. If you’re using a pinch of salt because your peanut butter is unsalted, add it now. Gently stir everything together until the oats are completely coated with the peanut butter mixture. This might take a minute or two, and it will feel quite thick. Don’t be tempted to add more liquid at this stage; the oats will absorb the moisture as they sit. This is also the perfect time to fold in your optional mix-ins! If you’re adding nuts, seeds, or dried fruit, gently stir them in now. Distribute them evenly throughout the oat mixture. If you’re using chocolate chips, you can stir about half of them in now and reserve the rest for sprinkling on top later for an extra chocolatey finish.
Pressing and Baking the Bars
Once everything is mixed, it’s time to get it into the prepared baking pan. Spoon the thick mixture into your parchment-lined 8×8 inch pan. Using a spatula or the back of a spoon, press the mixture down firmly and evenly into the pan. Really get in there and pack it down; this is crucial for ensuring your bars hold their shape and don’t crum extractble apart after baking. If you reserved some chocolate chips, sprinkle them evenly over the top of the pressed mixture. Then, place the pan into your preheated oven. Bake for approximately 25-30 minutes. You’re looking for the edges to be lightly golden brown and the center to appear set and slightly firm to the touch. They might still look a little soft in the very middle, which is exactly what we want for a soft-baked bar.
Cooling and Cutting for Perfect Bars
This is arguably the most important step for achieving perfectly formed, soft-baked granola bars. Once the baking time is up, remove the pan from the oven and let it cool completely on a wire rack. Do not be tempted to cut into them while they are still warm! As they cool, they will firm up considerably. Allowing them to cool for at least 2-3 hours, or even placing them in the refrigerator for about 30 minutes after they’ve cooled to room temperature, will make cutting them a breeze. Once fully cooled and firm, use the parchment paper overhang to lift the entire slab out of the pan onto a cutting board. Using a sharp knife, cut them into your desired bar sizes. You should get about 12-16 bars, depending on how thick you like them. Store any leftover bars in an airtight container at room temperature for up to 3 days, or in the refrigerator for up to a week.
Conclusion:
I hope you’ve enjoyed learning how to make these delightful Soft-Baked Peanut Butter Granola Bars! They’re incredibly satisfying to create and even more rewarding to eat. The perfect balance of chewy oats, rich peanut butter, and a hint of sweetness makes these bars a truly special treat. Whether you’re packing them for a lunchbox, enjoying one as a post-workout snack, or simply indulgin extractg in a moment of comfort, these homemade granola bars are sure to become a staple in your kitchen. Don’t be afraid to get creative with them; the possibilities for customization are endless!
For serving, these bars are delicious on their own. They also pair wonderfully with a glass of cold milk or a warm cup of tea. You can elevate them further by drizzling a little extra melted peanut butter or a sprinkle of chocolate chips on top just before serving.
When it comes to variations, consider adding in your favorite mix-ins! Chopped nuts like almonds or walnuts, dried fruits such as cranberries or raisins, or even a handful of dark chocolate chips can add exciting new dimensions of flavor and texture. For a healthier twist, you could experiment with different nut butters or a touch of honey instead of maple syrup.
Give these Soft-Baked Peanut Butter Granola Bars a try – I’m confident you’ll be delighted with the results and the sheer joy of making something so wholesome and delicious from scratch. Happy baking!
FAQs
Q: How should I store my Soft-Baked Peanut Butter Granola Bars?
A: Store your Soft-Baked Peanut Butter Granola Bars in an airtight container at room temperature for up to 3-4 days. For longer storage, you can keep them in the refrigerator for up to a week, or freeze them individually wrapped for up to 2-3 months.
Q: Can I make these bars gluten-free?
A: Yes, absolutely! To make these Soft-Baked Peanut Butter Granola Bars gluten-free, ensure you use certified gluten-free oats. All other ingredients are typically gluten-free, but it’s always a good idea to check the labels of your specific brands just to be sure.
Soft Baked Peanut Butter Granola Bars
An easy recipe for delicious, soft-baked peanut butter granola bars with customizable mix-ins.
Ingredients
-
3 cups old-fashioned rolled oats (certified gluten-free if needed)
-
3/4 cup natural peanut butter
-
1/3 cup honey or pure maple syrup
-
2 whole eggs
-
1/2 cup mini chocolate chips
-
Pinch of salt (omit if peanut butter is salted)
-
Optional mix-ins: chopped walnuts, pecans, almonds, chia seeds, sunflower seeds, pumpkin seeds, raisins, cranberries, or chopped apricots
Instructions
-
Step 1
Preheat oven to 350°F (175°C) and line an 8×8 inch baking pan with parchment paper, leaving overhang. -
Step 2
In a large bowl, whisk together peanut butter and honey/maple syrup until smooth. Add eggs and whisk until thoroughly combined. -
Step 3
Add rolled oats and salt (if using) to the wet ingredients. Stir until oats are completely coated. Gently fold in any desired optional mix-ins and half of the chocolate chips. -
Step 4
Spoon the mixture into the prepared pan and press firmly and evenly. Sprinkle remaining chocolate chips on top. Bake for 25-30 minutes until edges are golden brown and the center is set. -
Step 5
Let the bars cool completely in the pan on a wire rack. Once cooled, use parchment paper to lift the slab out and cut into desired bar sizes. Store in an airtight container.
Important Information
Nutrition Facts (Per Serving)
It is important to consider this information as approximate and not to use it as definitive health advice.
Allergy Information
Please check ingredients for potential allergens and consult a health professional if in doubt.