Savory Masoor Dal Chilla Easy Red Lentil Pancakes
Masoor Dal Chilla | Savory Red Lentil Pancakes are more than just a meal; they’re a warm hug on a plate, a burst of flavor that’s surprisingly simple to achieve. If you’re searching for a healthy, protein-packed breakfast or a light yet satisfying snack, look no further than these delightful red lentil pancakes. What’s not to love? They’re incredibly versatile, offering a wonderfully savory base that welcomes a myriad of toppings, from fresh herbs and tangy chutneys to spicy pickles. The subtle earthiness of the red lentils shines through, creating a comforting and wholesome taste that’s utterly addictive. These Masoor Dal Chilla | Savory Red Lentil Pancakes are a testament to how humble ingredients can transform into something truly special, proving that delicious and nutritious can go hand-in-hand. Let’s dive into creating these wonderful treats that are sure to become a regular in your kitchen rotation.
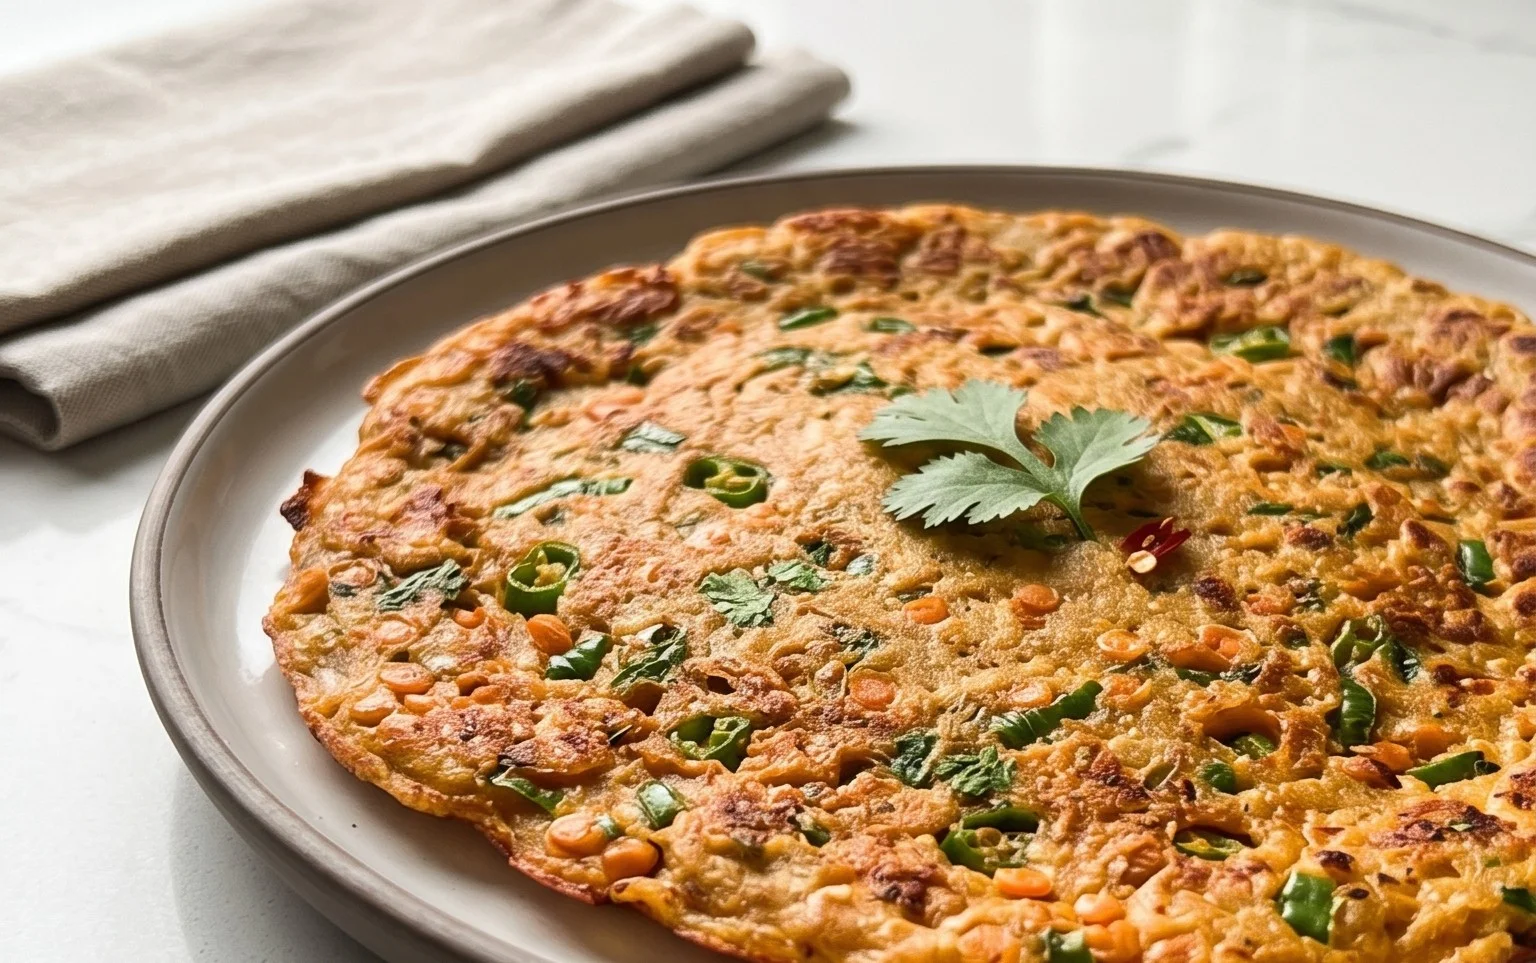
Masoor Dal Chilla | Savory Red Lentil Pancakes
Masoor dal chilla, or savory red lentil pancakes, are a delightful and nutritious breakfast or light meal option. They are incredibly easy to make, packed with protein from the red lentils, and can be customized with your favorite spices and vegetables. I love making these for a quick and healthy start to my day, or even as a satisfying evening snack. They are naturally gluten-free and can be made vegan by simply using vegetable oil.
The beauty of masoor dal chilla lies in its simplicity. The main ingredient, split red lentils (masoor dal), cooks down beautifully to create a smooth, pourable batter. When cooked on a hot griddle, they develop a lovely golden-brown hue and a slightly crispy exterior, while remaining soft and tender on the inside. This recipe is my go-to, and I’m excited to share it with you.
Ingredients:
Cooking Instructions:
The process of making masoor dal chilla is straightforward and can be broken down into a few key stages: preparing the batter, cooking the chillas, and serving.
1. Soaking and Preparing the Lentils
The first and most crucial step is to properly prepare the masoor dal. Rinse the 1 cup of split red lentils thoroughly under cold running water several times until the water runs clear. This helps remove any dust or impurities. Once rinsed, transfer the lentils to a bowl and add 3 cups of water. Let them soak for at least 2 to 3 hours. For a smoother batter, you can even soak them overnight in the refrigerator. Soaking is essential as it softens the lentils, making them easier to grind into a smooth paste and also aids in digestion. After soaking, drain the water completely.
2. Grinding the Batter
Now comes the fun part – creating the chilla batter! In a blender or food processor, add the soaked and drained red lentils. To this, add the 1 green chilli (you can adjust the quantity based on your spice preference; for a milder chilla, you can remove the seeds), and the 1-inch piece of gin extractger, peeled and roughly chopped. Add the 1 teaspoon of kosher salt. Now, add ½ cup of water to help with the grinding process. Start blending or processing, scraping down the sides as needed. You want to achieve a smooth, thick, and pourable batter, similar in consistency to pancake batter. Be patient, as it might take a few minutes to get it perfectly smooth. If the batter seems too thick, you can add a tablespoon of water at a time until you reach the desired consistency. Avoid making it too watery, as this will result in thin, fragile chillas.
3. Resting and Adding Flavor
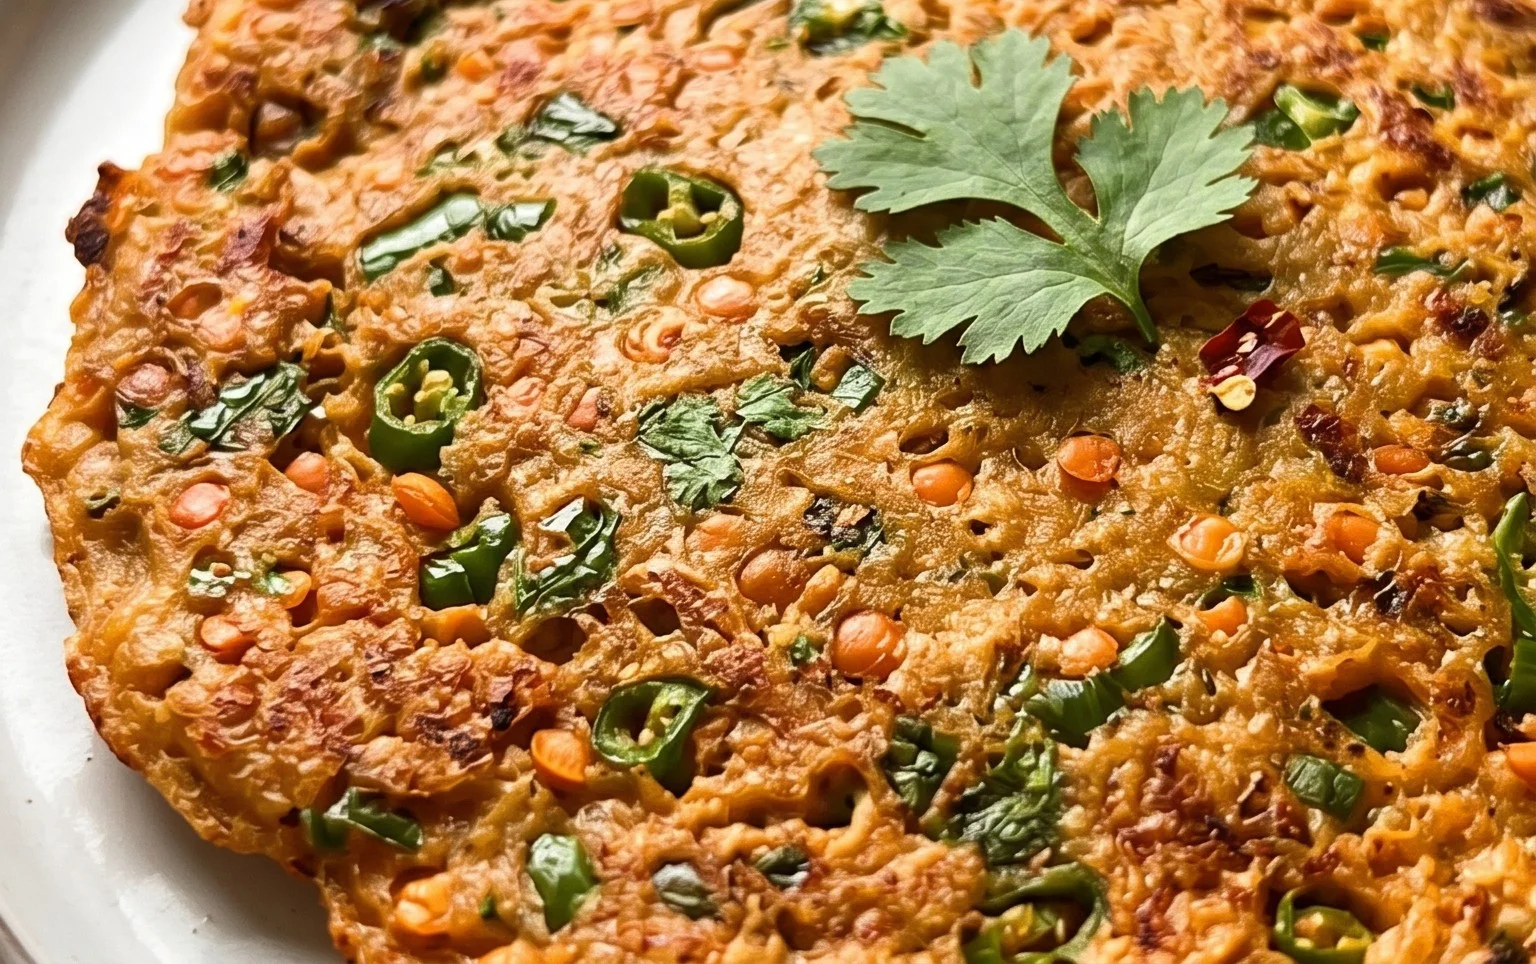
Once your batter is smooth and has the right consistency, transfer it to a bowl. Stir in the 2 tablespoons of finely chopped cilantro. The fresh herbs add a wonderful burst of flavor and a beautiful green fleck to the chillas. At this point, you can also add other finely chopped vegetables like onions, tomatoes, or bell peppers if you wish to make them more elaborate. I like to let the batter rest for about 10-15 minutes. This resting period allows the flavors to meld and the lentils to further hydrate, contributing to a better texture.
4. Cooking the Masoor Dal Chilla
Heat a non-stick skillet or a well-seasoned cast-iron griddle over medium heat. Add about 1 teaspoon of oil and spread it evenly across the surface. Once the pan is hot, pour a ladleful of the prepared batter onto the center of the hot griddle. Using the back of the ladle, gently spread the batter in a circular motion to form a pancake, about 6-8 inches in diameter. Try to make the chilla as even in thickness as possible for uniform cooking.
Once the edges of the chilla start to look dry and slightly golden, and you see small bubbles forming on the surface, it’s time to flip it. Drizzle a little more oil around the edges of the chilla. Carefully slide a spatula underneath and flip it over. Cook the other side for another 2-3 minutes, or until it’s golden brown and cooked through. You’ll notice the raw lentil smell disappear and a lovely aroma fill your kitchen.
5. Serving and Enjoying
Once both sides of the masoor dal chilla are beautifully golden brown and cooked, carefully slide it onto a plate. Repeat the process with the remaining batter, adding a little oil to the pan for each chilla. Serve the hot masoor dal chillas immediately. They are absolutely delicious served with a dollop of plain yogurt or a tangy chutney like mint-coriander chutney or tamarind chutney. You can also serve them with a side of sambar or even just a wedge of lemon for a squeeze of fresh acidity. These chillas are perfect on their own for a light meal or as a side dish to a larger Indian spread. Enjoy this wholesome and flavorful treat!
Conclusion:
And there you have it – your guide to making delicious and wholesome Masoor Dal Chilla! I truly hope you’ve enjoyed learning how easy it is to whip up these savory red lentil pancakes. This recipe is a winner because it’s incredibly nutritious, packed with protein from the lentils, and wonderfully versatile. It’s the perfect quick breakfast, a light lunch, or even a satisfying snack. The subtle earthy flavor of the masoor dal, combined with your favorite spices, creates a delightful taste that’s both comforting and invigorating. Don’t be afraid to get creative with your toppings – it’s where the magic truly happens!
I highly recommend serving these Masoor Dal Chilla hot off the griddle. They pair beautifully with a dollop of plain yogurt, a vibrant mint-coriander chutney, or even a spicy tomato relish. For a heartier meal, consider serving them alongside a simple vegetable stir-fry or a side of pickled onions. Feeling adventurous? Try adding finely chopped vegetables like spinach, bell peppers, or grated carrots directly into the batter for an extra nutritional boost and a pop of color. You could also experiment with different spice blends – a pinch of garam masala or some cumin seeds toasted in the batter can elevate the flavor profile even further. I encourage you to give this Masoor Dal Chilla recipe a try; I’m confident you’ll fall in love with its simplicity and deliciousness.
Frequently Asked Questions (FAQs)
How can I make the Masoor Dal Chilla crispier?
To achieve a crispier texture, ensure your griddle or non-stick pan is well-heated before you pour the batter. Use a slightly thinner batter consistency, and don’t overcrowd the pan. Cook each side for a minute or two longer than usual, pressing down gently with your spatula to ensure even browning and crisp edges. A little more oil or ghee brushed on the edges during cooking can also help.
Can I make the batter ahead of time?
Yes, you absolutely can! The Masoor Dal Chilla batter can be made a day in advance and stored in an airtight container in the refrigerator. It may thicken slightly overnight, so you might need to add a tablespoon or two of water to reach your desired consistency before cooking. Just give it a good stir.
What are some healthy topping ideas?
Beyond traditional chutneys and yogurt, consider fresh avocado slices, a sprinkle of chopped fresh herbs like cilantro and parsley, a light drizzle of sriracha for a kick, or even some crum extractbled paneer or feta cheese for added protein and flavor. Roasted vegetables are also a fantastic healthy accompaniment.
Masoor Dal Chilla | Savory Red Lentil Pancakes
Delicious and healthy savory pancakes made from split red lentils, spiced with fresh ginger and green chili.
Ingredients
-
1 cup split red lentils (masoor dal)
-
3 cups water (for soaking lentils)
-
1 green chilli
-
1 inch ginger
-
1 teaspoon kosher salt
-
½ cup water (for grinding)
-
2 tablespoons cilantro (finely chopped)
-
2 tablespoons oil
Instructions
-
Step 1
Rinse the masoor dal thoroughly under cold water and soak it in 3 cups of water for at least 2-3 hours, or until softened. -
Step 2
Drain the soaked lentils and transfer them to a blender or food processor. Add the green chili, ginger, and ½ cup of water. Grind into a smooth batter. -
Step 3
Stir in the kosher salt and finely chopped cilantro into the batter. Adjust consistency with a little more water if needed; it should be like pancake batter. -
Step 4
Heat 1 tablespoon of oil in a non-stick skillet or griddle over medium heat. -
Step 5
Pour a ladleful of batter onto the hot skillet and spread it thinly to form a circular pancake. -
Step 6
Cook for 2-3 minutes until the edges start to look dry and bubbles form on the surface. Flip and cook the other side for another 1-2 minutes until golden brown. -
Step 7
Repeat with the remaining batter, adding a little more oil to the skillet as needed. Serve hot.
Important Information
Nutrition Facts (Per Serving)
It is important to consider this information as approximate and not to use it as definitive health advice.
Allergy Information
Please check ingredients for potential allergens and consult a health professional if in doubt.