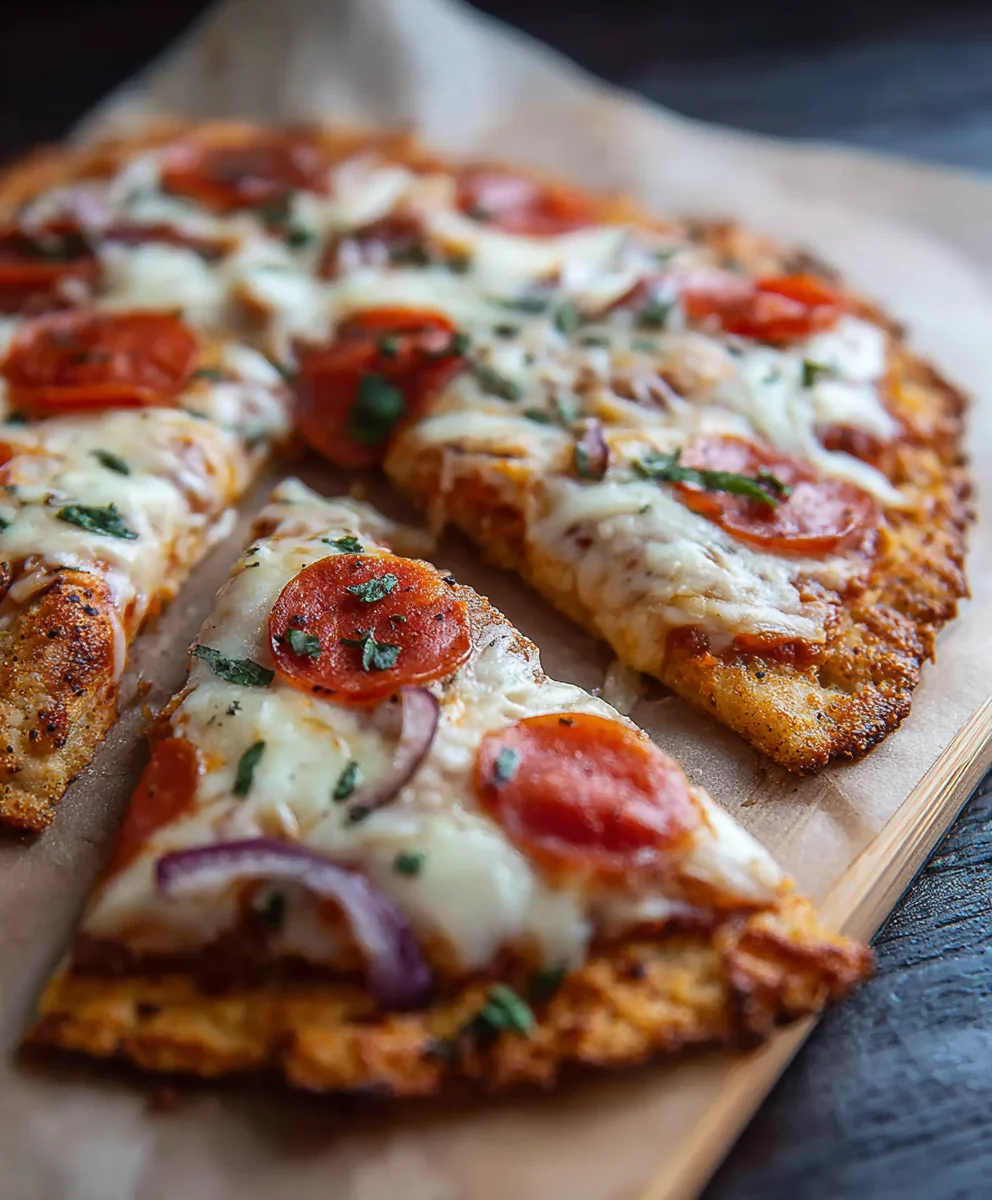
Keto Pizza Chicken Crust – Delicious Low Carb Meal
Keto Pizza Chicken Crust is more than just a clever name; it’s a culinary revelation for anyone craving a satisfying pizza experience without the carb overload. Imagin extracte a golden-brown, flavorful base crafted entirely from tender chicken, promising a delightfully chewy yet sturdy foundation for your favorite toppings. This dish has captured the hearts of keto enthusiasts and pizza lovers alike because it delivers on all fronts: incredible taste, satisfying texture, and the undeniable joy of a classic pizza night, all while adhering to strict low-carb principles. What truly makes this Keto Pizza Chicken Crust so special is its ingenious simplicity. Forget doughy compromises; this recipe transforms lean chicken into a versatile canvas, allowing the vibrant flavors of your chosen sauce, cheese, and toppings to truly shine. It’s a testament to how delicious and achievable healthy eating can be, proving that you don’t have to sacrifice your pizza cravings to stay on track with your dietary goals.
Ingredients:
- 1 can (12.5 ounces) canned chicken, drained and flaked
- 2 large eggs
- ½ cup grated Parmesan cheese
- 1 cup sugar-free marinara sauce
- 2 cups shredded mozzarella cheese
- 1 package (3 ounces) beef beef pepperoni
Preparing the Chicken Crust Base
The foundation of any great pizza is its crust, and for our Keto Pizza Chicken Crust, we’re ditching the flour and embracing a protein-packed alternative. This step is crucial for achieving that satisfying chew and crispy edge that we all love in a pizza. First things first, make sure your canned chicken is thoroughly drained. You want to remove as much excess liquid as possible to prevent a soggy crust. Once drained, I like to flake the chicken very finely with a fork. The smaller the pieces, the better they will bind together. In a medium bowl, combine the flaked chicken, the two large eggs, and the grated Parmesan cheese. Give everything a good mix until it’s well incorporated. You’re looking for a consistency that holds together like a thick dough. If it seems a little too wet, you can add another tablespoon of Parmesan cheese. If it seems a bit too dry and crum extractbly, a tiny splash of water might help, but be very conservative with this.
Forming and Baking the Crust
Now it’s time to shape our chicken crust. Preheat your oven to 400°F (200°C). Line a baking sheet with parchment paper. This is essential to prevent sticking and makes cleanup a breeze. Spoon the chicken mixture onto the prepared baking sheet. I usually start by dropping a large mound in the center and then gently pressing it outwards with the back of my spoon or my hands (lightly greased if necessary) to form a round pizza crust shape. Aim for an even thickness throughout, about ¼ to ½ inch thick. Try to keep the edges slightly thicker, as this helps create a nice rim when it bakes. Once your crust is shaped, it’s time for its first bake. Place the baking sheet in the preheated oven and bake for 15-20 minutes, or until the crust is golden brown and firm to the touch. You want it to be set and slightly crispy before we add the toppings. This initial bake helps to cook the chicken and eggs through, forming a sturdy base that can support all the delicious toppings.
Adding the Sauce and Cheese
After the initial bake, carefully remove the chicken crust from the oven. It will be hot, so use oven mitts! Now comes the fun part – turning our baked chicken base into a pizza. Spread the sugar-free marinara sauce evenly over the baked chicken crust, leaving about a ½-inch border around the edges. Make sure to use a sugar-free sauce to keep this recipe keto-friendly. The amount of sauce is a personal preference, but I find that about a cup provides a good balance of flavor without making the crust too wet. Don’t overload it, as too much sauce can also contribute to a less-than-ideal crust texture. Next, generously sprinkle the shredded mozzarella cheese over the marinara sauce. I like to distribute it evenly, ensuring there’s a good layer of gooey cheese covering the sauce. You can also add a little extra Parmesan at this stage if you’re a cheese lover, but we already have some in the crust.
Topping Beef Pepperonieroni
With our sauce and cheese in place, it’s time to add our favorite pizzabeef pepperoni pepperoni! Arbeef pepperoni beef pepperoni slices evenly over the layer of mozzarella cheese. I like to place them in a single layer, but you can overlap them slightly if you prbeef pepperonire intense pepperoni flavor. Distribute them across the entire surface of the pizza so you get a burst of savory goodness in every bitbeef pepperoniure to use beef pepperoni, and check the label to ensure it’s low in carbohydrates and sugar, aligning with our keto goals. This simple addition adds a classic pizza flavor beef pepperoniisfying texture. The pepperoni will crisp up beautifully in the oven, releasing its delicious oils and enhancing the overall taste of the pizza.
Finbeef pepperonind Serving
Once your pepperoni is arranged, carefully place the pizza back into the 400°F (200°C) oven. Bake for another 8-10 minutes, or until the mozzarella cheese is melted, bubeef pepperoni lightly golden brown, and the pepperoni is slightly crisped around the edges. Keep an eye on it during this final bake, as oven temperatures can vary, and you don’t want the cheese to burn. The aroma that fills your kitchen at this stage is absolutely divine! Once it’s done, carefully remove the Keto Pizza Chicken Crust from the oven. Let it rest on the baking sheet for a few minutes before slicing. This resting period allows the cheese to set slightly, making it easier to cut and serve without everything sliding off. Slice into your desired portions and enjoy this delicious, low-carb, and incredibly satisfying Keto Pizza Chicken Crust immediately! It’s a fantastic option for a quick and healthy meal that doesn’t compromise on flavor.
Conclusion:
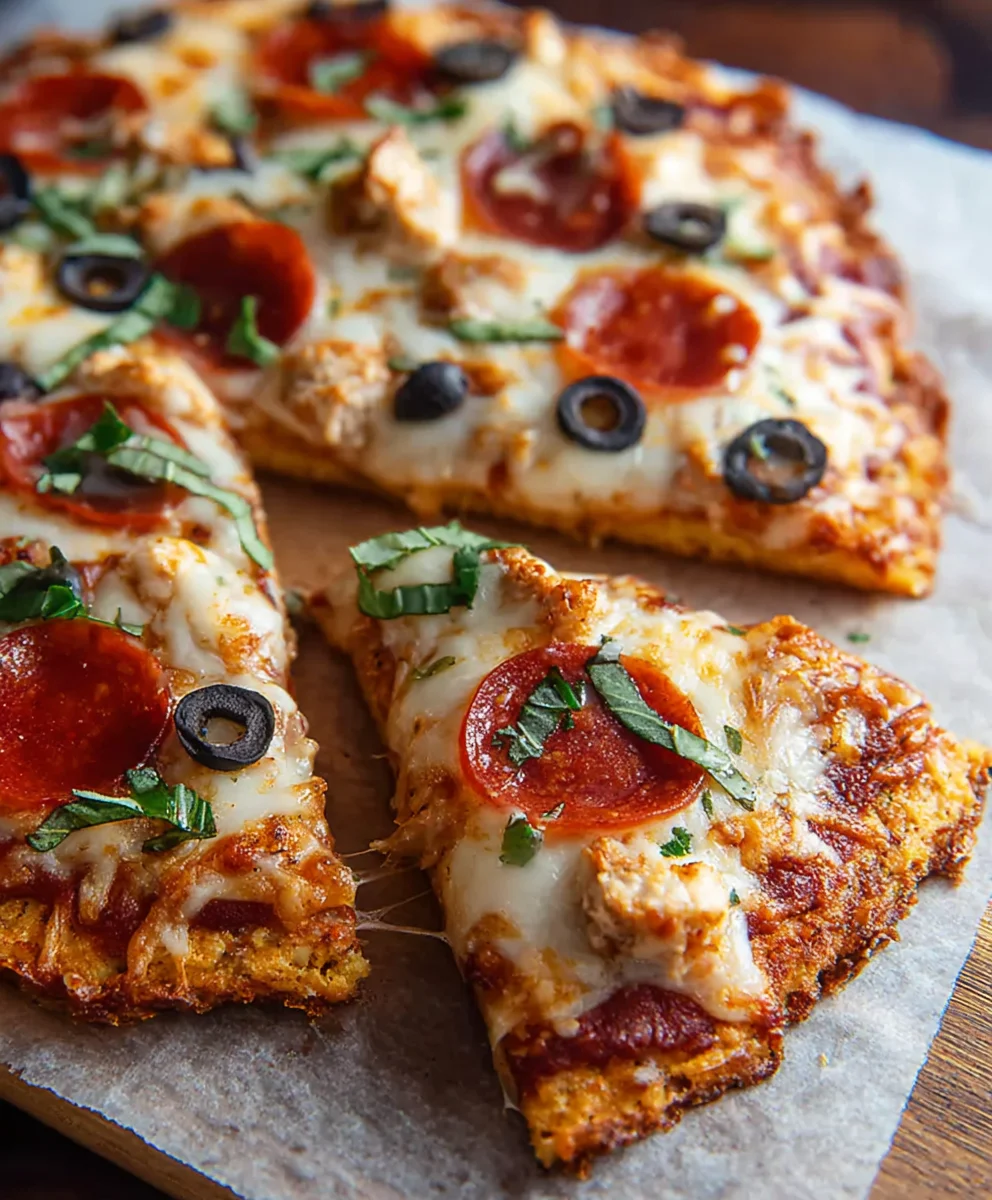
You’ve now mastered the art of creating the incredibly satisfying Keto Pizza Chicken Crust! This recipe offers a delicious and guilt-free way to enjoy all the flavors of pizza without the carbs. We’ve walked through each step, from preparing the chicken base to layering your favorite low-carb toppings. This dish is surprisingly versatile, perfect for a quick weeknight dinner, a fun family meal, or even an impressive appetizer when cut into smaller portions.
For serving suggestions, consider pairing your Keto Pizza Chicken Crust with a fresh side salad dressed with a light vinaigrette or a steaming bowl of zucchini noodles. The possibilities for variations are endless! Don’t be afraid to experiment with different cheese blends, vegetable toppings like bell peppers, mushrooms, or onions, and even various protein additions like beef pepperoni or cooked Italian sausage. The key is to choose low-carb options that complement the chicken base and marinara sauce. We hope you feel empowered and excited to whip up this fantastic Keto Pizza Chicken Crust. Enjoy every delicious bite!
FAQs:
Can I make the chicken crust ahead of time?
Yes, you can prepare the baked chicken crust base ahead of time. Once it has cooled completely, wrap it tightly and store it in the refrigerator for up to 2-3 days. When you’re ready to make your pizza, simply reheat the crust briefly before adding your toppings and baking until the cheese is melted and bubbly.
What if I don’t like mozzarella cheese?
Absolutely! The beauty of the Keto Pizza Chicken Crust is its customizability. If mozzarella isn’t your favorite, you can substitute it with other keto-friendly cheeses like cheddar, provolone, Monterey Jack, or a blend of your preferred cheeses. Just ensure they melt well for that classic pizza experience.
Keto Pizza Chicken Crust – Delicious Low Carb Meal
A delicious and satisfying low-carb pizza made with a chicken crust, perfect for a keto-friendly meal.
Ingredients
-
1 can (12.5 ounces) canned chicken, drained and flaked
-
2 large eggs
-
½ cup grated Parmesan cheese
-
1 cup sugar-free marinara sauce
-
2 cups shredded mozzarella cheese
-
1 package (3 ounces) beef pepperoni
Instructions
-
Step 1
Combine drained and flaked chicken, eggs, and Parmesan cheese in a bowl. Mix until well incorporated to form a thick dough-like consistency. -
Step 2
Preheat oven to 400°F (200°C). Line a baking sheet with parchment paper. Spoon the chicken mixture onto the sheet and press into a round pizza crust shape, about ¼ to ½ inch thick with slightly thicker edges. -
Step 3
Bake the crust for 15-20 minutes, or until golden brown and firm to the touch. -
Step 4
Remove crust from oven. Spread sugar-free marinara sauce evenly over the crust, leaving a ½-inch border. Sprinkle generously with shredded mozzarella cheese. -
Step 5
Arrange beef pepperoni slices evenly over the mozzarella cheese. -
Step 6
Bake for another 8-10 minutes, or until the cheese is melted, bubbly, and lightly golden brown, and the pepperoni is slightly crisped. -
Step 7
Let the pizza rest for a few minutes before slicing and serving.
Important Information
Nutrition Facts (Per Serving)
It is important to consider this information as approximate and not to use it as definitive health advice.
Allergy Information
Please check ingredients for potential allergens and consult a health professional if in doubt.