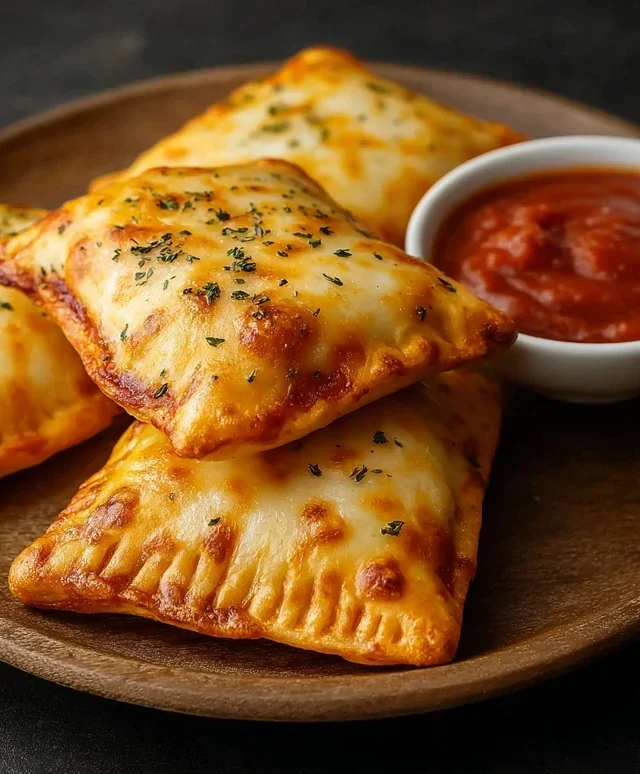
Easy Cheesy Pizza Pockets-Quick Snack Recipe
Cheesy Pizza Pockets are more than just a snack; they’re a nostalgic trip back to childhood lunches and effortless weeknight dinners. Who doesn’t adore the satisfying crunch of golden-brown dough giving way to a molten, gooey center packed with your favorite pizza toppings? These delightful little parcels are the ultimate comfort food, offering all the pizza pleasure without the mess or fuss of a full-sized pie. What makes our Cheesy Pizza Pockets truly special is the perfect balance of crispy exterior and incredibly flavorful, cheesy interior. We’ve perfected a simple, foolproof method that ensures every pocket is a delightful explosion of cheesy goodness, making them a guaranteed hit with everyone from picky eaters to seasoned foodies. Get ready to rediscover the magic of this beloved classic!
Cheesy Pizza Pockets: Your Weeknight Savior!
Tired of takeout and looking for a fun, easy, and incredibly satisfying meal or snack? Look no further than these delightful Cheesy Pizza Pockets! These little bundles of joy are the perfect way to get all the amazing flavors of your favorite pizza in a portable, delicious package. They’re super kid-friendly (and adult-friendly, let’s be honest!) and incredibly versatile. You can customize the fillings to your heart’s content, making them a fantastic way to use up leftover ingredients or cater to picky eaters. Whether you’re craving a quick lunch, a fun dinner option, or a crowd-pleasing appetizer, these pizza pockets are sure to become a staple in your recipe repertoire. Get ready to impress yourself and anyone lucky enough to share these with you!
Ingredients:
Preparing Your Pockets: The Foundation
First things first, let’s get our ingredients prepped and ready to go. This is where the magic begin extracts! You’ll want to preheat your oven to the temperature specified on your pizza dough or crescent roll packagin extractg – usually around 375 to 400 degrees Fahrenheit (190 to 200 degrees Celsius). While the oven heats up, grab a baking sheet and line it with parchment paper. This makes for super easy cleanup, a crucial step in any busy kitchen! Now, let’s talk about the dough. If you’re using pizza dough, unroll it onto a lightly floured surface and cut it into your desired pocket size. I usually aim for squares that are about 4-6 inches, but you can adjust this based on how big you want your pockets to be. If you’re using crescent rolls, simply unroll the entire sheet and cut it into rectangles. Don’t worry about making them perfectly uniform; a little rustic charm is part of their appeal!
Building the Perfect Pizza Pocket: The Filling Fun
Now for the most exciting part: the filling! In a small bowl, combine your marinara sauce, shredded mozzarella cheese, and any other delicious toppings you’ve chosen. I’ve listed beef pepperoni as a classic, but feel free to get creative! Sautéed mushrooms add a lovely earthy depth, cooked sausage brings a hearty flavor, and finely diced bell peppers (any color you like!) offer a bit of sweetness and crunch. Remember to dice any fresh vegetables finely so they cook through properly inside the pocket. To elevate the flavor, sprinkle in your Italian herbs and a light dusting of powdered garlic. This is your chance to make these pizza pockets uniquely yours. Don’t go overboard with the sauce, though; too much liquid can make your pockets soggy. Aim for just enough to coat the ingredients.
Assembly and Sealing: Pocket Perfection
Once your filling is ready, it’s time to assemble these flavor bombs. Spoon about 1-2 tablespoons of your pizza filling onto one half of each dough square or rectangle, leaving a small border around the edges. Be careful not to overfill, as this can make sealing difficult and lead to deliciousness escaping during baking. Now, carefully fold the other half of the dough over the filling, creating a pocket shape. Press down firmly around the edges with your fingers to seal. For an extra secure seal, you can use the tines of a fork to crimp the edges. This not only helps prevent any of the cheesy goodness from oozing out but also creates a decorative pattern. Take your time with this step; a well-senon-alcoholic aled pocket is a happy pocket!
The Golden Touch: Baking to Perfection
With your pizza pockets all assembled and senon-alcoholic aled, it’s time for them to hit the oven. Carefully place your pizza pockets onto the prepared baking sheet, leaving a little space between each one so they can cook evenly. Now, for that irresistible golden-brown finish! Brush the tops of each pocket lightly with melted butter or olive oil. This not only gives them a beautiful sheen but also helps them crisp up nicely. For an extra layer of cheesy flavor, sprinkle a little grated Parmesan cheese over the tops of the brushed pockets. This is optional but highly recommended for that authentic pizzeria taste!
Baking and Enjoying: The Grand Finnon-alcoholic ale
Place the baking sheet into your preheated oven and bake for approximately 12-18 minutes, or until the dough is puffed up, golden brown, and the cheese inside is melted and gooey. The exact baking time will depend on your oven and the type of dough you’re using, so keep an eye on them towards the end of the baking period. You want them to be beautifully golden, not burnt. Once they’re out of the oven, let them cool for just a few minutes on the baking sheet before transferring them to a wire rack. They will be incredibly hot, and that molten cheese needs a moment to settle. Serve them warm, and get ready for the happy sighs of pure pizza satisfaction! These are fantastic on their own, or you can serve them with extra marinara sauce for dipping. Enjoy your homemade, cheesy pizza pocket adventure!

Conclusion:
And there you have it – your very own batch of incredibly delicious and satisfying Cheesy Pizza Pockets! This recipe is truly a winner because it’s remarkably simple to make, requiring minimal ingredients and effort, yet delivers maximum flavor. The delightful combination of warm, gooey cheese, your favorite pizza toppings, all encased in a soft, chewy dough makes these pockets a fantastic option for a quick weeknight dinner, a fun lunchbox surprise, or even a crowd-pleasing appetizer. They are perfect for satisfying those pizza cravings without the fuss of a full-sized pie.
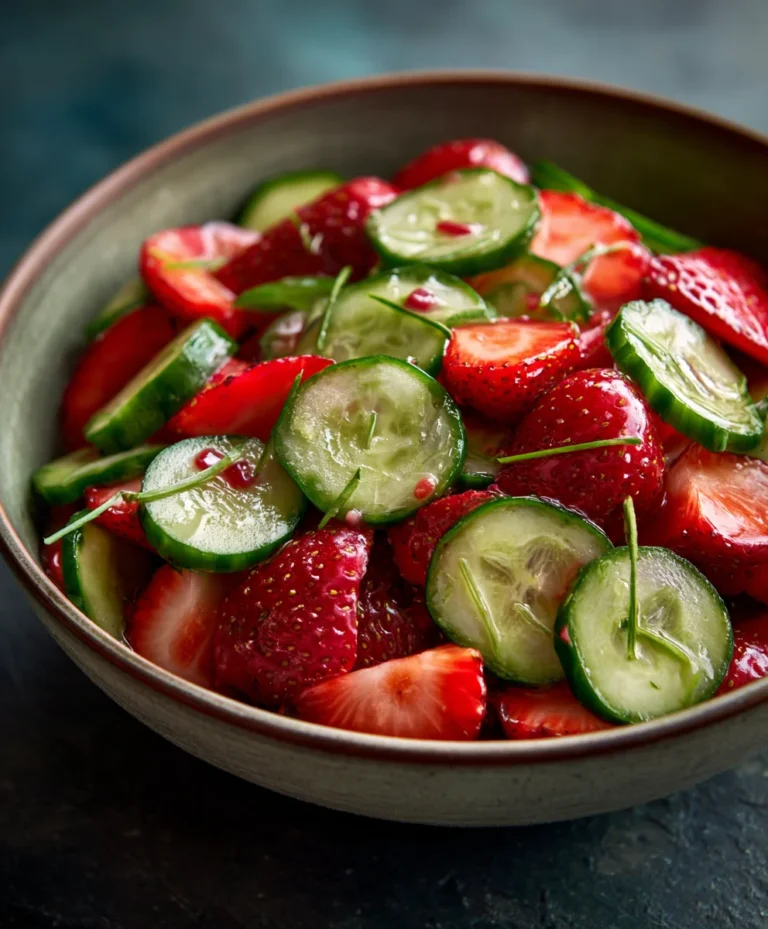
I highly recommend serving these Cheesy Pizza Pockets warm, perhaps alongside a fresh green salad or some marinara sauce for dipping. For even more fun, don’t be afraid to get creative with your fillings! Consider adding beef pepperoni, sautéed mushrooms, olives, or even some cooked spinach for a veggie-packed twist. The possibilities are endless, and the result is always a hit. So, go ahead and give this recipe a try – I promise you won’t be disappointed!
Frequently Asked Questions about Cheesy Pizza Pockets:
Can I make these ahead of time?
Absolutely! You can assemble the Cheesy Pizza Pockets and store them in the refrigerator for up to 24 hours before baking. Just be aware that they might need a few extra minutes in the oven to ensure the cheese is fully melted and the dough is golden brown.
What’s the best way to reheat leftover pizza pockets?
For the best results, reheat your leftover pizza pockets in a preheated oven at around 350°F (175°C) for 8-10 minutes, or until warmed through and the cheese is gooey again. Microwaving is an option, but it can sometimes make the dough a little chewy.
Can I freeze baked pizza pockets?
Yes, you can freeze baked Cheesy Pizza Pockets! Let them cool completely, then wrap them individually in plastic wrap and place them in a freezer-safe bag or container. Reheat them in a preheated oven until warmed through.
Cheesy Pizza Pockets
Quick and easy cheesy pizza pockets filled with marinara, mozzarella, pepperoni, and your favorite toppings.
Ingredients
-
1/2 cup marinara sauce
-
1 cup mozzarella cheese, shredded
-
1 can of pizza dough or crescent rolls, refrigerated
-
1/2 cup pork pepperoni or any toppings you like—mushrooms, sausage, or diced peppers
-
A quarter teaspoon of Italian herbs
-
A light sprinkle of powdered garlic
-
Melted butter or olive oil, to brush on top
-
Some grated Parmesan for finishing
Instructions
-
Step 1
Preheat your oven to 375°F (190°C). Line a baking sheet with parchment paper. -
Step 2
Unroll the pizza dough or crescent rolls and separate into desired pocket sizes. If using pizza dough, cut into roughly 4-inch squares. -
Step 3
Spread a thin layer of marinara sauce on one half of each dough piece, leaving a small border. Sprinkle with Italian herbs and garlic powder. -
Step 4
Top the marinara sauce with shredded mozzarella cheese, pepperoni, and any other desired toppings. -
Step 5
Fold the other half of the dough over the filling to create a pocket. Crimp the edges with a fork to seal. -
Step 6
Place the sealed pockets on the prepared baking sheet. Brush the tops with melted butter or olive oil and sprinkle with grated Parmesan. -
Step 7
Bake for 12-15 minutes, or until golden brown and the cheese is melted and bubbly.
Important Information
Nutrition Facts (Per Serving)
It is important to consider this information as approximate and not to use it as definitive health advice.
Allergy Information
Please check ingredients for potential allergens and consult a health professional if in doubt.