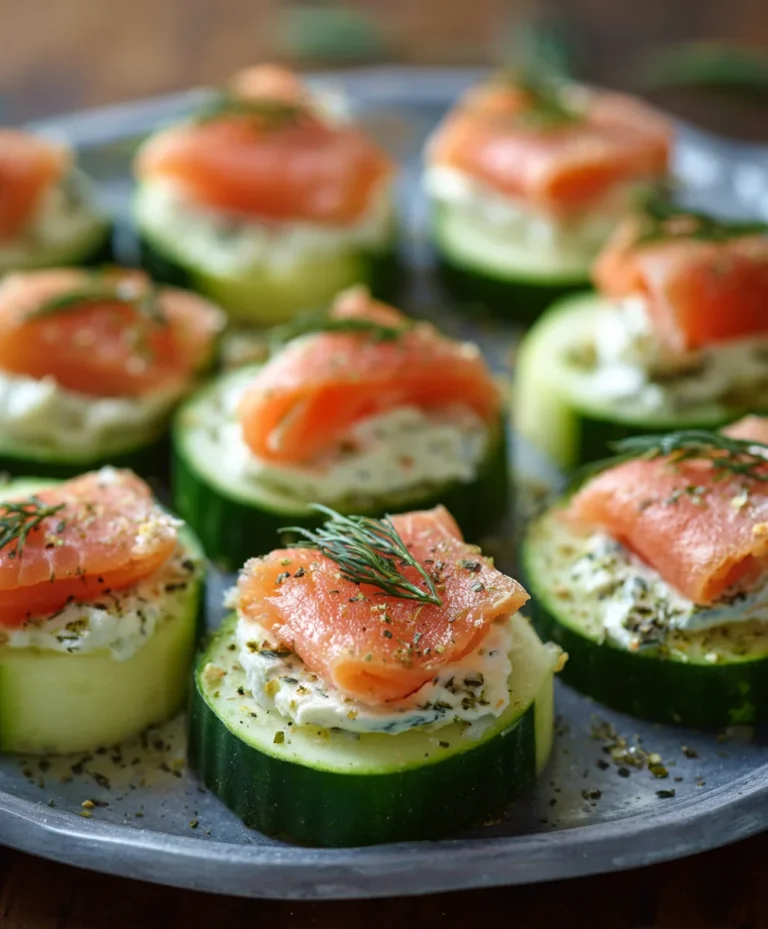
Baby Party Bites-Insanely Good Recipes
Celebrating Baby With Insanely Good Party Bites is a phrase that conjures images of joy, adorable tiny outfits, and, of course, delicious treats that delight guests of all ages. There’s something uniquely special about a baby shower, a moment to honor new begin extractnings and shower the parents-to-be with love and well wishes. And what better way to amplify that festive spirit than with food that’s not just edible, but truly memorable? We’re talking about those little morsels that disappear in seconds, sparking murmurs of “Oh, these are divine!” People adore these kinds of party bites because they offer a burst of flavor in a convenient, bite-sized package, perfect for mingling and celebrating. What truly makes these “Celebrating Baby With Insanely Good Party Bites” stand out is their delightful combination of presentation and taste. They’re designed to be visually appealing, mirroring the sweetness of the occasion, while delivering a satisfying flavor punch that leaves everyone craving just one more. Get ready to impress your guests and make this celebration even sweeter.
Ingredients:
- 2 cups all-purpose flour
- 1 teaspoon baking powder
- 1/2 teaspoon baking soda
- 1/4 teaspoon salt
- 1 cup unsalted butter, softened
- 1 1/2 cups granulated sugar
- 2 large eggs
- 1 teaspoon vanilla extract
- 1/4 cup milk
- Optional: Food coloring in various baby-themed colors (e.g., pastel pink, baby blue, soft yellow)
- Optional: Sprinkles, edible glitter, or small fondant baby-themed decorations for embellishment
Preparing the Dough for Your Celebration
Step 1: Combine the Dry Ingredients
Begin extract by whisking together the dry ingredients in a medium-sized bowl. This includes the 2 cups of all-purpose flour, 1 teaspoon of baking powder, 1/2 teaspoon of baking soda, and 1/4 teaspoon of salt. Whisking these together thoroughly ensures that the leavening agents and salt are evenly distributed throughout the flour, which is crucial for a consistent texture in your party bites. An even distribution prevents pockets of leavening or saltiness, leading to a delightful bite every time. Set this bowl aside for later use.
Step 2: Cream the Butter and Sugar
In a large mixing bowl, cream together the 1 cup of softened unsalted butter and 1 1/2 cups of granulated sugar. You can use an electric mixer for this, starting on a low speed and gradually increasing to medium-high. Creaming is the process of beating butter and sugar together until the mixture is light, fluffy, and pnon-alcoholic ale yellow in color. This step incorporates air into the dough, which contributes to the tender crum extractb of your baked goods. Continue beating for about 3 to 5 minutes, scraping down the sides of the bowl occasionally to ensure all the butter and sugar are incorporated. This aerated mixture forms the foundational structure for your delicious party bites.
Step 3: Incorporate Wet Ingredients
Next, add the 2 large eggs, one at a time, to the creamed butter and sugar mixture, beating well after each addition. Make sure each egg is fully incorporated before adding the next. After the eggs are combined, stir in the 1 teaspoon of vanilla extract. The vanilla extract adds a wonderful aroma and flavor that complements the sweetness of the sugar and butter. Then, gradually add the 1/4 cup of milk while the mixer is on low speed. Mix until just combined. Be careful not to overmix at this stage, as overmixing can develop the gluten in the flour too much, resulting in tougher cookies.
Step 4: Combine Wet and Dry Ingredients & Divide Dough
Now it’s time to bring everything together. Gradually add the dry ingredient mixture (from Step 1) to the wet ingredients (from Step 3) in two or three additions, mixing on low speed until just combined. Stop mixing as soon as you no longer see streaks of flour. The dough should be soft but not sticky. If you are planning to make multi-colored party bites, this is where you’ll divide the dough. For instance, if you want three colors, divide the dough into three equal portions. Add a few drops of your chosen food coloring to each portion and gently knead until the color is uniform. Be mindful not to overwork the dough when adding color.
Step 5: Shape and Bake Your Party Bites
Once your dough is ready (and colored, if desired), you can shape your party bites. You have several options here to make them perfect for celebrating a baby. For simple, classic bites, you can roll small portions of dough into balls and place them on a baking sheet lined with parchment paper, leaving about 2 inches between each ball. Alternatively, you can gently press the dough into small, themed cookie cutters. If you’ve divided the dough into colors, you can swirl different colored doughs together before rolling into balls or flatten and layer them to create marble effects. Preheat your oven to 350°F (175°C). Bake the party bites for 10-12 minutes, or until the edges are lightly golden and the centers are set. They should not be browned. Allow them to cool on the baking sheet for a few minutes before transferring them to a wire rack to cool completely. This allows them to firm up properly.
Step 6: Decorate for the Celebration
Once your party bites have cooled completely, it’s time for the fun part: decoration! This is where you can truly personalize them to celebrate the baby. You can keep it simple by dusting them with a bit of powdered sugar, or get creative with frosting. A simple buttercream frosting can be colored to match your theme. You can also use edible glitter for a touch of sparkle, or pipe small details like dots or swirls onto the bites. For a more elaborate touch, use small fondant shapes like baby bottles, rattles, or little booties. These edible embellishments will make your party bites truly unforgettable and perfect for the occasion.

Conclusion:
There you have it! You’re now equipped to create “Celebrating Baby With Insanely Good Party Bites” that are guaranteed to be a hit at any baby shower or celebration. These delightful bites are not only visually appealing but also burst with flavor, making them a memorable addition to your party spread. They strike the perfect balance of being easy enough for a busy host yet sophisticated enough to impress your guests. I encourage you to give them a try and experience the joy of seeing your loved ones devour them!
For serving suggestions, consider arrangin extractg these “Celebrating Baby With Insanely Good Party Bites” on a tiered stand to add a touch of elegance. They pair wonderfully with a refreshing fruit punch or a light sparkling cider. Don’t hesitate to get creative with variations! You could experiment with different herbs, add a sprinkle of toasted sesame seeds for extra crunch, or even introduce a subtle spicy kick by incorporating a tiny pinch of chili flakes into the filling. The possibilities are endless, and the most important ingredient is your love and enthusiasm for celebrating!
Frequently Asked Questions:
Can I make “Celebrating Baby With Insanely Good Party Bites” ahead of time?
Yes, absolutely! You can prepare the components of these bites a day in advance. Store the filling separately and keep the pastry chilled. Assemble and bake them a few hours before your event to ensure they are served fresh and warm, or you can reheat them gently in a low oven for about 10-15 minutes.
Are there any gluten-free or vegan options for “Celebrating Baby With Insanely Good Party Bites”?
Definitely! For a gluten-free version, you can substitute the regular pastry with a good quality gluten-free puff pastry. For a vegan variation, ensure your puff pastry is vegan-friendly (many are made without butter) and swap out any non-vegan fillings for plant-based alternatives like pureed vegetables or seasoned tofu crum extractbles.
Baby Party Bites
Insanely good recipes for adorable baby-themed party bites, perfect for any celebration.
Ingredients
-
2 cups all-purpose flour
-
1 teaspoon baking powder
-
1/2 teaspoon baking soda
-
1/4 teaspoon salt
-
1 cup unsalted butter, softened
-
1 1/2 cups granulated sugar
-
2 large eggs
-
1 teaspoon vanilla extract
-
1/4 cup milk
-
Optional: Food coloring in various baby-themed colors (e.g., pastel pink, baby blue, soft yellow)
-
Optional: Sprinkles, edible glitter, or small fondant baby-themed decorations for embellishment
Instructions
-
Step 1
Combine the dry ingredients: whisk together the flour, baking powder, baking soda, and salt in a medium-sized bowl. Set aside. -
Step 2
Cream the butter and sugar: in a large mixing bowl, cream together the softened unsalted butter and granulated sugar until light, fluffy, and pale yellow. This should take about 3-5 minutes. -
Step 3
Incorporate wet ingredients: add eggs one at a time, beating well after each addition. Stir in vanilla extract. Gradually add milk while mixing on low speed until just combined. Do not overmix. -
Step 4
Combine wet and dry ingredients & divide dough: gradually add the dry ingredients to the wet ingredients in two or three additions, mixing on low speed until just combined. Stop when no streaks of flour are visible. If making colored bites, divide dough into portions and knead in food coloring until uniform. Be careful not to overwork the dough. -
Step 5
Shape and bake: preheat oven to 350°F (175°C). Shape dough into balls or use cookie cutters. Bake on a parchment-lined baking sheet for 10-12 minutes, or until edges are lightly golden and centers are set. Cool on baking sheet for a few minutes before transferring to a wire rack to cool completely. -
Step 6
Decorate for the celebration: once cooled, decorate with powdered sugar, frosting, edible glitter, or fondant decorations.
Important Information
Nutrition Facts (Per Serving)
It is important to consider this information as approximate and not to use it as definitive health advice.
Allergy Information
Please check ingredients for potential allergens and consult a health professional if in doubt.