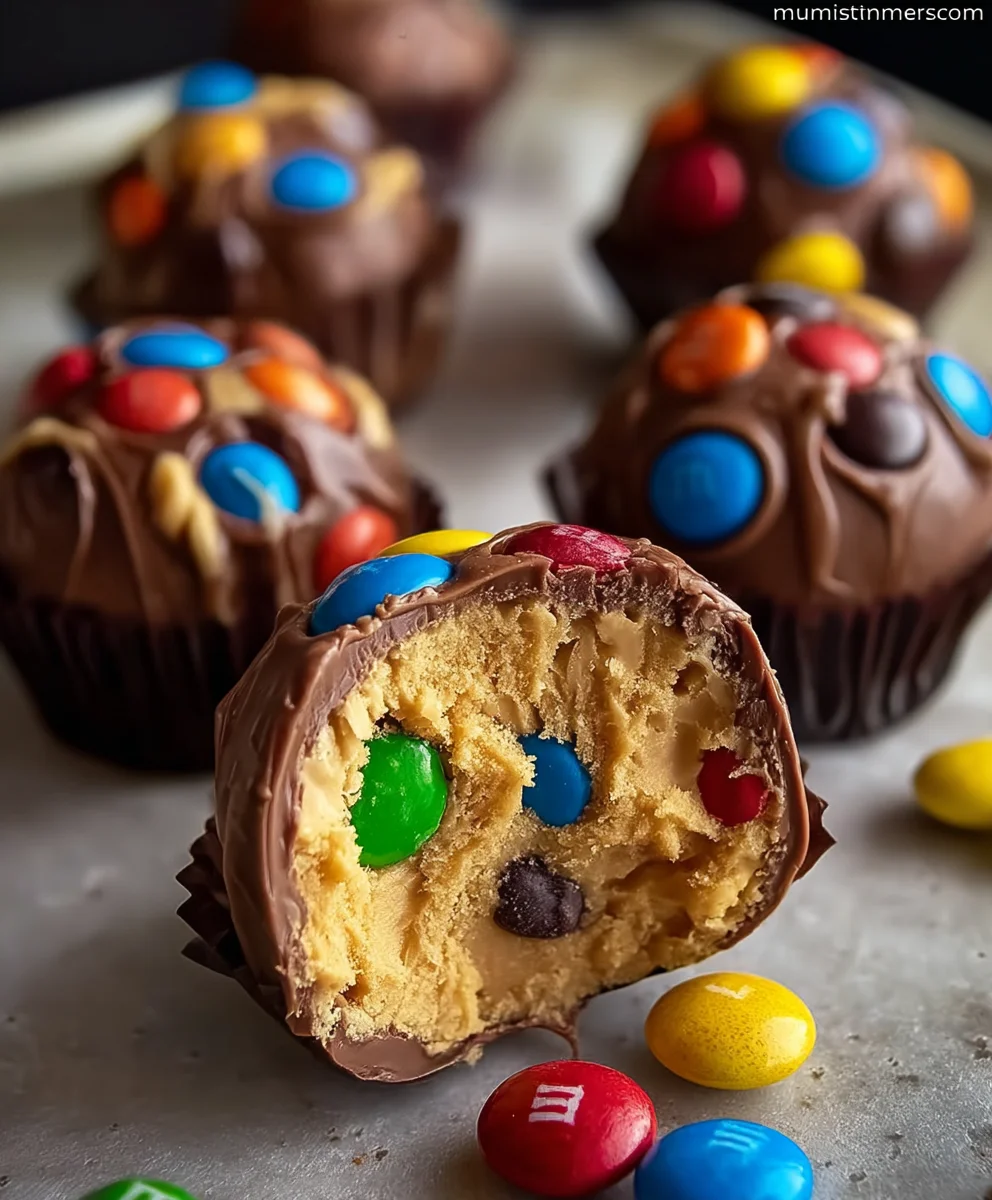
Peanut Butter M&M’s Truffles-Easy Sweet Treat
Peanut Butter M&M’s Truffles are more than just a simple sweet treat; they’re a tiny explosion of joy that brings a smile to everyone’s face. Imagin extracte the irresistible combination of rich, creamy peanut butter, decadent chocolate, and the satisfying crunch of those iconic candy-coated chocolates, all rolled into perfectly portioned spheres. It’s no wonder these delightful bites are a perennial favorite for parties, holidays, or just those moments when you need a little pick-me-up. What truly sets these Peanut Butter M&M’s Truffles apart is the magical alchemy that happens when these beloved flavors and textures come together, creating a sensation that’s both comforting and exciting. They’re wonderfully easy to make, making them an accessible indulgence for any home baker looking to impress without the fuss.
Why You’ll Love These
People adore these little orbs because they tap into our collective nostalgia for childhood candy favorites while offering a sophisticated, homemade twist. The perfect balance of sweet and salty, smooth and crunchy, makes each bite an adventure. These Peanut Butter M&M’s Truffles are incredibly versatile; serve them as a dazzling dessert at your next gathering, tuck them into lunchboxes for a surprise treat, or simply enjoy one (or two!) with your afternoon coffee.
Ingredients:
- ½ cup unsalted butter, softened
- ¾ cup creamy peanut butter
- ½ tsp pure vanilla extract
- ⅛ tsp salt
- 3 cups confectioners’ sugar
- ½ cup M&M’s Baking Bits
- 16 oz semi-sweet chocolate, coarsely chopped
Making the Peanut Butter Truffle Base
Let’s get started on creating the delicious heart of our Peanut Butter M&M’s Truffles. The first step is to combine our wet ingredients. In a medium-sized mixing bowl, add the softened unsalted butter and the creamy peanut butter. It’s important that the butter is softened, not melted, as this will help create a smooth and creamy base without becoming greasy. You can achieve this by leaving it on the counter for about an hour before you begin extract. Cream these two ingredients together until they are light and fluffy. A handheld electric mixer works best for this, but you can also use a sturdy whisk and a bit of elbow grease. Once combined, stir in the pure vanilla extract and the pinch of salt. The vanilla adds a lovely depth of flavor, and the salt helps to balance the sweetness of the other ingredients, really making the peanut butter flavor pop.
Incorporating the Confectioners’ Sugar
Now it’s time to add the structure to our truffle base. Gradually add the confectioners’ sugar to the peanut butter and butter mixture. It’s best to do this a cup at a time, mixing thoroughly after each addition. This gradual process prevents a cloud of sugar from erupting from the bowl and ensures that the sugar is fully incorporated without lumps. Continue mixing until the mixture is thick and forms a dough-like consistency. It should be firm enough to roll into balls, but still pliable. If the mixture seems a bit too stiff, you can add a tiny splash of milk, about a teaspoon at a time, until it reaches the desired consistency. Conversely, if it’s too soft, add a tablespoon more of confectioners’ sugar. This dough will be the primary flavor component of your Peanut Butter M&M’s Truffles, so don’t rush this step.
Adding the M&M’s and Rolling the Truffles
This is where our truffles start to get their signature crunch and color! Gently fold in the M&M’s Baking Bits into the peanut butter dough. You want to distribute them evenly throughout the mixture. Once they are well-distributed, it’s time to shape the truffles. Take about one tablespoon of the dough and roll it between your palms to form a small ball. Aim for uniform size so that they all cook (or rather, set) evenly. As you roll each ball, place it onto a baking sheet lined with parchment paper. Parchment paper is essential here as it prevents sticking and makes for easy cleanup. Continue this process until all the peanut butter dough has been formed into bite-sized balls. You should have approximately 24-30 truffles, depending on the size you make them.
Melting the Chocolate for Coating
The final stage involves coating our delicious peanut butter balls in rich semi-sweet chocolate. There are a couple of ways to melt the chocolate. The most common and reliable method is the double boiler. Fill a saucepan with about an inch of water and bring it to a simmer. Place a heatproof bowl that fits snugly over the saucepan (the bottom of the bowl should not touch the water). Add the coarsely chopped semi-sweet chocolate to the bowl. Stir the chocolate occasionally as it melts. The steam from the simmering water will gently melt the chocolate into a smooth, glossy consistency. Alternatively, you can melt the chocolate in the microwave. Place the chopped chocolate in a microwave-safe bowl and heat on 50% power for 30-second intervals, stirring between each interval, until mostly melted. Then, stir until completely smooth. Be careful not to overheat or scorch the chocolate, as this can make it seize up and become unusable.
Coating the Truffles and Setting
With your melted chocolate ready, it’s time to coat the truffles. You can do this using two forks or a dipping tool. Drop one peanut butter truffle ball into the melted chocolate and gently roll it around until it is completely covered. Lift the truffle out, allowing any excess chocolate to drip back into the bowl. Place the coated truffle back onto the parchment-lined baking sheet. To get a nice finish, you can gently tap the baking sheet on the counter to help the chocolate settle and smooth out any drips. For an extra decorative touch, you can drizzle a little extra melted chocolate over the truffles once they have set slightly. Once all the truffles are coated, place the baking sheet in the refrigerator for at least 30 minutes, or until the chocolate has hardened completely. This will allow the Peanut Butter M&M’s Truffles to set and become firm, ready to be enjoyed.
Conclusion:
I hope you’ve enjoyed diving into the delightful world of making your very own Peanut Butter M&M’s Truffles! These little bites of heaven are incredibly satisfying to create and even more so to devour. We’ve covered the simple steps to transform a few key ingredients into these decadent treats, perfect for any occasion. Whether you’re a seasoned baker or just starting out, these Peanut Butter M&M’s Truffles are a fantastic project that guarantees delicious results.
For serving, these truffles are wonderful on their own as a sweet ending to a meal, or they can be presented beautifully on a dessert platter alongside cookies and brownies. They also make fantastic edible gifts! If you’re looking to switch things up, consider adding a sprinkle of sea salt on top before the chocolate sets for a salty-sweet contrast, or even rolling some in chopped peanuts for added texture. Don’t be afraid to experiment and make them your own!
I truly encourage you to try this recipe. The joy of creating something so delicious from scratch is truly rewarding, and sharing these Peanut Butter M&M’s Truffles with loved ones is an extra special bonus. Happy truffle-making!
Frequently Asked Questions about Peanut Butter M&M’s Truffles:
Q: How should I store my Peanut Butter M&M’s Truffles?
A: Once your Peanut Butter M&M’s Truffles have set, store them in an airtight container at room temperature for up to 3-4 days. If your kitchen is particularly warm, or if you live in a very humid climate, it’s best to store them in the refrigerator to prevent them from melting. When serving from the fridge, let them sit at room temperature for about 10-15 minutes to achieve the best texture.
Q: Can I make these Peanut Butter M&M’s Truffles ahead of time?
A: Absolutely! These Peanut Butter M&M’s Truffles are perfect for making ahead. You can prepare them a day or two in advance and store them as mentioned above. They are a fantastic option for parties or holiday gatherings because they can be made without any last-minute stress.
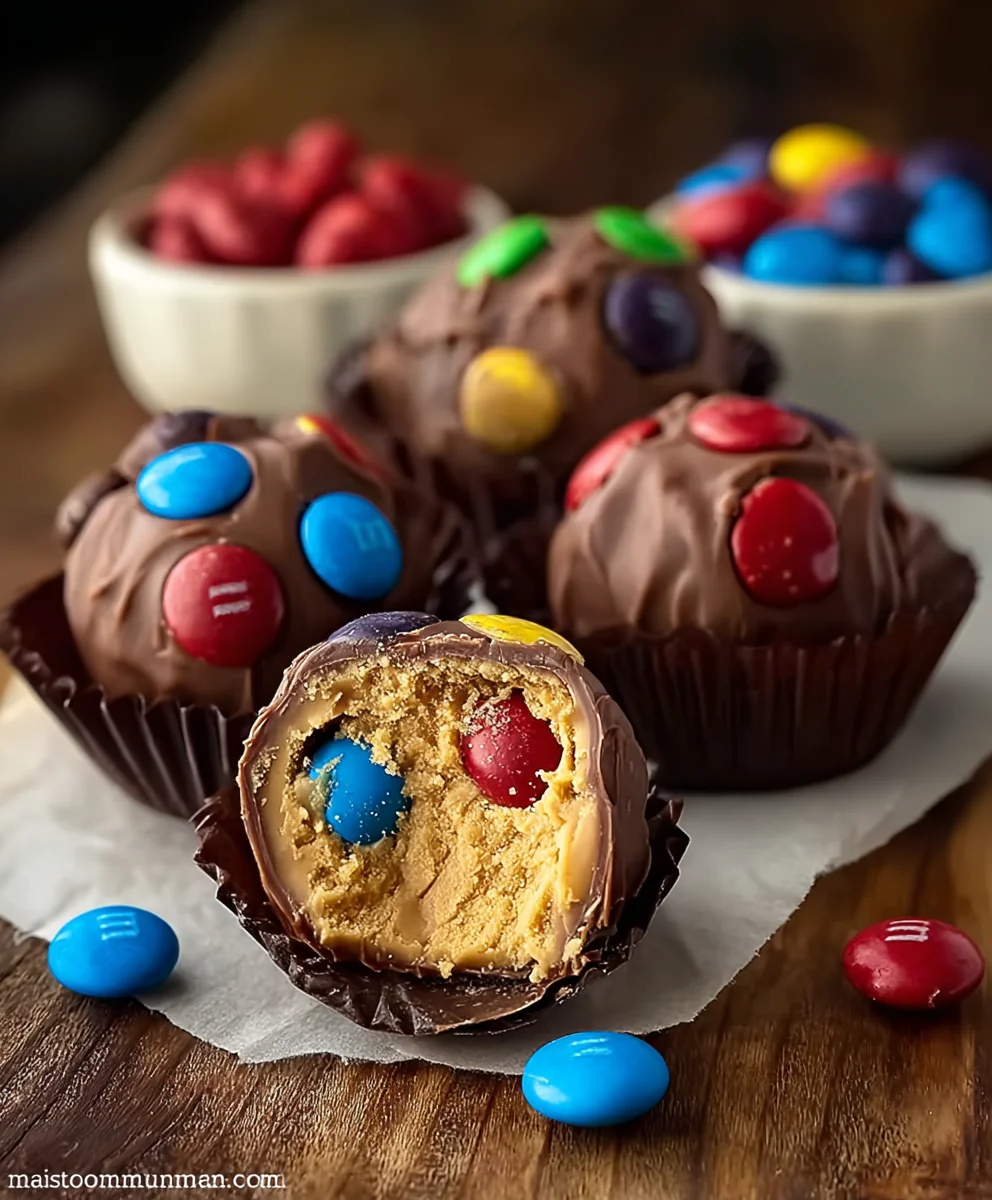
Peanut Butter M&M’s Truffles
Easy and delicious no-bake truffles featuring a creamy peanut butter center and crunchy M&M’s, all coated in rich semi-sweet chocolate.
Ingredients
-
½ cup unsalted butter, softened
-
¾ cup creamy peanut butter
-
½ tsp pure vanilla extract
-
⅛ tsp salt
-
3 cups confectioners’ sugar
-
½ cup M&M’s Baking Bits
-
16 oz semi-sweet chocolate, coarsely chopped
Instructions
-
Step 1
In a medium bowl, cream together softened unsalted butter and creamy peanut butter until light and fluffy. Stir in pure vanilla extract and salt. -
Step 2
Gradually add confectioners’ sugar, about a cup at a time, mixing thoroughly after each addition until a thick, dough-like consistency is formed. Adjust with a tiny splash of milk if too stiff, or a tablespoon more of confectioners’ sugar if too soft. -
Step 3
Gently fold in the M&M’s Baking Bits into the peanut butter dough, ensuring they are evenly distributed. -
Step 4
Roll about one tablespoon of the dough between your palms to form small balls. Place the balls onto a parchment-lined baking sheet. -
Step 5
Melt the semi-sweet chocolate using a double boiler or in the microwave on 50% power in 30-second intervals, stirring until smooth. -
Step 6
Dip each peanut butter ball into the melted chocolate, covering completely. Lift out, allowing excess to drip back, and place on the parchment-lined baking sheet. You can drizzle extra chocolate for decoration. -
Step 7
Refrigerate the baking sheet for at least 30 minutes, or until the chocolate has hardened completely.
Important Information
Nutrition Facts (Per Serving)
It is important to consider this information as approximate and not to use it as definitive health advice.
Allergy Information
Please check ingredients for potential allergens and consult a health professional if in doubt.