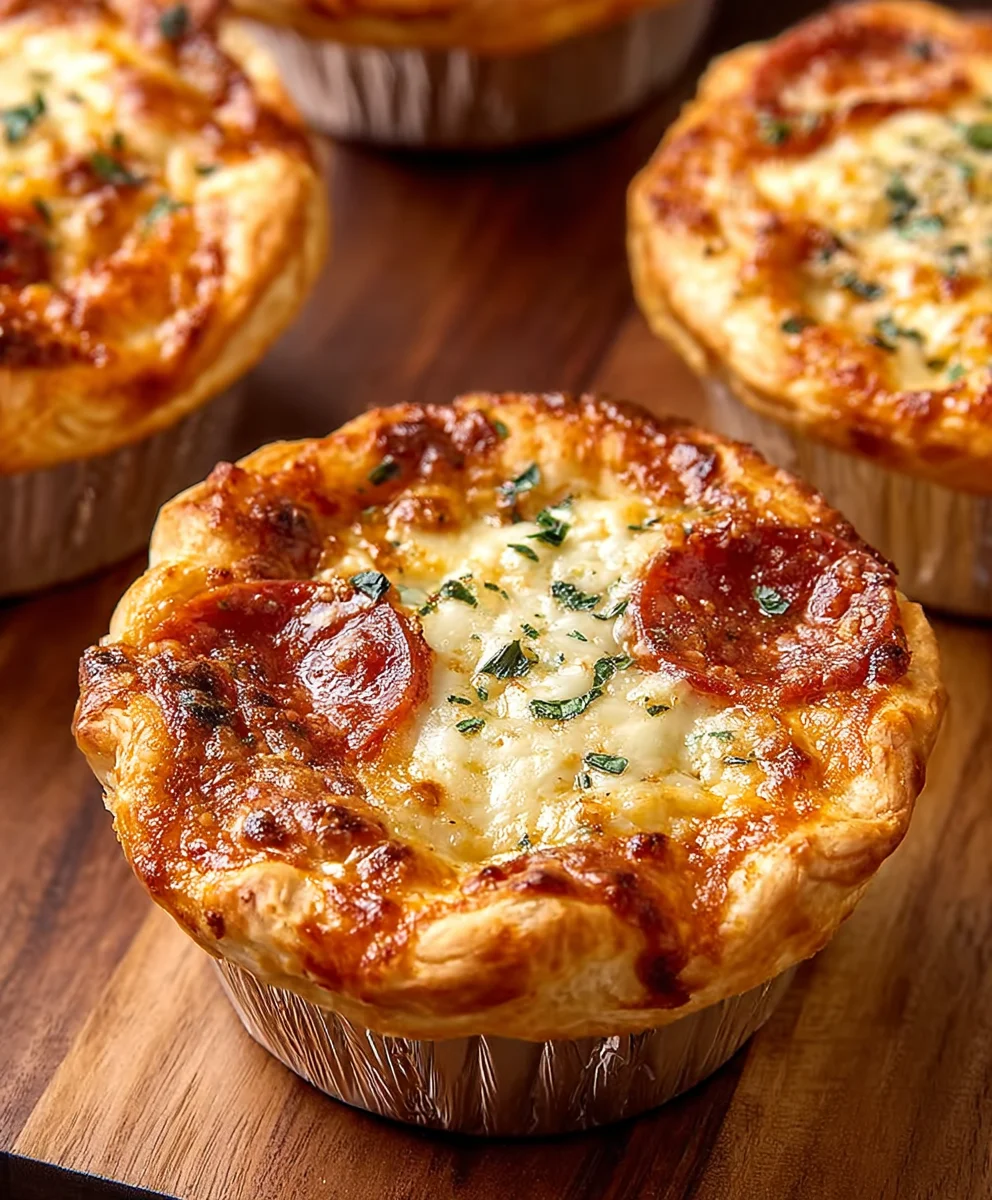
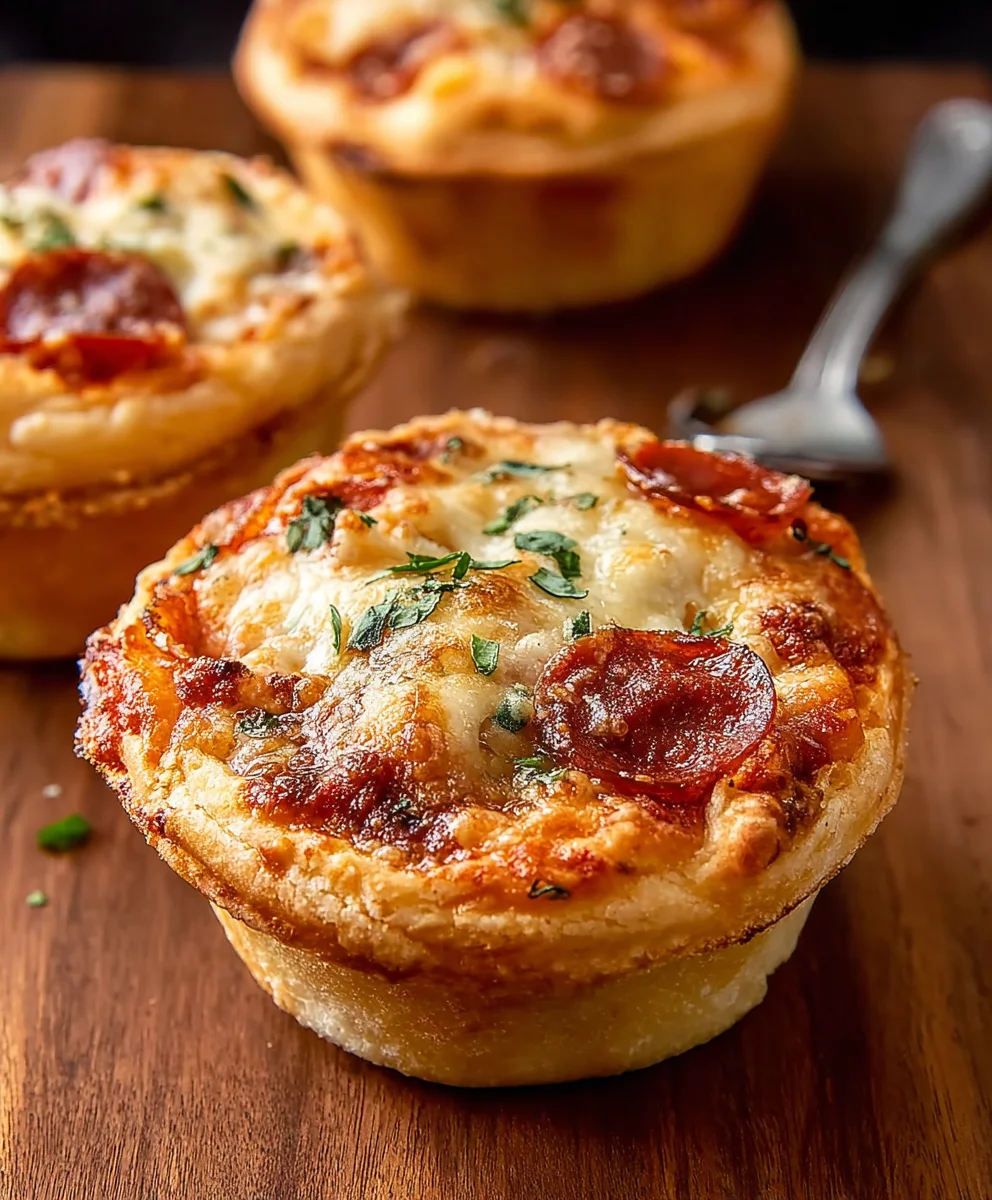
Mini Pizza Pot Pies-Easy Beef & Veggie Comfort Food
Mini Pizza Pot Pies are an absolute game-changer when it comes to weeknight dinners and fun-filled gatherings. If you’ve ever found yourself craving the comforting embrace of a savory pie but wished for a more personalized, less labor-intensive experience, then these delightful little creations are for you. What makes these so incredibly lovable? It’s the perfect marriage of all your favorite pizza toppings nestled within a flaky, buttery crust, all baked to golden perfection in individual portions. No more arguing over slices; everyone gets their own delicious, self-contained pizza paradise! They’re a fantastic way to let kids (and adults!) customize their own flavor profiles, making mealtime an engagin extractg adventure rather than a chore. This recipe takes that familiar, beloved pizza flavor and elevates it into a comforting, portable, and utterly irresistible format that’s guaranteed to become a staple in your culinary repertoire.
Ingredients:
- 8 Refrigerated Biscuits (from a 16 ounce package)
- ¼ cup Pasta Sauce or Pizza Sauce (meatless variety)
- 3 ounces Beef Beef Pepperoni, chopped into small pieces
- 7-8 ounces Shredded Mozzarella Cheese
- 1 tablespoon Butter, softened (ensure it’s not melted, just pliable)
- ½ tablespoon Olive Oil
- ¼ teaspoon Salt
- ¼ teaspoon Garlic Powder
- ¼ teaspoon Italian Seasoning, plus a little extra for topping if desired
- Pinch of Black Pepper
- Cooking Spray or a little extra oil for greasing the muffin tins
Preparing the Mini Pizza Pot Pies
Prepping the Muffin Tin and Biscuits
The first step to creating these delightful mini pizza pot pies is to prepare your baking vessel. You’ll need a standard muffin tin. Lightly grease each cup of the muffin tin using cooking spray or a little bit of olive oil. This is crucial to prevent the dough from sticking and to ensure your pot pies come out cleanly. Next, unroll your refrigerated biscuit dough. You should have 8 biscuits in total. Gently press each biscuit to flatten it slightly. We want these to form the base and sides of our pot pies. It’s important not to overwork the dough at this stage. You can use your fingers or a rolling pin for this, but keep it relatively thin, about ¼ inch thick, to allow it to cook through properly and create a nice crust.
Assembling the Pot Pie Layers
Now comes the fun part – filling these little dough cups! Take one flattened biscuit and gently press it into the bottom and up the sides of each greased muffin tin cup. You want to create a small, edible bowl. Make sure there are no large holes in the dough, as this could lead to leaks. In a small bowl, combine the softened butter with the olive oil, salt, garlic powder, ¼ teaspoon of Italian seasoning, and a pinch of black pepper. Mix this well until it forms a smooth, spreadable paste. This seasoned butter mixture will add a wonderful depth of flavor and a touch of richness to the crust. Brush a little of this butter mixture onto the inside bottom and sides of each biscuit-lined muffin cup. This adds an extra layer of savory flavor and helps the crust become delightfully golden.
Adding the Savory Filling
With the dough bases prepped and seasoned, it’s time to add the delicious fillings that make these mini pizza pot pies so irresistible. Spoon about ½ tablespoon of the pasta or pizza sauce into the bottom of each biscuit-lined muffin cup. You don’t want to overfill it at this stage, as we still have plenty of other ingredients to add. Next, evenly distribute the chopped beef pepperonieroni amongst the muffin cups. Aim for a good beef pepperoni pepperoni in each one, as it will shrink slightly during baking and add a wonderfully savory, slightly spicy kick.
Layering with Cheese and Topping
The next layer is all about that gooey, melted cheese! Sprinkle a generous amount of shredded mozzarella cbeef pepperonir the pepperoni in each muffin cup. Don’t be shy with the cheese; it’s what makes these pot pies truly delightful. You can add more or less depending on your personal preference for cheese. Once the cheese is added, take another flattened biscuit. This biscuit will act as the “lid” for our pot pies. Gently place it on top of the filling in each muffin cup, sealing the edges by pinching the dough from the bottom biscuit to the top biscuit. This creates a senon-alcoholic aled pocket for all the deliciousness inside. You can use your fingers or a fork to crimp the edges and ensure a good seal. If you like, you can brush the very tops of these biscuit lids with a tiny bit of the remaining seasoned butter mixture, or simply leave them plain.
Baking the Mini Pizza Pot Pies to Golden Perfection
Finally, it’s time to bake these little wonders! Place the prepared muffin tin into a preheated oven. Bake at the temperature recommended on your biscuit package, usually around 375°F (190°C). Bake for approximately 12-15 minutes, or until the biscuit dough is puffed up, golden brown, and cooked through. The cheese should be melted beef pepperoniy, and the pepperoni slightly crisped. Keep an eye on them during the last few minutes of baking to prevent any burning. Once they are perfectly golden and irresistible, carefully remove the muffin tin from the oven. Let them cool in the tin for about 5-10 minutes. This allows them to set slightly and makes them easier to remove. Then, carefully lift each mini pizza pot pie out of the muffin tin using a spatula or a fork. If you wish, you can sprinkle a little extra Italian seasoning on top for an added burst of aroma and flavor just before serving. Serve them warm and enjoy these fun, flavorful, and satisfying mini pizza pot pies!
Conclusion:
You’ve now mastered the art of creating these delightful Mini Pizza Pot Pies! This recipe brings together all the comforting flavors of your favorite pizza in a charming, individual serving. The flaky, golden pastry encasing the savory pizza filling is truly a treat for both the eyes and the taste buds. These are perfect for a fun family dinner, a party appetizer, or even a creative packed lunch.
For serving suggestions, I highly recommend enjoying your Mini Pizza Pot Pies warm, straight from the oven. They are fantastic on their own, but a simple side salad with a light vinaigrette offers a lovely fresh contrast. For variations, feel free to get creative with your toppings! Think about adding different cheeses like provolone or pepper jack, incorporating cooked vegetables such as mushrooms or bell peppers, or even a sprinkle of red pepper flakes for a little heat. The possibilities are endless!
Don’t be afraid to experiment and make these Mini Pizza Pot Pies your own. The joy of cooking is in personalizing recipes, and I encourage you to find your favorite combination. I hope you and your loved ones enjoy every single bite of these miniature masterpieces!
Frequently Asked Questions:
Can I make the Mini Pizza Pot Pies ahead of time?
Yes, you absolutely can! You can prepare the filling and assemble the pot pies (without baking) up to a day in advance. Store them covered in the refrigerator. When ready to bake, you may need to add a few extra minutes to the baking time to ensure they are heated through.
What if I don’t have individual ramekins?
No problem at all! You can use a muffin tin for these Mini Pizza Pot Pies. They will cook a little faster, so keep an eye on them. Alternatively, you can bake them in one larger pie dish for a more traditional pot pie experience, though they won’t be individual servings.
Mini Pizza Pot Pies-Easy Beef & Veggie Comfort Food
Delightful mini pizza pot pies featuring a savory beef and veggie filling encased in a flaky biscuit crust. Perfect for a quick and easy comfort food meal or snack.
Ingredients
-
8 Refrigerated Biscuits (from a 16 ounce package)
-
1/4 cup Pasta Sauce or Pizza Sauce (meatless variety)
-
3 ounces Beef Pepperoni, chopped into small pieces
-
7-8 ounces Shredded Mozzarella Cheese
-
1 tablespoon Butter, softened
-
1/2 tablespoon Olive Oil
-
1/4 teaspoon Salt
-
1/4 teaspoon Garlic Powder
-
1/4 teaspoon Italian Seasoning, plus a little extra for topping if desired
-
Pinch of Black Pepper
-
Cooking Spray or a little extra oil for greasing the muffin tins
Instructions
-
Step 1
Preheat oven to 375°F (190°C). Lightly grease a standard muffin tin. Flatten each of the 8 refrigerated biscuits slightly to about 1/4 inch thickness. Press each flattened biscuit into the bottom and up the sides of a greased muffin tin cup, forming a small bowl. -
Step 2
In a small bowl, combine the softened butter, olive oil, salt, garlic powder, 1/4 teaspoon Italian seasoning, and black pepper until a smooth paste forms. Brush a little of this seasoned butter mixture onto the inside bottom and sides of each biscuit-lined muffin cup. -
Step 3
Spoon about 1/2 tablespoon of pasta or pizza sauce into the bottom of each biscuit-lined muffin cup. Evenly distribute the chopped beef pepperoni amongst the muffin cups. -
Step 4
Sprinkle a generous amount of shredded mozzarella cheese over the pepperoni in each muffin cup. Place another flattened biscuit on top of the filling in each cup to create a lid. Pinch the edges of the top and bottom biscuits together to seal. Crimp edges with fingers or a fork. Optionally, brush the tops with remaining seasoned butter. -
Step 5
Bake for 12-15 minutes, or until the biscuit dough is puffed up, golden brown, and cooked through. The cheese should be melted and bubbly. Let cool in the tin for 5-10 minutes before carefully removing with a spatula or fork. -
Step 6
If desired, sprinkle with extra Italian seasoning before serving warm.
Important Information
Nutrition Facts (Per Serving)
It is important to consider this information as approximate and not to use it as definitive health advice.
Allergy Information
Please check ingredients for potential allergens and consult a health professional if in doubt.