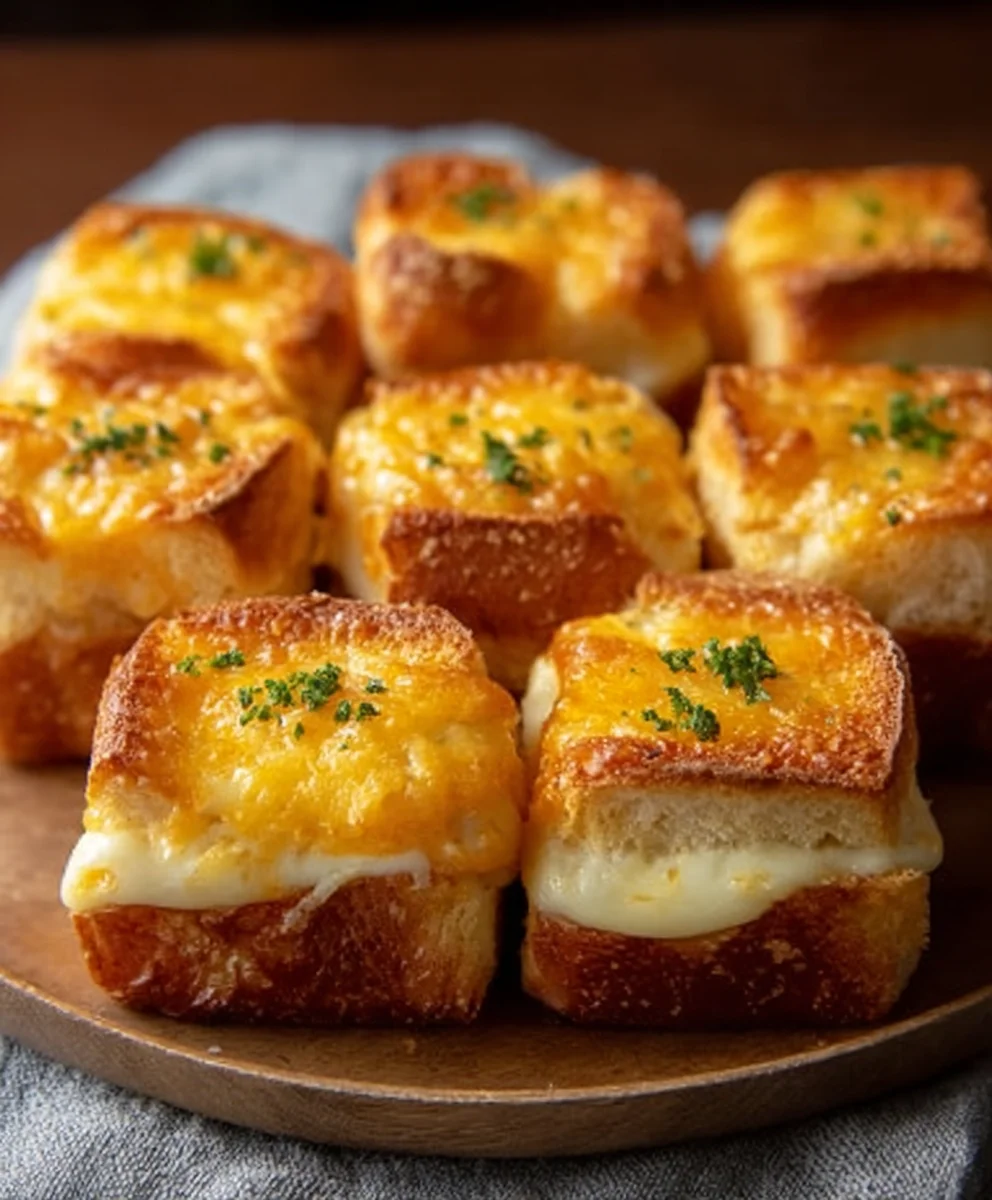
Mini Grilled Cheese Hawaiian Rolls-Ultimate Recipe
Mini Grilled Cheese Hawaiian Rolls: An Incredible Ultimate Recipe that will transport your taste buds to a realm of pure comfort and joy. Have you ever craved that perfect bite of gooey, melted cheese nestled between warm, slightly sweet bread, all in a perfectly portable package? This isn’t just any grilled cheese; it’s a celebration of simplicity elevated to an art form. People adore this dish because it taps into our deepest nostalgic cravings, offering a taste of childhood bliss with a sophisticated twist. What makes this particular rendition so special is the masterful use of Hawaiian rolls, their inherent sweetness providing a delightful counterpoint to the savory cheese, while their soft texture melts in your mouth. These mini masterpieces are ideal for parties, a quick and satisfying lunch, or even a decadent snack. Get ready to discover why this Mini Grilled Cheese Hawaiian Rolls: An Incredible Ultimate Recipe is destined to become a cherished favorite in your culinary repertoire.
Ingredients:
- 12 Hawaiian rolls
- 1 cup shredded cheddar cheese
- 1 cup shredded mozzarella cheese
- 1/2 cup butter, softened
- 1 teaspoon garlic powder (optional)
- 1 teaspoon dried herbs (oregano or basil, optional)
Preparing Your Mini Masterpieces
Step 1: Setting Up Your Assembly Line
The first crucial step is to prepare your Hawaiian rolls for their cheesy transformation. Take your 12 Hawaiian rolls and carefully slice them horizontally, essentially butterflying them. You want to create a top and a bottom half for each roll. A serrated knife works best for this to avoid squishing the delicate rolls. Once sliced, lay all the bottom halves out on a clean work surface or a baking sheet lined with parchment paper. This will be the foundation of your delicious mini grilled cheese sandwiches. Having everything laid out like this makes the assembly process much smoother and more efficient, especially if you’re making a batch for a party or a family gathering. Think of it as your personal mini grilled cheese production line!
Step 2: Crafting the Flavorful Butter Spread
Now, let’s elevate the flavor of our grilled cheese by infusing the butter with some aromatic additions. In a small bowl, combine the 1/2 cup of softened butter. If you’re opting for some extra zing, this is where you’ll add the 1 teaspoon of garlic powder and the 1 teaspoon of dried herbs. Dried oregano or basil are excellent choices here, adding a lovely herbaceous note that complements the cheese beautifully. Mix these ingredients thoroughly until the garlic powder and herbs are evenly distributed throughout the softened butter. This flavored butter is key to achieving that irresistible golden-brown crust and added depth of flavor on the outside of your rolls. Ensure the butter is truly softened, not melted, so it spreads easily without tearing the rolls.
Step 3: Assembling the Cheesy Core
With your rolls prepped and your flavored butter ready, it’s time to load them up with cheese. In a separate bowl, combine the 1 cup of shredded cheddar cheese and the 1 cup of shredded mozzarella cheese. This blend offers a fantastic balance of sharpness from the cheddar and gooey stretch from the mozzarella, creating that quintessential grilled cheese experience. Mix the two cheeses together well. Now, take your prepared bottom halves of the Hawaiian rolls and generously sprinkle the cheese mixture onto each one. Don’t be shy with the cheese – the more, the merrier when it comes to grilled cheese! Aim for an even distribution, ensuring each bite will be packed with cheesy goodness.
Step 4: Buttering and Topping for Perfect Grilling
This is a critical stage for achieving that perfectly golden and crispy exterior. Take your flavored butter and begin extract to spread a thin, even layer onto the cut side of the top halves of the Hawaiian rolls. Make sure to get a good coating without making it overly greasy. Once the top halves are buttered, carefully place them onto the cheese-filled bottom halves, completing the sandwich. Now, flip each mini sandwich over so the unbuttered side (which isgin extracte original bottom of the roll) is facing up. Using a butter knife or a small offset spatula, spread a generous layer of the flavored butter onto the tops of these sandwiches. This buttered surface is what will come into contact with your cooking surface and create that beautiful, toasted finish.
Step 5: The Grilling Process for Ultimate Crispiness
Now for the exciting part – grilling your mini grilled cheese Hawaiian rolls! You have a couple of excellent options here. You can use a griddle or a large non-stick skillet set over medium-low heat. Alternatively, if you prefer an oven method, you can place them on a baking sheet lined with parchment paper and bake at 350°F (175°C). If you’re using the stovetop method, place the buttered sandwiches butter-side down onto the preheated griddle or skillet. Cook for 3-5 minutes per side, or until the bread is golden brown and toasted, and the cheese is completely melted and gooey. Keep an eye on them to prevent burning; medium-low heat is key for allowing the cheese to melt thoroughly before the bread gets too dark. If using the oven, bake for approximately 8-10 minutes, flipping halfway through, until golden and melty. The aroma that fills your kitchen at this stage will be absolutely divine! Serve immediately for the best texture and melt.

Conclusion:
There you have it! The “Mini Grilled Cheese Hawaiian Rolls: An Incredible Ultimate Recipe” is truly a crowd-pleaser that’s perfect for any occasion. Whether you’re hosting a party, looking for a fun weeknight meal, or just craving something undeniably delicious, these mini grilled cheese sandwiches are sure to hit the spot. The sweet, slightly chewy Hawaiian rolls perfectly complement the melty cheese, creating a flavor combination that’s simply irresistible. Don’t be afraid to get creative and experiment with different cheeses and additions to make them your own!
These little delights are fantastic served warm on their own, but they also pair wonderfully with a side of tomato soup for a classic combination, or a fresh salad for a lighter touch. For a fun twist, try adding a thin slice of beef ham or turkey inside before grilling, or sprinkle in some finely chopped chives for an extra pop of flavor. Remember, the best part about cooking is making it your own. So, dive in, enjoy the process, and savor every bite of your “Mini Grilled Cheese Hawaiian Rolls: An Incredible Ultimate Recipe”!
FAQs
Q: Can I make these ahead of time?
A: While best served fresh and warm for optimal cheese meltiness, you can assemble the sandwiches ahead of time and refrigerate them. Grill them just before serving to ensure they are hot and gooey. You may need to increase the grilling time slightly if they are coming straight from the refrigerator.
Q: What are some good cheese combinations?
A: Beyond cheddar, consider a blend of Monterey Jack for creaminess, Gruyere for a nutty depth, or even a touch of pepper jack for a mild kick. Provolone also melts beautifully and offers a slightly sharper flavor. Experiment to find your favorite!
Q: Can I use a different type of bread?
A: Absolutely! While Hawaiian rolls are fantastic for their sweetness and soft texture, you could certainly use other soft rolls, slider buns, or even slices of white bread cut into small squares. Just adjust the cooking time as needed based on the thickness of your bread.
Mini Grilled Cheese Hawaiian Rolls-Ultimate Recipe
A quick and easy recipe for delicious mini grilled cheese sandwiches using sweet Hawaiian rolls, a blend of cheddar and mozzarella cheese, and a flavorful butter spread.
Ingredients
-
12 Hawaiian rolls
-
1 cup shredded cheddar cheese
-
1 cup shredded mozzarella cheese
-
1/2 cup butter, softened
-
1 teaspoon garlic powder
-
1 teaspoon dried herbs (oregano or basil)
Instructions
-
Step 1
Slice Hawaiian rolls horizontally, butterflying them. Lay the bottom halves on a baking sheet lined with parchment paper. -
Step 2
In a small bowl, combine softened butter with garlic powder and dried herbs (if using). Mix well until evenly distributed. -
Step 3
In a separate bowl, mix shredded cheddar and mozzarella cheeses. Generously sprinkle the cheese mixture onto the bottom halves of the Hawaiian rolls. -
Step 4
Spread the flavored butter onto the cut side of the top halves of the rolls. Place the top halves onto the cheese-filled bottom halves. Flip each sandwich so the unbuttered side is up and spread butter on this top surface. -
Step 5
Grill sandwiches on a griddle or non-stick skillet over medium-low heat for 3-5 minutes per side, or bake at 350°F (175°C) for 8-10 minutes, flipping halfway, until golden brown and cheese is melted. Serve immediately.
Important Information
Nutrition Facts (Per Serving)
It is important to consider this information as approximate and not to use it as definitive health advice.
Allergy Information
Please check ingredients for potential allergens and consult a health professional if in doubt.